Happy Christmas in July friends! Yes, I'm one of those that loves Christmas crafting and if you get my newsletter you heard all about it last week AND were able to get in on a few EARLY Christmas gifts! If you haven't already signed up for my newsletter you can do it HERE.
HAPPY HOLIDAYS MINI KIT BUNDLE
And what better way to make Christmas crafting easy than a card making kit? Scrapbook.com just released their Happy Holidays Mini Kit Bundle and you can check it out over on YouTube if you're looking for more inspiration. And if you've never joined in on one of their livestream's....well I'm just going to say you are missing out! They are so much fun and they usually have some amazing giveaways during them as well!
Here's a look at the Happy Holidays Mini Kit Bundle. It includes the:
- Happy Holidays Sentiments Die Set
- Holiday Stamp Set
- A2 Holiday Patterned Paper Pad
- Metallic Snowflake Rub-ons
MERRY CHRISTMAS CARD
Along with the Holiday patterned paper and Happy Holidays die set that are included in the Happy Holidays Mini Kit, I used the Tim Holtz Vintage Sled Die Set. I cut it from various papers from the Holiday Paper Pad. I also cut the wood parts from kraft cardstock and the top bar from silver kraftstock.
The frame around the sled was cut using a postage die set from Elizabeth Craft Designs. To make it longer, I placed the die on the paper and ran it partially through the die cutting machine. I then removed it, slid the die down, making sure to line it up with previously cut design. I then ran that section back through my die cutting machine to cut the other half and make the shape long enough to fit behind the sled. I then cut a piece of vellum to size and layered them all together.
For a touch of distress, I lightly sanded the edges of the patterned paper with a Ranger sanding disk, but you could use any fine grit sandpaper.
The finished card size is 4 ¼ x 5 ½ inches.

HAPPY HOLIDAYS CARD
For this card, I used more of the Holiday patterned paper and Happy Holidays die set that are included in the Happy Holidays Mini Kit. I also used some of the silver snowflake rub-ons from the Metallic Snowflake Rub-ons. I cut a piece of patterned paper to 4 x 5 ¼ inches and cut the rub-on sheet to the same size. I then lined them up and used the included popsicle stick to apply the rub-ons to the paper. I then added some machine stitching around the outer edge.
For a touch of distress, I carefully rubbed the back side of a craft knife along the edge of the paper to fray and distress the edges. I also used the same sanding technique as on the previous card.
The snowflakes are die cut from some of the green paper from the Holiday patterned paper pad and some silver kraftstock using the Scrapbook.com Snowflakes Die Set.
The finished card size is 4 ¼ x 5 ½ inches.
SUPPLIES
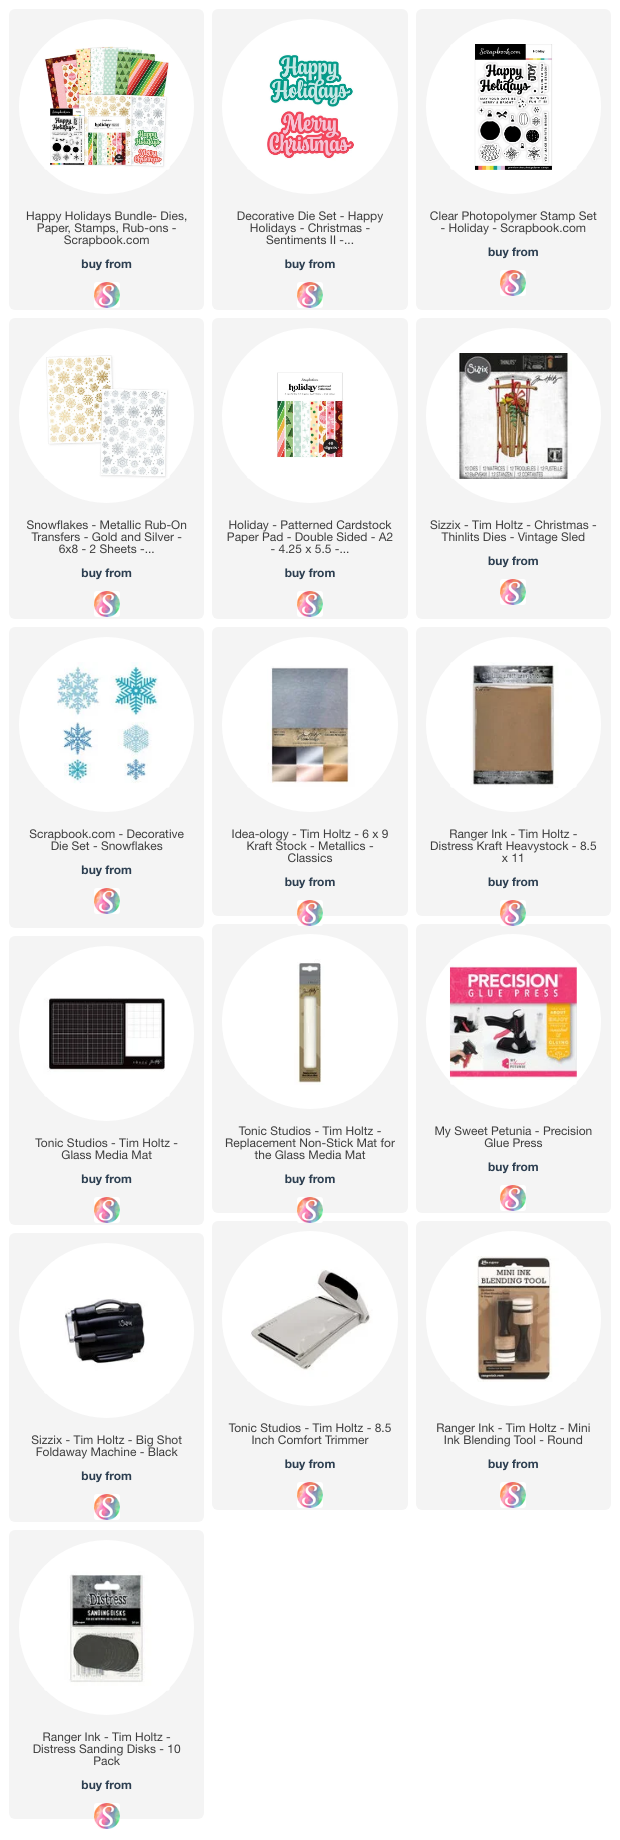
Below you can find the supplies I used to create this card and the swatches. When you shop through the links below, I receive a small commission from Scrapbook.com. These links are at no cost to you and the commission I receive helps me cover the costs of my blog and other expenses, and allows me to continue to provide you with FREE inspiration and tutorials. If you want to learn more about what an affiliate link is, you can see my full affiliate and product disclosure statement here. Thank you so much for your love and support!


No comments
Every time you smile at someone, it is an action of love, a gift to that person, a beautiful thing. ~Mother Teresa
HUGS!
JULIANA