Meet the New Tim Holtz Distress Spritz | Swatches & A Card

Tim Holtz just released a brand new product addition to the Distress collection...Distress Spritz! Make sure you check out his YouTube Live to learn ALL about this new product. I was kindly sent this new product to create and play with and I must say, I'm in love! Bring on the finishing touch of shimmer and shine with it's uniquely Distress effects!

I have a new video up on my YouTube channel sharing my thoughts and what I love about Distress Spritz and how I used it to create this card.

Stay Curious Card by Juliana Michaels featuring Tim Holtz Distress Spritz

You can either watch the video below or head over to my YouTube Channel HERE to check it out.


If you are interested in the supplies I used to create this card, you can find a complete supply list at the bottom of this post. When you shop through those links, you help support me and I appreciate that so very much!

STAY CURIOUS CARD

Here are some detail images of the card I created in this video using the Tim Holtz Distress Spritz. The finished card size is 4 ¼ x 5 ½ inches.

Stay Curious Card by Juliana Michaels featuring Tim Holtz Distress Spritz


DISTRESS SPRITZ SWATCHES

I also created a set of swatches for each of the 12 colors of Distress Spritz. You can find all the details on how I created these in the video I linked to above.

Tim Holtz Distress Spritz Swatches by Juliana Michaels

SUPPLIES

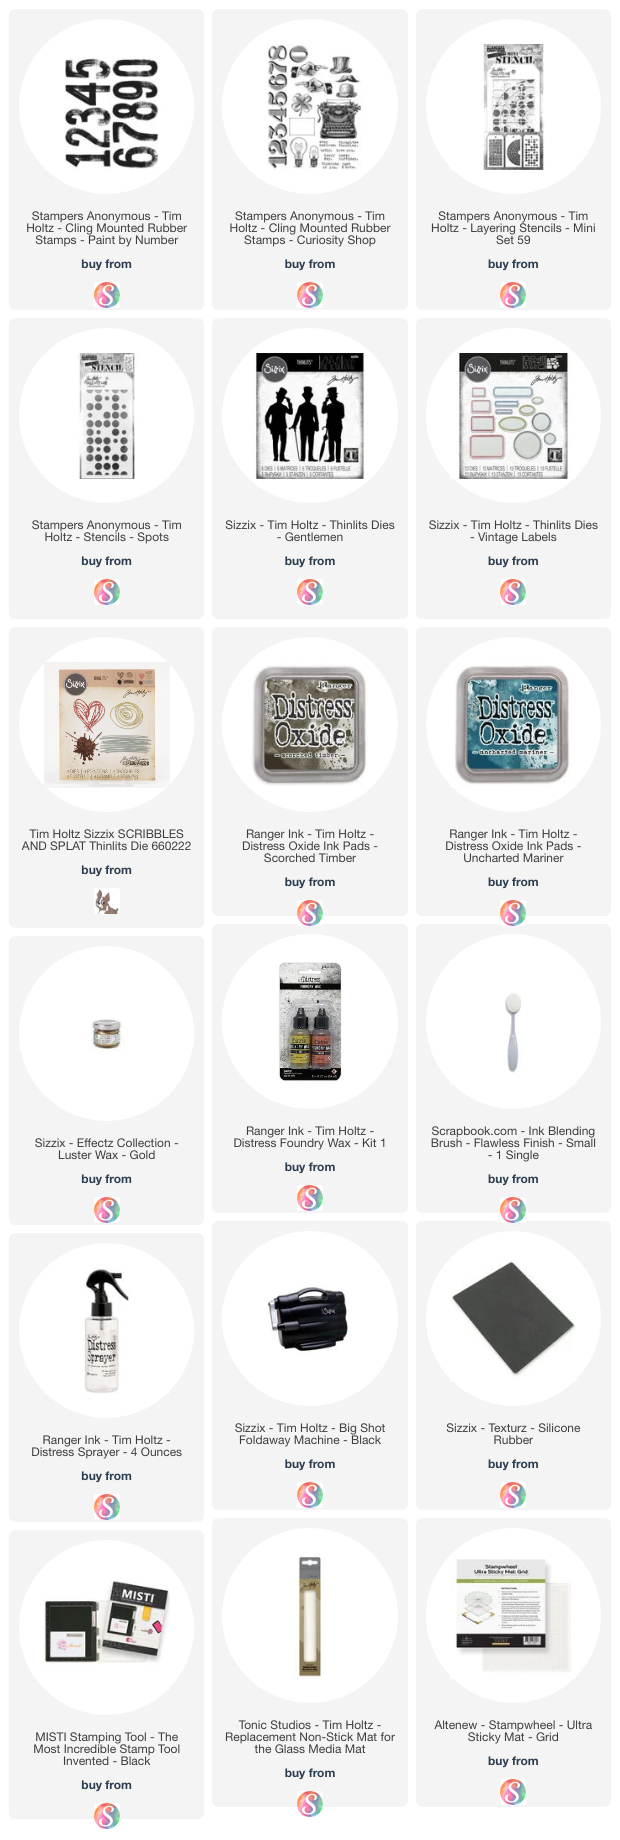
Below you can find the supplies I used to create this card and the swatches. When you shop through the links below, I receive a small commission from Scrapbook.com. These links are at no cost to you and the commission I receive helps me cover the costs of my blog and other expenses, and allows me to continue to provide you with FREE inspiration and tutorials. If you want to learn more about what an affiliate link is, you can see my full affiliate and product disclosure statement here. Thank you so much for your love and support!

You Can Do That? Embossing With Stencils

I'm have a new video for you and in it I'm sharing a 2 for one card idea, with a masculine vibe. I’m also sharing a fun technique using a stencil, that gives you one more way to make the most of your stencil stash! The products used on these cards are from the latest Tim Holtz Stampers Anonymous release and include the Painted Numbers and Curiosity Shop Stamp Sets along with the Spots Stencil and Mini Stencil Set 59.

Thoughts + Theories Card by Juliana Michaels featuring Embossing with Stencils technique andTim Holtz Painted Numbers and Stamp Set Tim Holtz Spots Stencil

Watch the video below or head over to my YouTube Channel HERE and watch it there.


HAPPY BIRTHDAY CARD

Here are some detail images of the one of the cards I created in this video. The finished card size is 4 ¼ x 5 ½ inches.

Happy Birthday Card by Juliana Michaels featuring Embossing with Stencils technique andTim Holtz Painted Numbers and Stamp Set Tim Holtz Spots Stencil


THOUGHTS + THEORIES CARD

Here are some detail images of the second card I share in this video. The finished card size is 4 ¼ x 5 ½ inches.

Thoughts + Theories Card by Juliana Michaels featuring Embossing with Stencils technique andTim Holtz Painted Numbers and Stamp Set Tim Holtz Spots Stencil


Thanks so much for stopping by! I hope you enjoyed learning how these cards came together and how to use your stencils for embossing! 

SUPPLIES

Below you can find the supplies I used to create this card and the swatches. When you shop through the links below, I receive a small commission from Scrapbook.com. These links are at no cost to you and the commission I receive helps me cover the costs of my blog and other expenses, and allows me to continue to provide you with FREE inspiration and tutorials. If you want to learn more about what an affiliate link is, you can see my full affiliate and product disclosure statement here. Thank you so much for your love and support!

Dream Big Krafty Garden Junk Journal

Hello there! I’m back on the 49 and Market YouTube channel and in my latest video I’m sharing how I used the 49 and Market Envelope Gatefold Flip Folio in White and combined it with the Krafty Garden collection to create a junk journal.

Dream Big Krafty Garden Junk Journal by Juliana Michaels featuring 49 and Market Krafty Garden Collection and Envelope Gatefold Flip Folio

This is not a process video, but rather a walk through of the completed album and how I modified the Envelope Gatefold Flip Folio to create my own custom junk journal and how beautifully the 49 and Market products work for creating one.

You can either watch the video below or head over to the 49 and Market YouTube Channel HERE to check it out.

If you are interested in the supplies I used to create this card, you can find a complete supply list at the bottom of this post. When you shop through those links, you help support me and I appreciate that so very much!

DREAM BIG KRAFTY GARDEN JUNK JOURNAL

Here are some detail images of the junk journal I create in this video using the 49 and Market Envelope Gatefold Flip Folio in White and the Krafty Garden collection The finished size is 6 ¼ x 8 ¼ x ½ inches.

Dream Big Krafty Garden Junk Journal by Juliana Michaels featuring 49 and Market Krafty Garden Collection and Envelope Gatefold Flip Folio


Dream Big Krafty Garden Junk Journal by Juliana Michaels featuring 49 and Market Krafty Garden Collection and Envelope Gatefold Flip Folio

Dream Big Krafty Garden Junk Journal by Juliana Michaels featuring 49 and Market Krafty Garden Collection and Envelope Gatefold Flip Folio

Dream Big Krafty Garden Junk Journal by Juliana Michaels featuring 49 and Market Krafty Garden Collection and Envelope Gatefold Flip Folio

Dream Big Krafty Garden Junk Journal by Juliana Michaels featuring 49 and Market Krafty Garden Collection and Envelope Gatefold Flip Folio

Dream Big Krafty Garden Junk Journal by Juliana Michaels featuring 49 and Market Krafty Garden Collection and Envelope Gatefold Flip Folio

Dream Big Krafty Garden Junk Journal by Juliana Michaels featuring 49 and Market Krafty Garden Collection and Envelope Gatefold Flip Folio

Dream Big Krafty Garden Junk Journal by Juliana Michaels featuring 49 and Market Krafty Garden Collection and Envelope Gatefold Flip Folio

Dream Big Krafty Garden Junk Journal by Juliana Michaels featuring 49 and Market Krafty Garden Collection and Envelope Gatefold Flip Folio

Dream Big Krafty Garden Junk Journal by Juliana Michaels featuring 49 and Market Krafty Garden Collection and Envelope Gatefold Flip Folio

Dream Big Krafty Garden Junk Journal by Juliana Michaels featuring 49 and Market Krafty Garden Collection and Envelope Gatefold Flip Folio

SUPPLIES

Below you can find the supplies I used to create this junk journal. When you shop through the links below, I receive a small commission from Scrapbook.com. These links are at no cost to you and the commission I receive helps me cover the costs of my blog and other expenses, and allows me to continue to provide you with FREE inspiration and tutorials. If you want to learn more about what an affiliate link is, you can see my full affiliate and product disclosure statement here. Thank you so much for your love and support!

Sizzix Summer Release | Bloom into Summer

Happiness is the art of making a bouquet of those flowers within reach. ~ Bob Goddard

Flower themed card making supplies make me happy. There I said it. And I'm pretty sure I'm not alone because there are lots of them out there for us to collect and make with. Today I'm sharing a couple of cards I made with my latest happy. These stamps, dies and stencils are part of the summer release from Sizzix and are available now at Scrapbook.com. If you are interested in how each card was created, keep scrolling. If you are just interested in the new stamps, dies, stencils and other products that I used you can find them at the bottom of this post.

Sizzix Bloom Into Summer Cards by Juliana Michaels

ONE OF A KIND CARD

First up, I used the Sizzix Stencil and Stamp Tool with the Abstract Blooms Stencil. This was my first time using the stencil part of this tool. I really liked how it made lining up the stencil super easy for each layer. It is a little challenging to figure out where to position a precut piece of cardstock, but I knew I would probably trim off some of it to create a mat layer, so it worked out just fine to start with a piece of smooth white cardstock cut to 4.5 x 6.25 inches.

One Of A Kind Card by Juliana Michaels featuring Sizzix Abstract Blooms Stencil and Born to Bloom Stamp Set

To add the various colors to create my design I used Distress Oxide Inks in the following colors: Tattered Rose, Saltwater Taffy, Abandoned Coral, Scattered Straw, Wild Honey, Rusty Hinge, Bundled Sage, Rustic Wilderness, Speckled Egg, Uncharted Mariner, Peacock Feathers, Pumice Stone and Scorched Timber. I used a variety of small blending brushes to apply the color. For this particular stencil design, I also used some Mint Tape to mask off areas so that I wouldn't get a color in an area that I didn't want it.


Once the stenciled background was completed, I trimmed it down to 4 x 5.75 inches and inked the edges with Scorched Timber Distress Oxide Ink. I then cut a piece of white cardstock to 4.5 x 6.25 inches and inked the edges with Scorched Timber Distress Oxide Ink and adhered the stenciled background to the center of this panel.


The flower die cuts are from various Tim Holtz Sizzix Wildflower Stems Die Sets. You could also use the Vault Wildflowers Die Set or any floral silhouette die set you have. I cut them from a piece of Distress Watercolor Cardstock that I had sprayed with Scorched Timber Spray Stain. To give them a little dimension I adhered foam squares behind the heads of the flowers.


For the sentiment I used the Sizzix Born to Bloom stamp set and Versafine Clair Ink in Nocturne. This is definitely one of my favorite new inks for stamping, especially for fine detail stamps just as this one. I then trimmed the paper down and inked the edges and adhered it with a bit of foam adhesive for some dimension.

The finished card size is 4.5 x 6.25 inches.


LET YOUR DREAMS BLOSSOM CARD

For this second card, I pulled out some Distress Watercolor Cardstock and the Sizzix Flowers and Fern Die Set and just started die cutting. I ended up cutting out 3 of each piece to create the cluster on this card. I didn't end up using one of the small ferns, but you could certainly tuck that in somewhere!

Let Your Dreams Blossom Card by Juliana Michaels featuring Sizzix Flowers and Ferns Die Set and Born to Bloom Stamp Set

I then used a variety of Distress Inks to add a water color effect to each layer. I used Distress Inks in the following colors: Tattered Rose, Saltwater Taffy, Abandoned Coral, Scattered Straw, Wild Honey, Rusty Hinge, Bundled Sage, Rustic Wilderness, Speckled Egg, Uncharted Mariner, Peacock Feathers, Pumice Stone and Scorched Timber.

To achieve this, I smooshed the ink pad onto my craft mat, spritzed it with some water and then smooshed my paper into the ink. I repeated this for each of the same shape. I dried the ink with my heat tool and then repeated the process to build up the layers of color and interest. I repeated this process of ink smooshing for each die cut piece. Once all of the die cuts were colored, I assembled the various flowers and ferns.


With the flowers and ferns completed, it was time to work on the background panel. At this point I already knew I would be making a slightly larger than normal card so that I could include all of the flowers I had made. I cut a piece of Distress Watercolor Cardstock to 4.5 x 6.25 inches. I then smooshed a Speckled Egg Distress Ink Pad onto my craft mat, spritzed the ink with some water and smooshed my paper into the ink. I dried the paper with my heat tool and repeated the process, adding more ink and water as needed. I continued this until the entire piece of paper was covered with ink.


Next, I played around with creating a bouquet with the assembled die cuts. I also had the sentiment stamp out that I wanted to use so that I could make sure they would all fit on the card front. Once I was happy with the arrangement of the die cuts, I placed a piece of Press N Seal over the bouquet, pressed down to make sure they were all stuck to it and then lifted it up and flipped it over. I could then easily apply adhesive to the backside of the flowers while still keeping the bouquet I had created. I used a mix of liquid and foam tape adhesive.

The sentiment for this card is also from the Sizzix Born to Bloom stamp set and is stamped using Versafine Clair Ink in Nocturne. To complete the card, I trimmed the background panel to 4.25 x 6 inches and inked the edges with Scorched Timber Distress Ink. I then cut a piece of white cardstock to 4.5 x 6.25 inches and inked the edges with Scorched Timber Distress Ink.


SUPPLIES

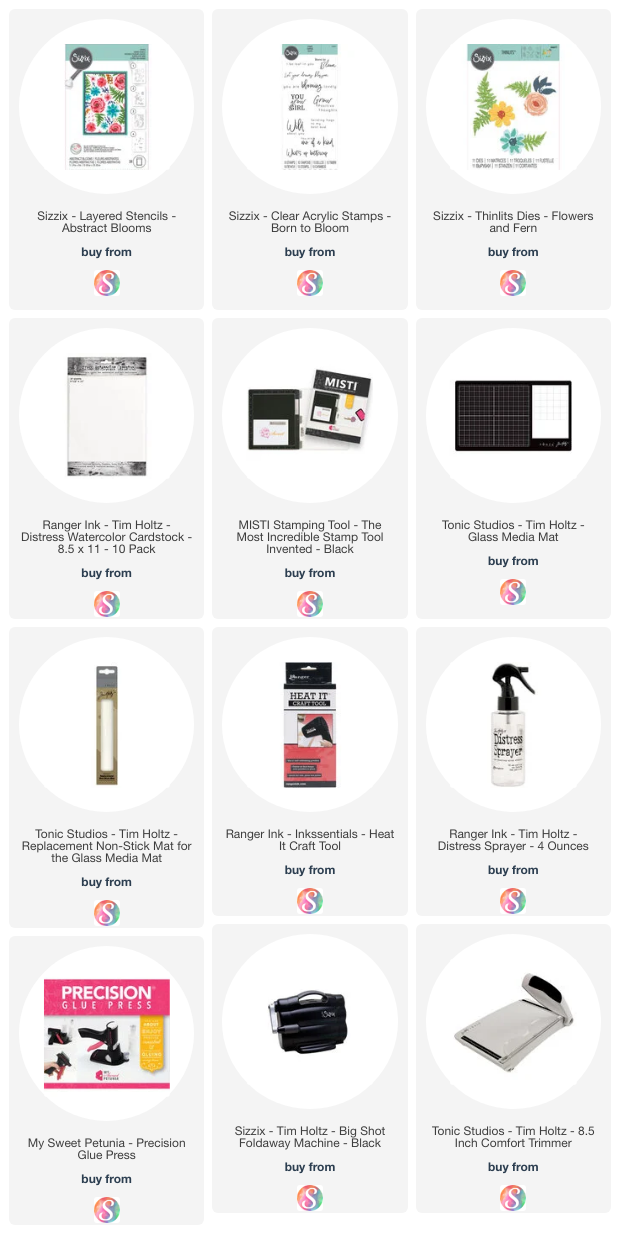
Below you can find the supplies I used to create this card. When you shop through the links below, I receive a small commission from Scrapbook.com. These links are at no cost to you and the commission I receive helps me cover the costs of my blog and other expenses, and allows me to continue to provide you with FREE inspiration and tutorials. If you want to learn more about what an affiliate link is, you can see my full affiliate and product disclosure statement here. Thank you so much for your love and support!
Subscribe