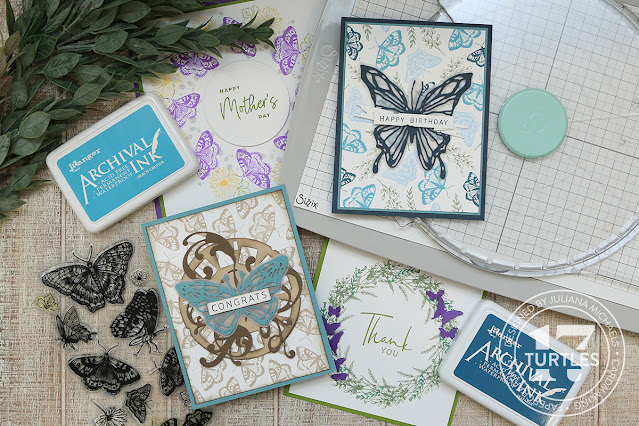
In this blog post, I'm sharing the finishing details for each of the card backgrounds I create in the video.
You can either watch the video below or head over to my YouTube Channel HERE to watch.
If you are interested in the supplies I used to create this card, you can find a complete supply list at the bottom of this post. When you shop through those affiliate links, you help support me and I appreciate that so very much!
If you are interested in the supplies I used to create this card, you can find a complete supply list at the bottom of this post. When you shop through those affiliate links, you help support me and I appreciate that so very much!
No. 1 | THANK YOU CARD
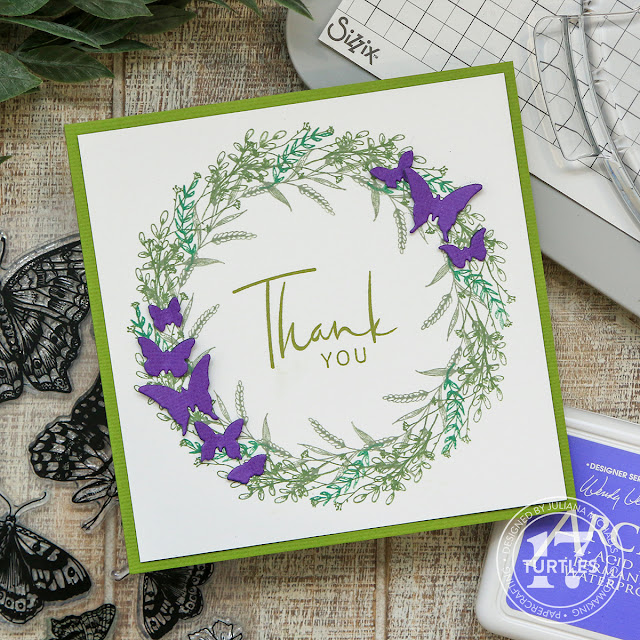
This is the finished card I created using one stamp and one ink color to make a wreath. The stamp set I used to create the wreath is the Sizzix Garden Botanicals Stamp Set. Of course, I couldn't stop with just one color and had to take it to the next level with several more stamps and ink colors. I added a stamped sentiment to the center using the Sizzix Daily Sentiments Stamp Set. For some dimension I added the butterflies die cut from purple cardstock using the Tim Holtz Vault Boutique Die Set. I then mounted the panel onto green cardstock for a finished card size of 5 ½ x 5 ½ inches.No. 2 | HAPPY MOTHER'S DAY CARD
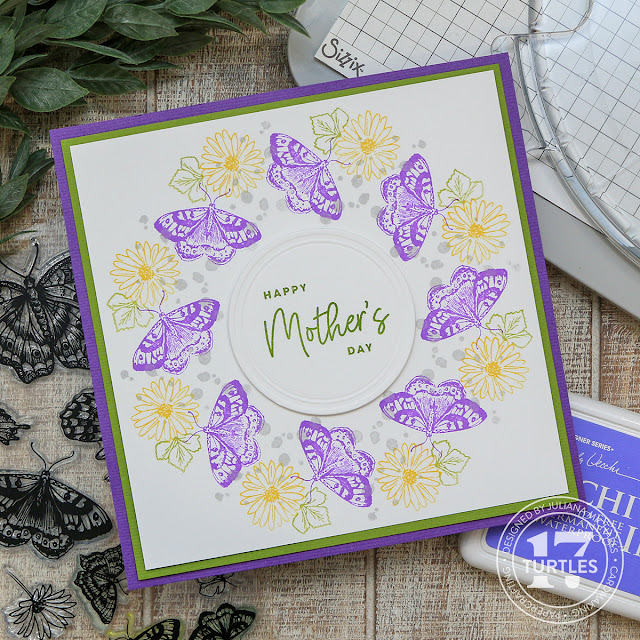
This is the finished card I created using multiple stamps and ink colors to make a wreath. The stamps I used to create the wreath are the Sizzix Nature Butterflies and Garden Botanicals Stamp Sets. I added a sentiment from the Scrapbook.com Celebrate Expressions stamp set. I stamped it in the center of a piece of white cardstock that I die cut using the Tim Holtz Labels Die Set. I then mounted the finished panel onto green and then purple cardstock for a finished card size of 6 ½ x 6 ½ inches.No. 3 | CONGRATS CARD
This is the finished card I created using one stamp and one ink color to make a repeat patten. I then inked the edges with Scorched Timber Distress Ink. I embellished the card with die cuts. I cut a piece of tan cardstock using the viewfinder from the Tim Holtz Vault Picture Show die set and inked the edges with Scorched Timber Distress Ink. Next, I cut a piece of dark brown cardstock using some of the flourishes from the Tim Holtz Adorned die set. I then cut the butterfly layers from vellum and a teal cardstock using the Tim Holtz Vault Scribbly Butterflies die set. For the sentiment I used the Sizzix Daily Sentiments stamp set. I then adhered the panel onto a piece of teal cardstock for a finished card size of 4 ¼ x 5 ½ inches.No. 4 | HAPPY BIRTHDAY CARD
This is the finished card I created using multiple stamps and ink colors to make a repeat patten. I cut the butterfly layers from vellum and a dark blue cardstock using the Tim Holtz Vault Scribbly Butterflies die set. For the sentiment I used the Sizzix Daily Sentiments stamp set and stamped it onto a piece of white cardstock die cut using the banner die from the Tim Holtz Vault Boutique die set. I then adhered the panel onto teal and dark blue cardstock for a finished card size of 4 ¼ x 5 ½ inches.Thanks so much for stopping by to see more details on how I finished the cards I created using the Sizzix Stamp and Spin Tool.
SUPPLIES
Below you can find the supplies I used to create these cards. When you shop through the links below, I receive a small commission from Scrapbook.com. These links are at no cost to you and the commission I receive helps me cover the costs of my blog and other expenses, and allows me to continue to provide you with FREE inspiration and tutorials. If you want to learn more about what an affiliate link is, you can see my full affiliate and product disclosure statement here. Thank you so much for your love and support!


No comments
Every time you smile at someone, it is an action of love, a gift to that person, a beautiful thing. ~Mother Teresa
HUGS!
JULIANA