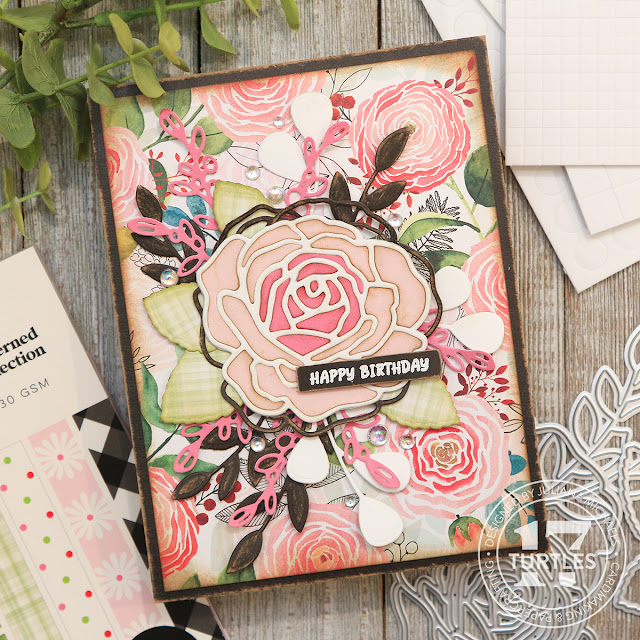
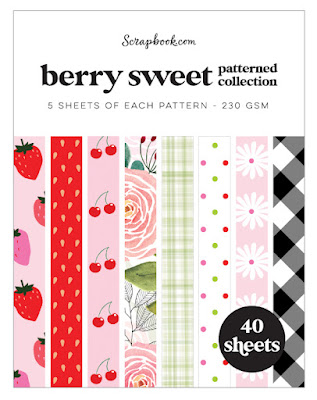
I recently received the Berry Sweet Paper Pad from Scrapbook.com and I immediately fell in love with this beautiful floral pattern that was included and it inspired me to create the card I'm sharing today.
HAPPY BIRTHDAY CARD | A2
Because the paper I had chosen for my background already had a lot going on, I decided to pick just one other pattern and some of the solid colors from the Berry Sweet Paper Pads to die cut for this card. I also used some a light pink cardstock from the Sherbet Paper Pad, plain white cardstock and my latest addiction...Tim Holtz Black Kraft Stock. (This is kraft paper that has a black color printed on one side. It came out for Halloween, but it is a well loved staple in my stash at the moment!)
The dies I used are the Scrapbook.com Layered Roses Bundle and Sprigs Die Sets. The rose has a solid shape and an outline shape that can be layered to create the flower. I die cut the the solid piece from white cardstock to have a base. I then die cut the outline 4 times...once each from white, dark pink, and light pink cardstock and then from Black Kraft Stock. I used the negative pieces from the dark and light pink die cuts to fill in the white outline and make it look similar to the roses on the background paper. I then took the black outline and trimmed it to fit around the rose and create another layer of interest. One other note of interest, I used a sanding disk to sand all of the Black Kraft Stock die cuts. This removes the black color and reveals the kraft paper underneath, giving it a slightly distressed look.
Once I had all of the die cutting completed, I inked the edges of the green leaves with Vintage Photo Distress Ink. I trimmed the background paper down to 4 x 5.25 inches and inked the edges with Vintage Photo Distress Ink and adhered it to a piece of Black Kraft Stock. I then adhered the began adhering the die cuts to the background using a combination of double sided foam adhesive squares and liquid adhesive.
The sentiment is from the Berry Sweet Stamp Set. It was stamped with embossing ink onto Black Kraft Stock and heat embossed with white embossing powder. I then trimmed it into a strip and adhered it with double sided foam adhesive strip. The final touch was the addition of some Pink Fresh Studio Iridescent Clear Drops.
SUPPLIES
Below you can find the products I used to create this card along with compensated affiliate links to Scrapbook.com. These links are at absolutely no cost to you. When you shop through the links below, I receive a small commission from Scrapbook.com. These links are at absolutely no cost to you and the commission I receive helps me cover the costs of my blog and other expenses, which allows me to continue to provide you with FREE inspiration and tutorials. If you want to learn more about what an affiliate link is, you can see my full affiliate and product disclosure statement here. Thank you so much for your love and support!


No comments
Every time you smile at someone, it is an action of love, a gift to that person, a beautiful thing. ~Mother Teresa
HUGS!
JULIANA