I'm back for Part 2 of my Junk Journal Journey and in this episode I'm sharing about my adventure of creating the cover for my junk journal and sewing in the signatures. This part of the journey was a bit challenging and at times a little frustrating, but I learned SO much that will help me when it comes time to make my next journal. In this video I share all that I learned with the hope that it will help you avoid these same frustrations. From how to cut thick chipboard, to the easiest way to poke holes, I've got loads of tips to share.
So grab a cuppa and check out my Junk Journal Journey Part 2 video. As always if you have questions feel free to ask!
I'll be back soon with Part 3, as I continue on with my Junk Journal Journey and share how I'll be adding pockets and other ephemera to my journal.
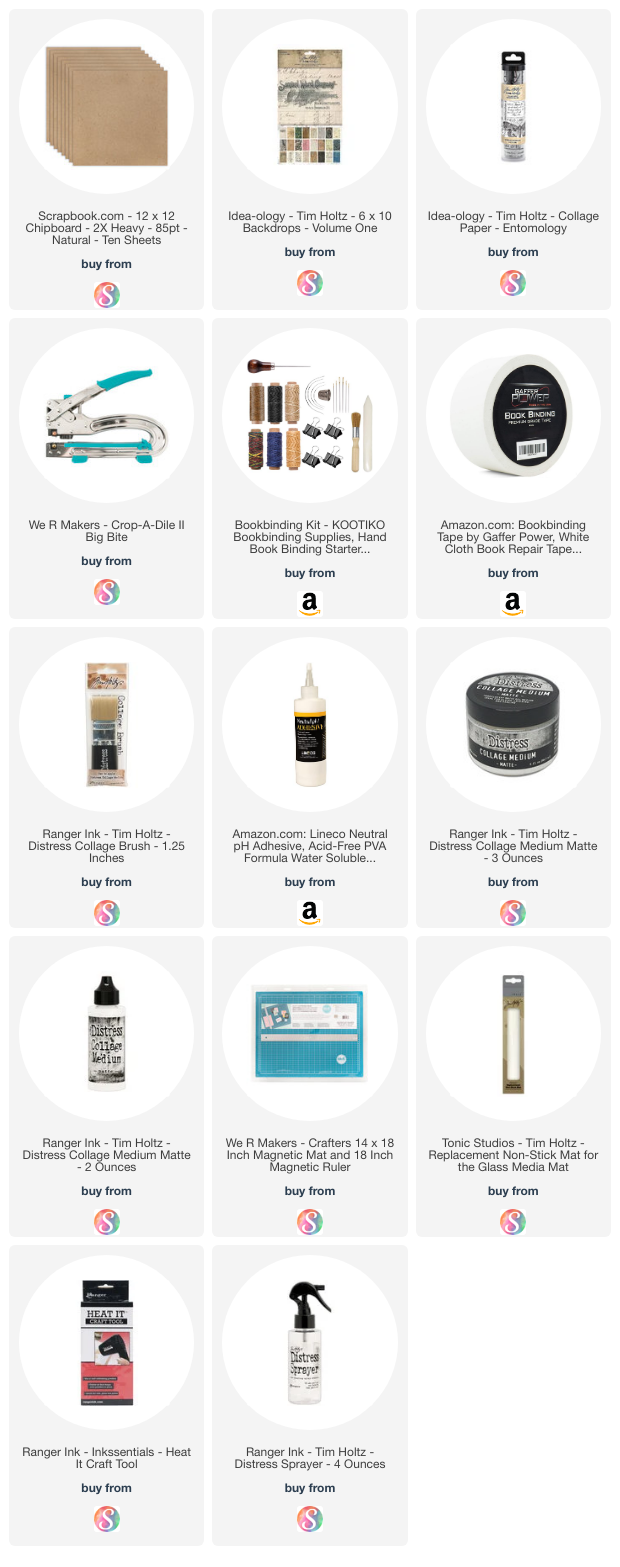
SUPPLIES
Below you can find the products I used to create my junk journal along with compensated affiliate links to Scrapbook.com. These links are at absolutely no cost to you. When you shop through the links below, I receive a small commission from Scrapbook.com. These links are at absolutely no cost to you and the commission I receive helps me cover the costs of my blog and other expenses, which allows me to continue to provide you with FREE inspiration and tutorials. If you want to learn more about what an affiliate link is, you can see my full affiliate and product disclosure statement here. Thank you so much for your love and support!


No comments
Every time you smile at someone, it is an action of love, a gift to that person, a beautiful thing. ~Mother Teresa
HUGS!
JULIANA