I was inspired by Stacy's use of the new Lost Shadow Distress Ink and the color combination and technique she used with the Dotted Embossing Folder. Lene inspired me with how she used the gorgeous Blossom Thinlits Die Set. Keep reading to learn more on how I used their inspiration to create my card.
THINKING OF YOU CARD | TIM HOLTZ LOST SHADOW DISTRESS
Before I begin, I wanted to also share that the finished size of this card is 4.5 x 6.5 and while not a standard size, it will easily fit into a 5x7 envelope for mailing.
For the background, I followed Stacy's tutorial from her blog. You can check that out
here. I inked the Dotted Embossing Folder with Lost Shadow Distress Oxide, spritzed the paper with a little water and ran it through my Sizzix Foldaway. Next, I did some ink smooshing using Speckled Egg Distress Oxide, Uncharted Mariner Distress Oxide and Brushed Corduroy Distress Oxide. And I must admit this is the first time I've ever used Oxide inks to do ink smooshing. I have always only ever done this technique with Distress Inks. After finally giving it a try, I have to admit I am a fan of the look and will definitely be doing this more in the future!
Stacy used Oxide Sprays for her ink smooshing, but I don't have Brushed Corduroy Oxide Spray, so I just used my ink pads and did one color at a time and dried between each color. As you will notice I dabbed the colors in different areas across the background so that some of the Lost Shadow could be seen. I then finished off the background by inking the edges with a little Brushed Corduroy Distress Oxide Ink.
As I mentioned, I loved the way Lene used the Blossom Thinlits Die. I loved the black accents, how she used a book page and that she used some additional greenery dies - the Wildflower Stems 1 and Wildflower Stems 2 Thinlits Dies.
For my card, I cut the Wildflower 1 stem from Black Kraft Stock and then gently sanded it to reveal some of the kraft core. I cut the Wildflower 2 stem from Distress Watercolor paper and lightly spritzed it with Lost Shadow Distress Spray Stain.
To achieve the book page look, I stamped the Newsprint image from the Tim Holtz Newsprint and Type Stamp Set with Black Soot Archival Ink onto Distress White Heavystock. I stamped the image twice so that I would have enough paper to die cut the second layer of the Blossom and the base layer of the leaves.
I die cut the base of the flower from Black Kraft Stock and sanded it like I did the stems. For the top layer, I die cut it from Distress White Heavystock and inked the edges with Lost Shadow Oxide Ink.
The flower center is cut from Distress Watercolor paper with pieces ink smooshed into Brushed Corduroy Distress Oxide. I also had some left over pieces of Distress Watercolor paper from a previous project that I had sprayed with Uncharted Mariner Distress Spray and I used this for the details on the leaves and the flower center. I also had another piece from a previous project that had been sprayed with Speckled Egg Distress Spray that I used as well.
I adhered the base and second flower layers and the layers for the flower center with Distress Collage Medium. I then adhered the top flower layer and the flower center with double sided foam adhesive for some dimension.
The sentiment is from the Hero Art Message Strips Stamp Set. I stamped it with Embossing Ink onto Black Kraft Stock and heat embossed it with white embossing powder. I trimmed it to size, sanded the edges and adhered it to a piece of chipboard for a little dimension before adhering it to the card.
To finish off the card, I mounted the completed panel onto a piece of Black Kraft Stock after I sanding the edges.
Thanks so much for stopping by today to take a closer look at my Thinking Of You Card featuring the Tim Holtz Lost Shadow Distress Ink.
SUPPLIES
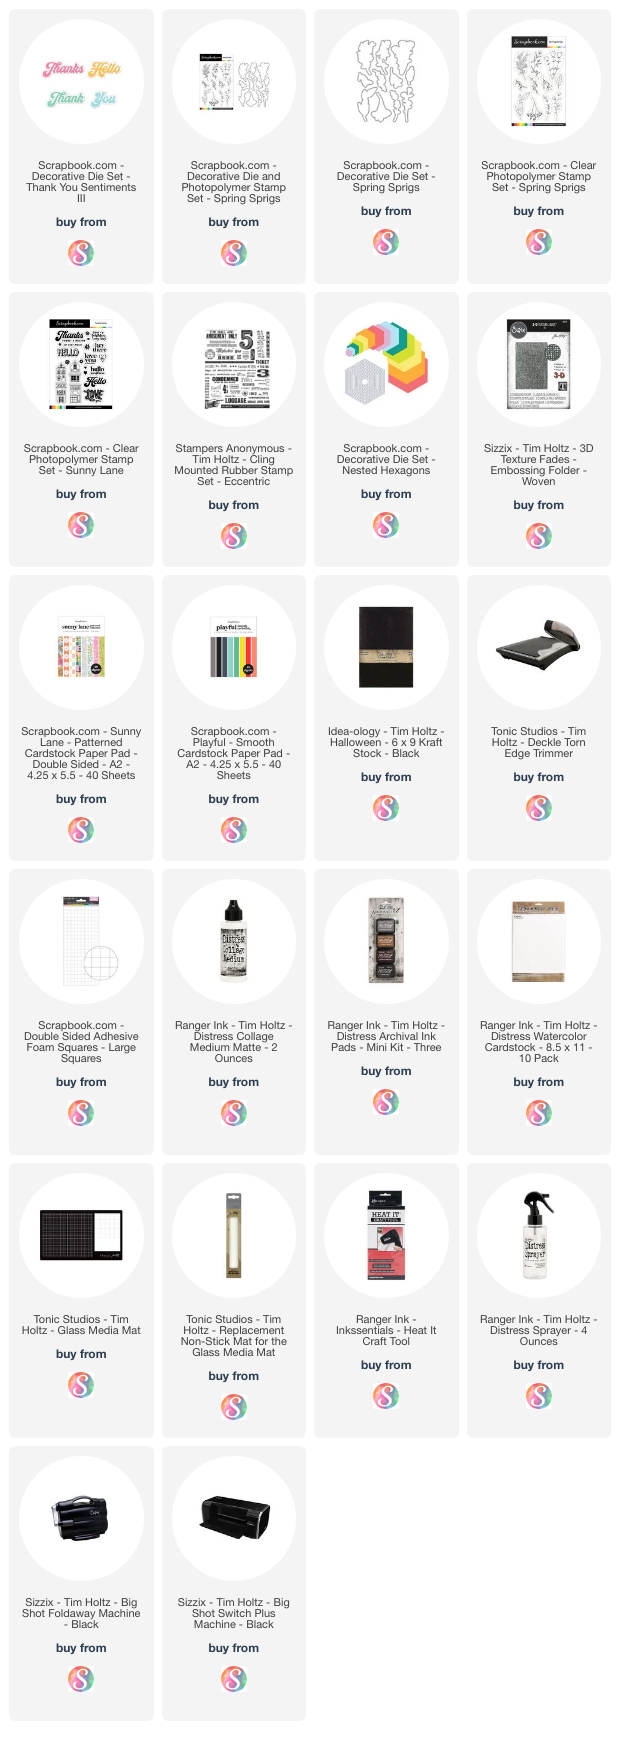
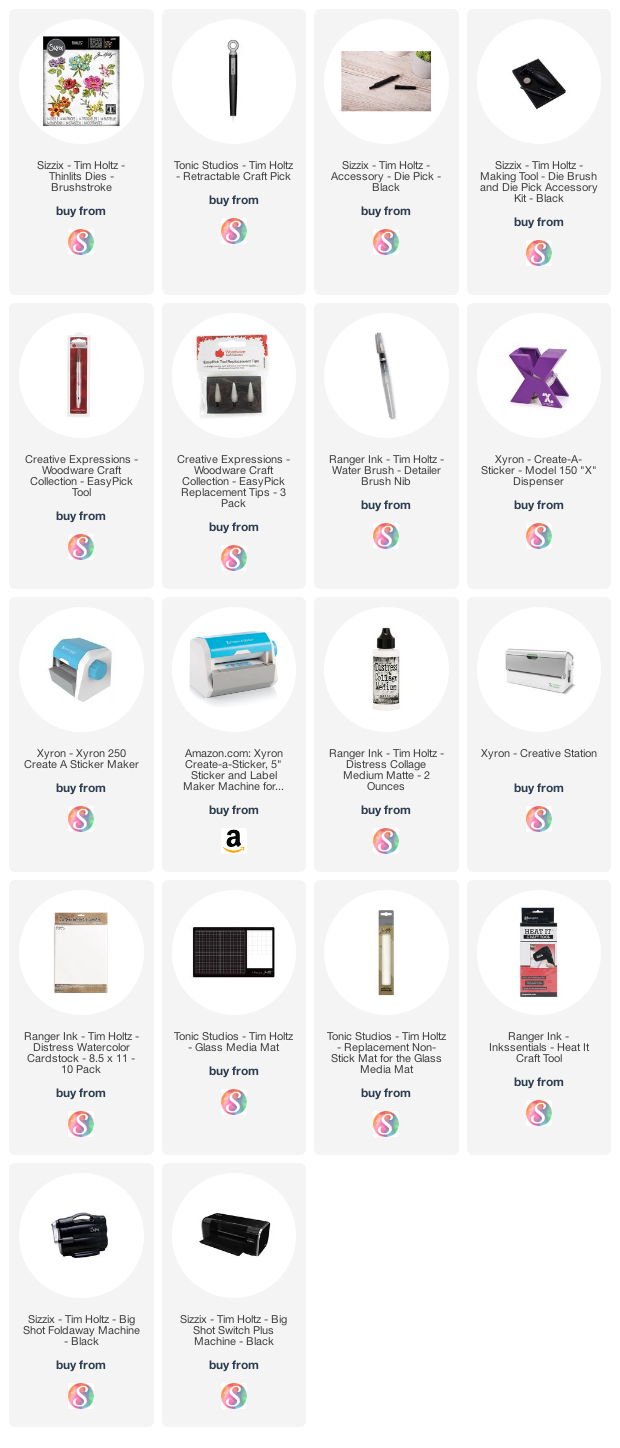
Below you can find the products I used to create this card along with compensated affiliate links to Scrapbook.com. These links are at absolutely no cost to you. When you shop through the links below, I receive a small commission from Scrapbook.com. These links are at absolutely no cost to you and the commission I receive helps me cover the costs of my blog and other expenses, which allows me to continue to provide you with FREE inspiration and tutorials. If you want to learn more about what an affiliate link is, you can see my full affiliate and product disclosure statement here. Thank you so much for your love and support!


