Happy Halloween Friends! Today I'm sharing my 3rd make from the Tim Holtz Sizzix Halloween Release! This one features the amazing Skulls 3D Texture Fade Embossing Folder combined with the Halloween Bold Text Thinlets.
I started off with a piece of Distress Watercolor Paper, cut to 4.5 x 6 inches. Next, I rubbed a Black Soot Distress Oxide Ink Pad over the top of the Skulls 3D Embossing Folder. I placed the paper inside the folder and and ran it through my die cutting machine. By doing this the ink was pressed into the paper as I ran it through the die cutting machine. I repeated this a second time, making sure to carefully line up the embossed paper with the embossing folder. This allowed me to get the image even more black than just the one pass. I then trimmed this down to 4.25 x 5.75 inches.
For a little interest, I splattered the paper with some of the Decayed Mica Stain from the Tim Holtz Halloween Distress Mica Stain Set 4.
To create the sentiment piece, I took a piece of Distress Watercolor Paper, and die cut it using the Happy Halloween sentiment from the Halloween Bold Text Thinlits making sure to save the inside cut outs from the letters to use in the next step. I then trimmed this piece down to 3 x 3.25 inches. I lightly spritzed it with Hickory Smoke Distress Spray Stain and inked the edges with Black Soot Distress Ink. I cut another piece of chipboard just slightly smaller and adhered it to the backside of this piece.
I then took another piece of Distress Watercolor Paper, sprayed it with the Decayed Mica Stain, allowed it to dry and die cut it using the same Happy Halloween sentiment from the Halloween Bold Text Thinlits. I then took the letters, as well as the inside pieces from the first time I die cut the sentiment and adhered them into the openings on the previous piece.
Next, I adhered Hardware Heads that I colored with Pitch Black Alcohol Ink and some bats die cut from black cardstock. The bats are from the Toil and Trouble Thinlets, but feel free to use any bat die cuts you may have.
To finish off the card, I trimmed a piece of black cardstock to 4.5 x 6 inches to mat the embossed paper. For the outer matted layer, I sprayed a piece of Distress Watercolor Paper cut to 4.75 x 6.25 inches with Decayed Mica Stain from the Tim Holtz Halloween Distress Mica Stain Set 4 so that it would coordinate with the die cut letters.
Thank you for stopping by! Are you loving the Skulls 3D Embossing Folder too? I can't wait to try out some of the technique Tim shared during his YouTube Live!
Supplies
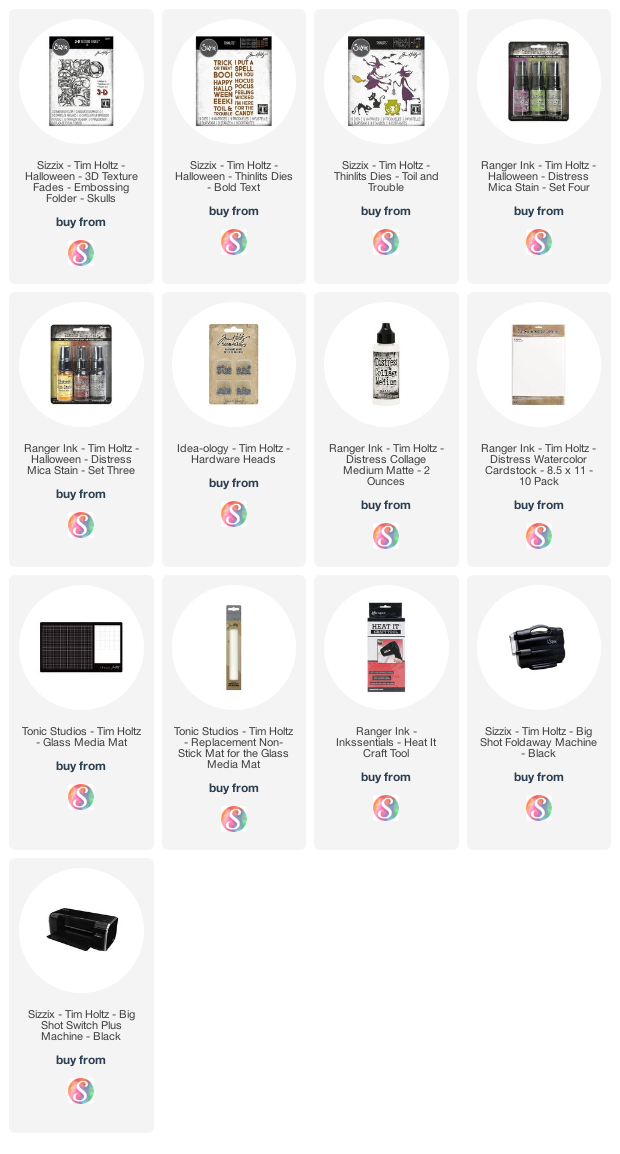
Below you can find the products I used to create this project along with compensated affiliate links to Scrapbook.com. These links are at absolutely no cost to you. When you shop through the links below, I receive a small commission from Scrapbook.com. The commissions help me cover the costs of my blog and other expenses, which allows me to continue to provide you with FREE inspiration and tutorials. If you want to learn more about what an affiliate link is, you can see my full affiliate and product disclosure statement here. Thank you so much for your love and support!


Hey Ghoul Friend....yes, I love the skulls 3D embossing folder....have already tried what Tim did in the Sizzix Live with the Archival Ink...more to come....
ReplyDelete