Holiday Greetings my friends! Today I'm back to share a bit more holiday inspiration with this Jolly Santa Christmas Card I created for the Tim Holtz Stampers Anonymous Christmas 2021 YouTube Live. This Jolly Santa definitely stole my heart and ended up featuring him on some Jolly Santa Slimine Christmas Cards. For even more inspiration from this release, make sure you check out Tim Holtz Stampers Anonymous Christmas 2021 YouTube Live and his blog post where the other makers have linked to their projects.
The card I'm sharing today has a more textured and distressed feel with the help of some stamps, Mica Stains, a stencil and Grit Paste. Keep reading to see how I've combined these products to create this yummy textured background.
I began with a piece of Distress Watercolor cut to 4 x 5.25 inches and stamped several of the images from the Jolly Santa Stamp Set using Black Soot Archival Ink. I then placed the Festive Layering Stencil on top and applied Translucent Grit Paste through the stencil using a palette knife. I gently removed the stencil and washed it.
Once the Grit Paste was dry, I sprayed the paper with a combination of Peeled Paint Distress Spray Stain, Iced Spruce Distress Spray Stain and Frosted Juniper Distress Mica Stain. The Mica Stain adds a touch of shimmery goodness that is difficult to capture in photos, but I promise you it is absolutely gorgeous in real life!
To create the Santa, I stamped the Santa image onto Distress Watercolor using Black Soot Archival Ink and then cut it out using scissors. To color in the image I used Distress Ink and applied it using a waterbrush. I apply just a bit of ink to my craft mat by tapping the ink pad directly to the mat and then I used the waterbrush to pick up the ink for coloring. I then inked the edges with Vintage Photo Distress Ink.
I used the following Distress Ink colors:
Hat/Berries - Festive Berries, Aged Mahogany
Face - Antique Linen, Spun Sugar
Beard - Hickory Smoke
Holly Leaves - Peeled Paint
You might notice a bit more dimension on my Jolly Santa from this angle. I actually stamped him twice and cut out the mustache and holly and adhered them with double sided foam adhesive for a another touch of dimension. Once the Santa was completed, I adhered the entire piece to the card front using double sided foam adhesive.
To complete the card, I layered everything onto a 4.25 x 5.5 inches piece of Distress Heavystock and inked the edged with Vintage Photo Distress Ink.
Finished card size: 4.25 x 5.5 inches
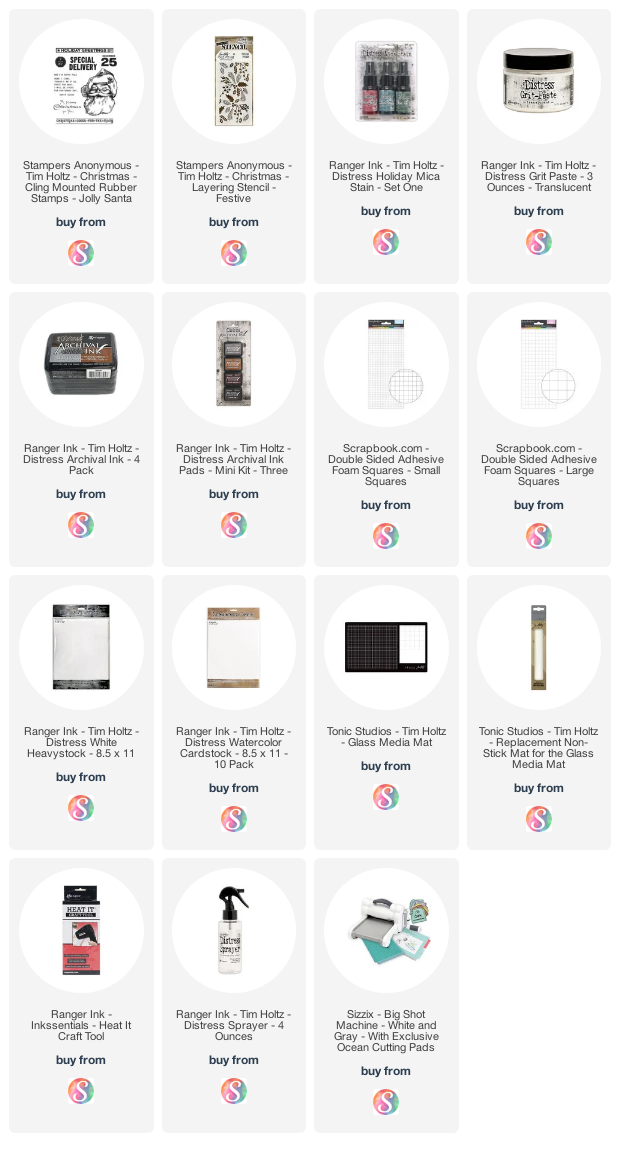
Supplies
You can find the products I used to create this card along with compensated affiliate links to Scrapbook.com. These links are at absolutely no extra cost to you. If you want to learn more about what an affiliate link is, you can see my full affiliate and product disclosure statement here.


No comments
Every time you smile at someone, it is an action of love, a gift to that person, a beautiful thing. ~Mother Teresa
HUGS!
JULIANA