Christmas will be here before you know it, so now's the time to start working on your Christmas gift tags! I created these for the Tim Holtz Stampers Anonymous Christmas 2021 YouTube Live Release and today I want to share all the details about them with you. These are perfect for an assembly line set up and you could easily do a bit each day to get your tags made and ready to go! I've even broken down the steps to give you an idea on how to do them this way.
Holiday Things & Mini Bold Tidings Gift Tags
To get started, I began by die cutting the tags from kraft cardstock using a tag die. You could also cut these using a paper trimmer. These tags are 2x4 inches.
Next, I stamped took the greenery images from the Holiday Things Stamp Set and stamped them around the edges of the tags using Picket Fence Distress Ink.
I then added the sentiment from the Mini Bold Tidings Stamp Set, which I stamped in either Festive Berries or Rustic Wilderness Distress Oxide Ink.
Before continuing with any other embellishments, I used my sewing machine to add some stitching around the edges.
For the die cuts, I began by creating some background using Distress Sprays and Distress Mica Stains. I made one using Peeled Paint and Crushed Olive Distress Spray and Holly Branch Distress Mica Stain. For the other I used Mowed Lawn and Rustic Wilderness Distress Sprays and Tree Lot Distress Mica Stain.
I then die cut the holly leaves and one of the pieces of greenery from the Festive Bouquet Thinlits and trimmed them to create a little cluster to place at the top of each tag.
The ribbon is a piece of seam binding that I dyed using Festive Berries Distress Spray and a tiny bit of Aged Mahogany Distress Spray.
I then finished off each tag with a metal charm from my stash of Tim Holtz Christmas Idea-ology. Every year Tim releases some fabulous new goodies, so feel free to either use your stash or grab some of the new options such as the Tiny Bells or Snowflake Adornments.
Assembly Line Production
Here is an example of how you could break down each of the steps to create your tags over multiple days or slots of time that you have available.
1. Create backgrounds with sprays/inks - you could also just use colored cardstock and splatter with gold ink for a touch of shimmer
2. Custom dye and dry seam binding ribbon then create bows - you could also just use red ribbon
3. Die cut the tags and greenery
4. Stamp the backgrounds and sentiments
5. Add the machine stitching
6. Adhere the ribbon and charms
Whether you sit down and do it all at once or spread it out over several days, I hope you found some inspiration for creating your Christmas gift tags this year! Thanks so much for stopping by today!
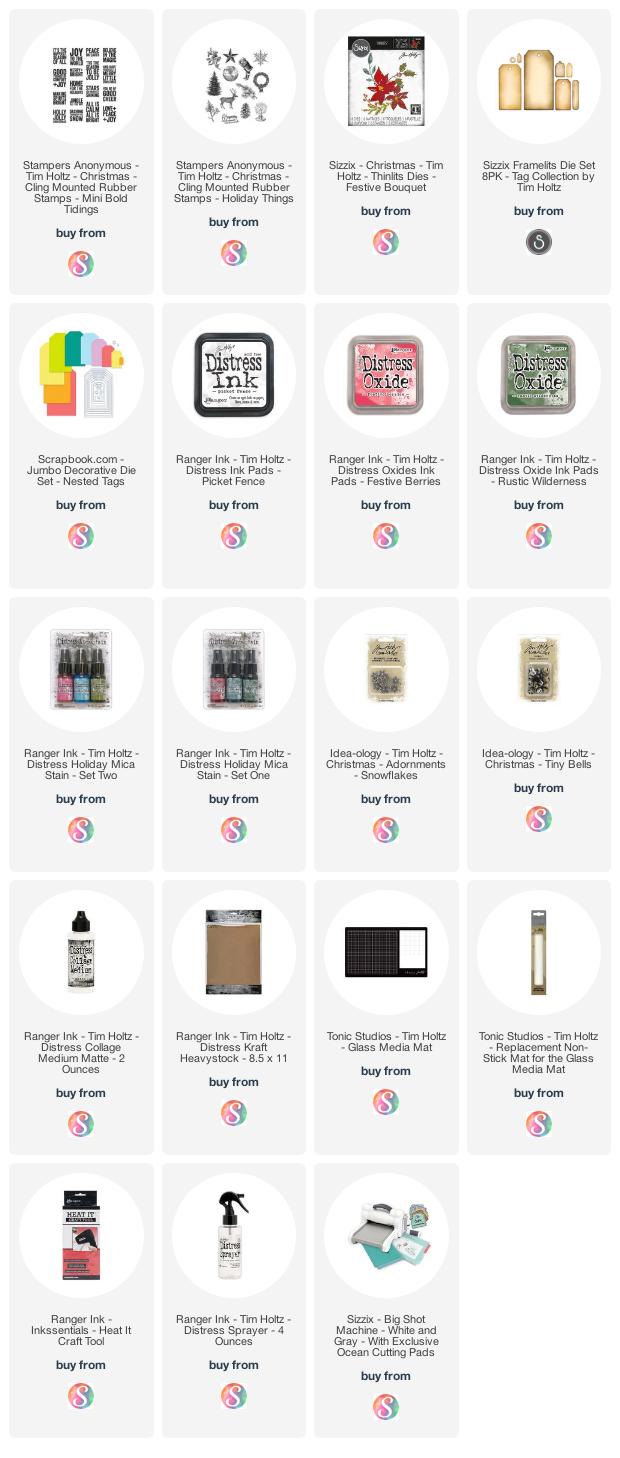
Supplies
You can find the products I used to create this project along with compensated affiliate links to Scrapbook.com. These links are at absolutely no extra cost to you. If you want to learn more about what an affiliate link is, you can see my full affiliate and product disclosure statement here.


No comments
Every time you smile at someone, it is an action of love, a gift to that person, a beautiful thing. ~Mother Teresa
HUGS!
JULIANA