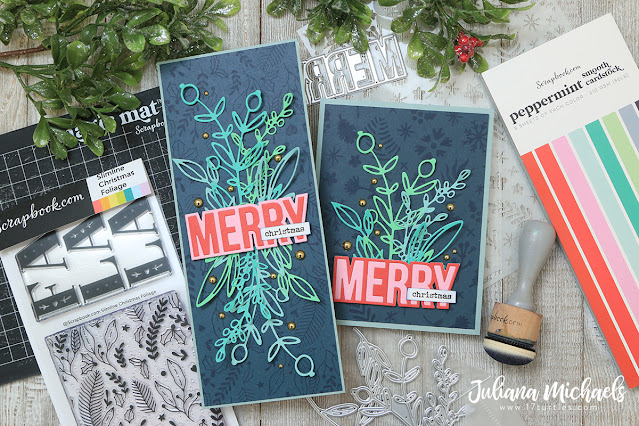
Ho ho ho friends and welcome! I'm super excited to be participating with the Scrapbook.com Handmade Holiday Parade 2021. I created a slimline and A2 size version of the same card using some of my favorite new Scrapbook.com products. Initially, I started with the idea of creating a slimline card, however when I realized how many leftover die cuts I had, I didn't want them to go to waste!
One Design 2 Card Sizes
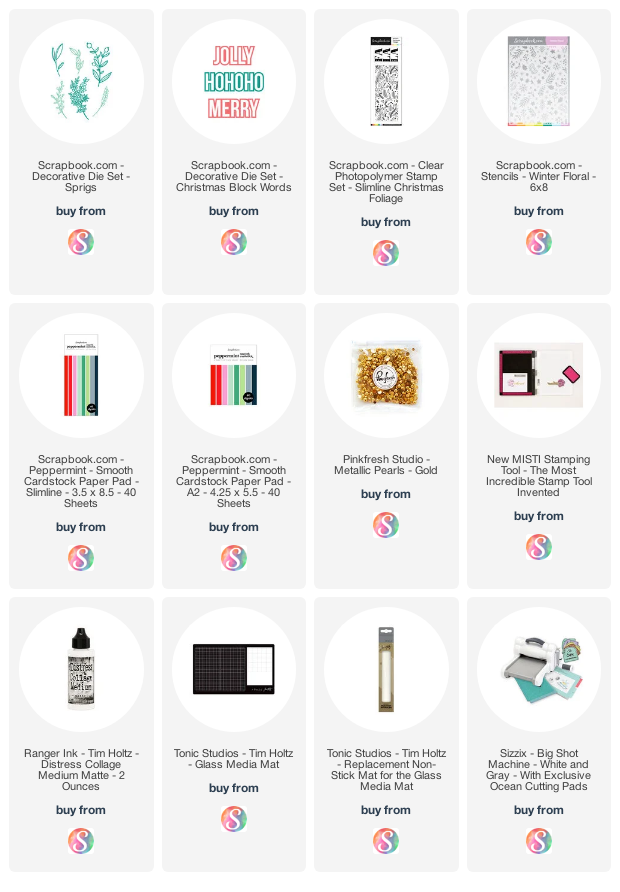
Before I began, I had pulled out some Christmas themed supplies from Scrapbook.com that I wanted to play with. This included the Slimline Christmas Foliage Stamp Set, Winter Floral Stencil, Sprigs Decorative Dies, Christmas Block Words Decorative Dies and Peppermint Paper Pads in both slimline and A2 sizes.
To get started, I selected a sheet of the dark blue paper from the Peppermint Slimline Paper Pad. I placed it inside my stamping tool and stamped it using the large background image from Slimline Christmas Foliage Stamp Set using Chipped Sapphire Distress Ink. I then trimmed this down to 3.25 x 8.25 inches and layered it onto a piece of the lighter blue paper from the same paper pad. Just a fun side note...I actually ended up using all of the colors in this paper pad to create these cards!
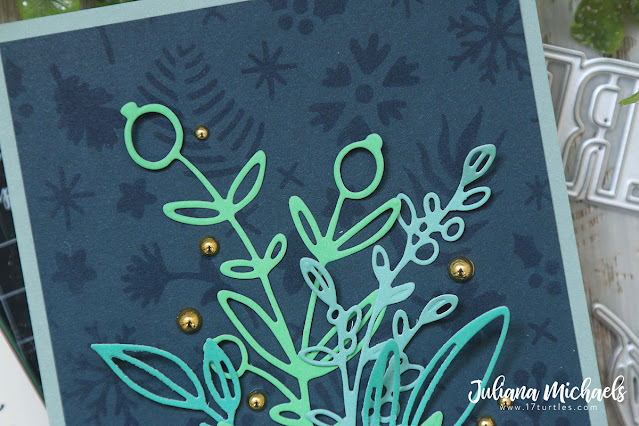
Next, I grabbed the three green shades of paper and die cut multiples of some of the shapes from the Sprigs Decorative Dies. I knew I wanted to use several of them on the card, I just wasn't sure how many.
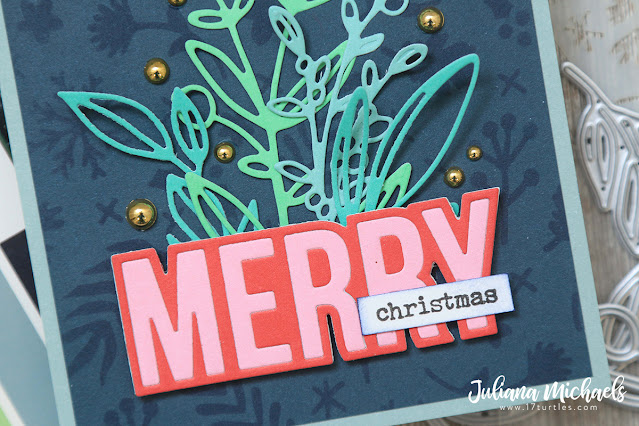
For the sentiment, I used the Merry die from the Christmas Block Words Decorative Dies and cut it once from the pink and once from the red paper so I could mix and match them. This is when I came up with the idea of making a second, but smaller card since I had all these leftovers and I didn't want them to go to waste.
I took several of the sprigs and layered them together and attached them to the top and bottom of the slimline card. I then took the Merry die cut and adhered that using double sided foam tape to the center of the card. This covered up where the sprigs overlapped and created a pretty transition. I then finished it off by stamping the word Christmas using the Christmas Expressions Stamp Set.
To use up the extra die cuts I then made a background for an A2 size card. Here I took the dark blue paper and the Winter Floral Stencil. I applied Chipped Sapphire Distress Ink through the stencil using a blending tool.
I trimmed the paper down to 4 x 5.25 inches and layered it onto a piece of the lighter blue paper from the same paper pad. I then layered on the die cuts in a similar design as the slimline card and placed them toward the bottom of the card.
For a touch of shine, I finished off both cards by adding some Pinkfresh Studio Gold Pearls which I adhered with Distress Collage Medium. Just a tiny bit of this adhesive is all you need and I love that it dries clear so you don't see the adhesive if you get a tiny bit extra on things.
Also, make sure you check out the Scrapbook.com Instagram post as they will be giving away a $25 gift certificate. There are also some AMAZING Cyber Monday Sales and freebies going on as well!
For even more scoop about the Scrapbook.com Handmade Holiday Parade you can also check out this article!
Supplies
You can find the products I used to create these cards along with compensated affiliate links to Scrapbook.com. These links are at absolutely no extra cost to you. If you want to learn more about what an affiliate link is, you can see my full affiliate and product disclosure statement here.


No comments
Every time you smile at someone, it is an action of love, a gift to that person, a beautiful thing. ~Mother Teresa
HUGS!
JULIANA