
Hocus Pocus...it's time for wicked fun! And by wicked fun I'm referring to Halloween crafting! I love all things Halloween related unless it's super gory or scary. I'm not into that at all. But bring on the purple, orange and black along with pumpkins, skulls and witches, add a touch of glitter and I'm good to go!
Speaking of glitter, have you seen the Glitter Paper Pads from Scrapbook.com? They come in two options: a Rainbow Glitter and a Mixed Metals Glitter Paper Pad. The paper is easy to die cut or punch and you will never have to worry about having a glitter mess all over your craft room.
Hocus Pocus Halloween Tag
I used both the Rainbow and Mixed Metals Glitter Paper Pads to create this Hocus Pocus Halloween Tag to share with you today. Let me walk you through the process and share a bit of Halloween inspiration along the way.

Next, I die cut the next smallest tag from Ranger Distress Heavystock and placed the Scrapbook.com Bat Stencil over the paper. Using a palette knife, I applied Therm O Web Deco Foil Transfer Gel through the stencil. I gently removed the stencil, washed it and set the tag to the side to dry. Once the gel was dry, I applied Therm O Web Black Deco Foil to the paper using a Minc Foil Machine. This makes the bats a beautiful shiny black against the inky background.
With the foiling completed, I ink blended a combination of Prize Ribbon and Chipped Sapphire Distress Oxide Ink and used a very lightly damp paper towel to wipe off the ink that covered the bats. Next, I added some stamping using a script stamp and Black Soot Archival Ink. I then added a touch of Wilted Violet to the edges to darken it just a bit. I also spritzed it with some water using my Distress Sprayer and dabbed the water dry with a paper towel to lift off some of the ink. For the final touch I added some machine stitching with black thread.

I used the Tim Holtz Toil and Trouble Thinlits and die cut the witch and bats from black glitter cardstock and the broom from silver. To make them a little thicker I die cut them from black cardstock a second time and glued the layers together. I then adhered them using double sided foam adhesive.

To finish off the tag, I added a bow tied from Tim Holtz Mummy Cloth.
Die Storage & Organization Tip:
If you are looking for a way to keep all of your dies organized I highly recommend the Scrapbook.com Plastic Storage Envelopes. They come in a wide range of sizes that are perfect for all your needs. I personally love the small ones for storing my alphabet dies!
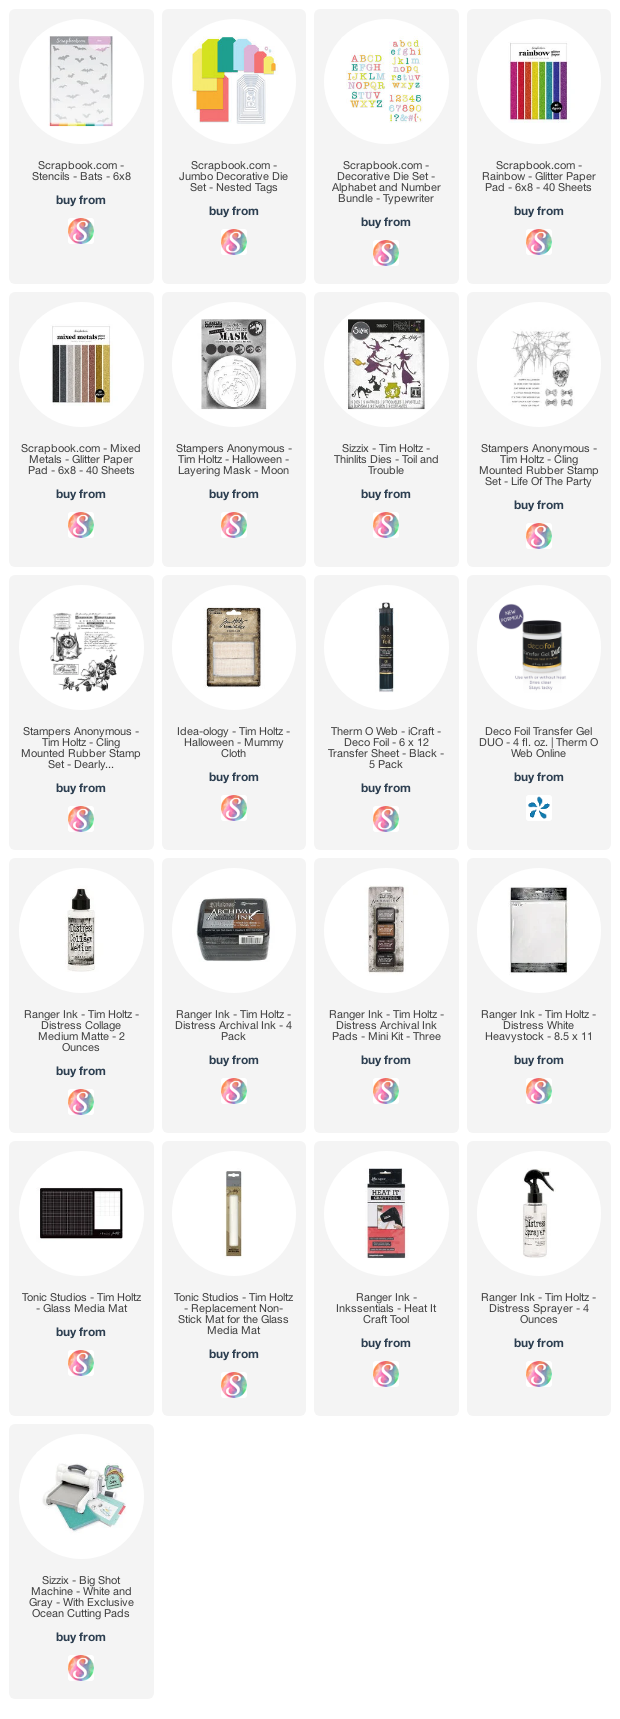
Supplies


So so so good! Thanks for the shout-out about our Deco Foil products on this spooktacular Halloween tag!
ReplyDeleteI seriously love this!!!
ReplyDelete