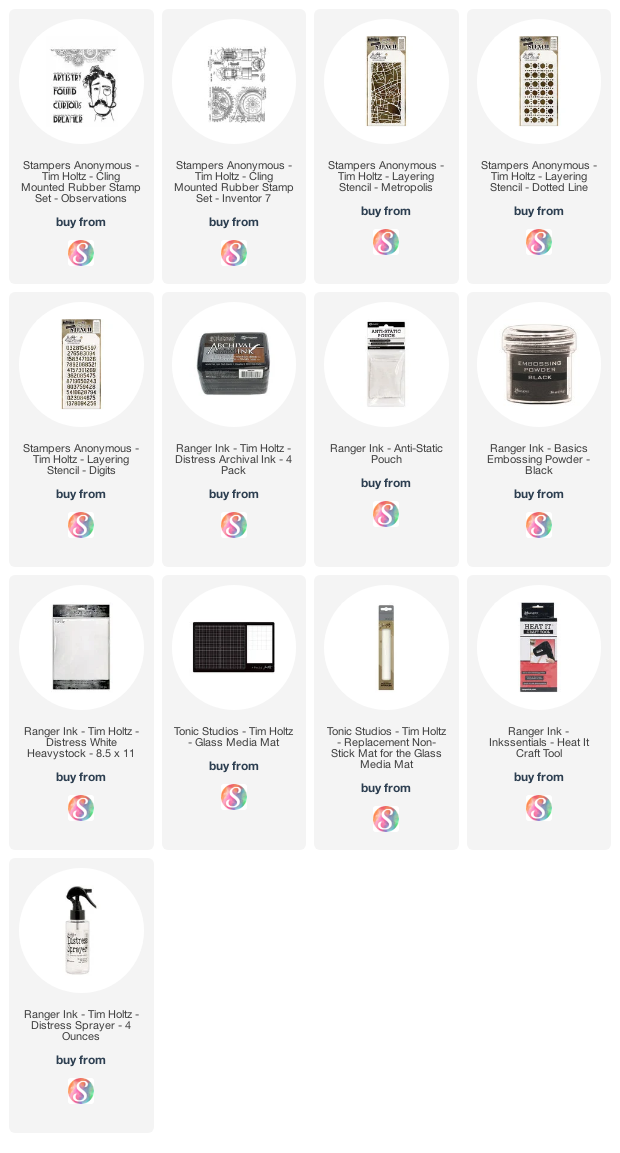
I'm back friends with a couple more cards to share with you from the Tim Holtz Stampers Anonymous release. My first card features another gel plate background using stencils! I warned you in my last post how much I had fallen in love with this technique! I used the super cool gentleman from the Tim Holtz Observations stamp set. This set is so much fun with this larger than life character and the inspirational sentiments that are also included.
I began with the City Map Layering Stencil for the first layer of my background and used Salvaged Patina Distress Oxide and a first lift. In case you missed it, you can check out my Gel Plate Backgrounds post to learn more about this technique.
For the second layer I used the Dotted Lines Stencil with Fossilized Amber and a first lift. Finally, the third layer was done with the Halftone Stencil and Rusty Hinge.
Once the gel printing background was completed, I added some stamp details using the gears from the Observations stamp set using Pumice Stone Distress Ink.
The gentleman was stamped onto Distress Heavystock using Black Soot Archival Ink and then fussy cut before being adhered to the back panel. I then finished off the card with a sentiment from the Observations stamp set. The finished card is a modified slimline sized to 3.5 x 7.5 inches.
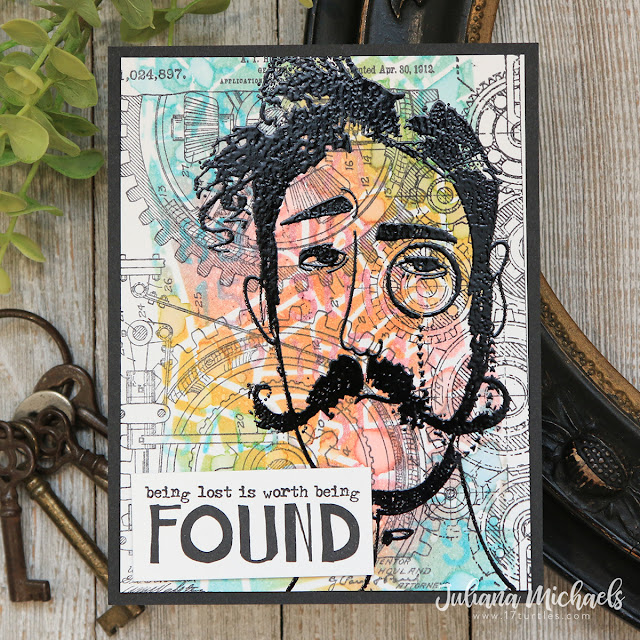
My second card once again features the City Map Layering Stencil. I began with a piece of Distress Heavystock cut to 4x 5.25 inches. I then placed the stencil at an angle on the paper and ink blended Peacock Feathers, Picked Raspberry, Fossilized Amber and Crackling Campfire Distress Oxide Inks over the stencil.
For a little more interest, I placed the Digits Layering Stencil over the design and ink blended with Picked Raspberry and Peacock Feather Distress Oxide Ink.
With the stenciling completed, I stamped the gears from the Inventor 7 Stamp Set using Hickory Smoke Archival Ink. Before the next step, you want to make sure everything is dry, so either hit it with your heat tool or let it dry overnight. Once it's dry, wipe over the surface with an antistatic pouch, then stamp your gentleman from the Observations stamp set using a black pigment ink, sprinkle with black embossing powder and heat emboss.
To complete the card, add a sentiment from the set and layer the panel onto a piece of black cardstock.
Thank you for stopping by today! I hope you enjoyed this bit of inspiration using the Tim Holtz Stamper Anonymous Observations Stamp Set.
Supplies
Below you can find the products I mentioned in this post along with compensated affiliate links to Scrapbook.com. These links are at absolutely no extra cost to you. If you want to learn more about what an affiliate link is, you can see my full affiliate and product disclosure statement here.


Hello, these are awesome! I especially like the background!! I followed the link to the "gel plate backgrounds" and it said "page not found". I would really like to know your technique!! Take Care, Karen I found you on Scrapbook.com in the gallery!!
ReplyDeleteHi Karen! Thank you for stopping by and for letting me know about the broken link. It has been fixed and I hope you are able to find it now.
Delete