One of my favorite products from the Tim Holtz Sizzix Chapter 3 Release has to be this 3D Impresslits Butterfly. I love all things butterfly and when I first saw it, I knew it was going to be the first thing I wanted to play with when the new products arrived.
I've also created a video tutorial for this card that shares I how created this Eroded Metal 3D Butterfly along with all the rest of the card details. Please remember, I am not a professional video maker, so this video is a bit rough around the edges, but it's something I hope to do more of in the future if I see that there is interest in it.
Eroded Metal 3D Butterfly | Be Brave Slimline Card
I began by die cutting/embossing several of the butterflies from Metallic Kraftstock. I then painted each one with Salvaged Patina Distress Paint and with the paint still wet, lightly dabbed off the excess paint with the goal of keeping the paint down in the cracks. Once the paint was dry, I applied a layer of Distress Crackle Paint Clear and allowed this layer to dry. I then began applied Distress Crayon in Walnut Stain working in small sections and rubbing it into the cracks and crevices. With the butterflies grungy and gorgeous I was ready to move onto the background.
I began with a piece of Distress Watercolor cut to 3.75 x 8.25 inches and a mix of stamps including the following: Field Notes, Ledger Script, and Illustrated Garden. I laid them out stamping different images with a mix of Distress Inks including Gathered Twigs and Vintage Photo.
The next step for creating the background was some ink smooshing with a bit of Old Paper Distress Ink which I then dried using my Heat Tool. I repeated this process until I was pleased with the coverage. I wanted more splatters, so I pulled out some Old Paper Distress Spray and used the tip of the spray tube to flick on some splatters and then dried it with my heat tool.
For a bit more distressing, I did some drippy sprays onto the paper using my Distress Sprayer and dabbed them dry with a paper towel.
To add some texture to the background, I grabbed the Flourish Layering Stencil and Distress Texture Paste and applied it through the stencil using a palette knife. Once the paste was dry, I decided I wanted to add a little color to it, so I placed the stencil over the textured areas and added color using Salvaged Patina Distress Paint. This part was a little tricky because the paint is thinner and tends to run under the stencil, I if you attempt this, I recommend that you make sure to lightly apply the paint. Also, if I had known I wanted the color beforehand, I think I would have added paint to the texture paste and applied it all in one application, but this worked well enough and helped me achieve the look I was going for.
Next, I did a bit of ink blending around the edges of the paper. I began with Vintage Photo Distress Ink and then added a bit of Salvaged Patina Distress Ink which wasn't showing up enough for me, so I grabbed the Salvaged Patina Distress Oxide. I then did some spritzing with the Distress Sprayer and added some more ink blending with Gathered Twigs Distress Ink.
For added dimension, I popped up the butterflies using double sided foam strips.
I then finished off the card by adding the Be Brave sticker from the Sentiments Label Stickers and popped it up with some foam tape as well.
I hope you enjoyed learning how this card came together using the gorgeous Tim Holtz 3D Impresslits Butterfly.
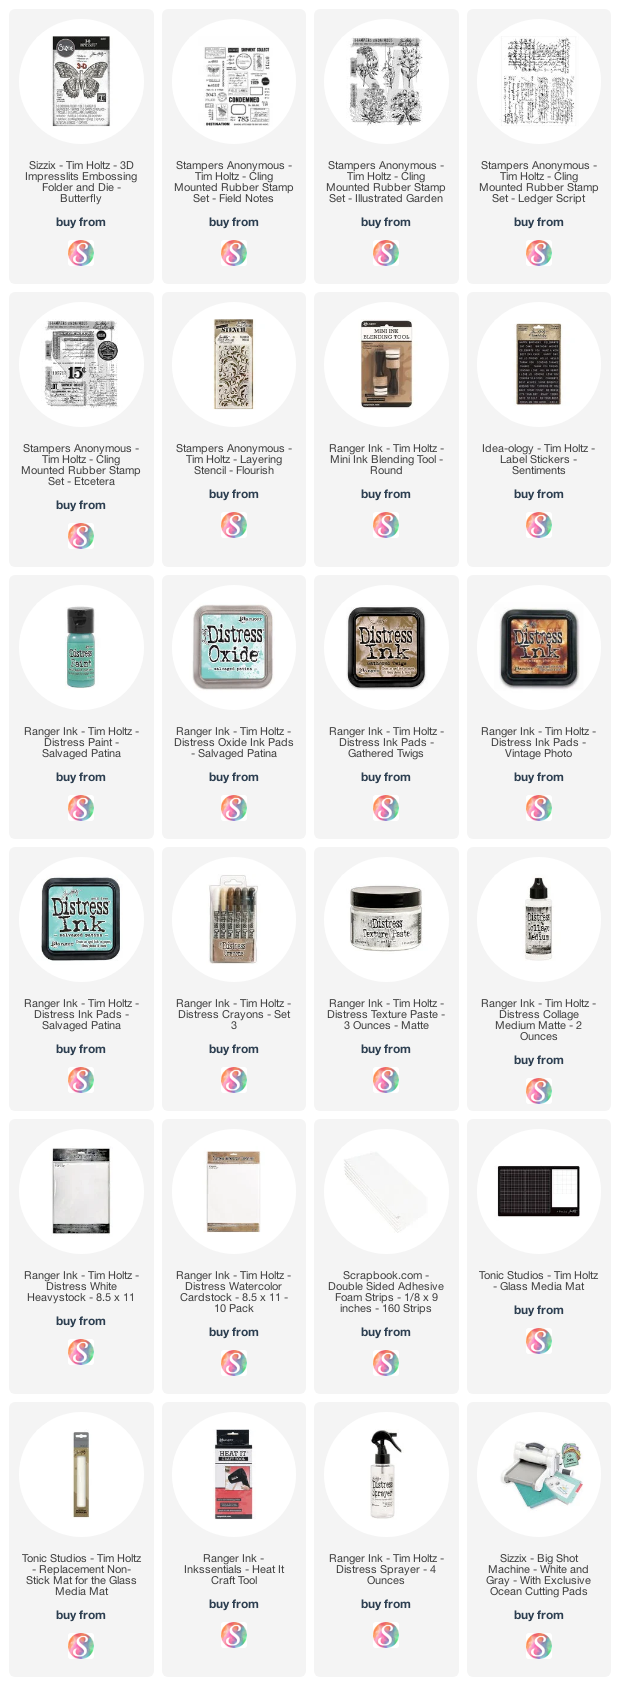
Supplies
Below you can find the products I mentioned in this post along with compensated affiliate links to Scrapbook.com. These links are at absolutely no extra cost to you. If you want to learn more about what an affiliate link is, you can see my full affiliate and product disclosure statement here.


This is beautiful, I love butterflies and they can come in so many different colours.
ReplyDeleteLove this, butterflies are my favourite and I love how they can be different colours.
ReplyDeleteLooks great!!! Thanks for sharing your talent.
ReplyDeleteGrungy goodness at it's best...love this Impresslit...it is sure to be a big hit...loved seeing all the amazing projects from all the amazing designers...
ReplyDelete