Lucky is a state of mind, and with St. Patrick's Day right around the corner, I was inspired to pull out all the lucky (and green) things I could find. This St. Patrick's Day Card features a background created by foiling with stencils along with some other fun stamping and die cutting techniques.
For the background, I began with a piece of Distress White Heavy Stock cut to 4 x 5.25 inches. I placed the Shamrocks Stencil over it using Mint Tape to hold the stencil in place. I then applied a layer of Deco Foil Transfer Gel over the stencil using a palette knife. Once there was a thin layer of gel covering the stencil design, I removed the stencil, washed it and set the card front to the side to dry. Once the gel was dry, I covered it with a piece of Therm O Web Green Deco Foil and ran it through my Heidi Swapp Minc.
With the foiling completed, I decided to add add a little more interest with some stamping. This step could be done before the foiling as well, so keep that in mind. For the stamping, I used the Stamp and Smudge Technique using Distress Oxide Inks. After I stamped each image, I dabbed off the excess ink with a paper towel and then with another clean towel I gently smudged the image. I like to build layers with this technique, making sure the images overlap, but also thinking about color placement as I stamp each one. Sometimes, I even lay out all the images to figure out which ones to stamp where and even what colors to use. The stamps I used can be found in my supply list at the bottom of this post. For the inks, I used a mix of Frayed Burlap, Rustic Wilderness and Mowed Lawn Distress Oxide. Once I was finished with the stamping, I inked the edges with Vintage Photo Distress Ink and added some machine stitching.
With the background completed, it's time to move onto to the focal point...that fabulous embossed four leaf clover! I used the 3D Lucky Love Impresslit to emboss and die cut the shape. I began by dabbing some Rustic Wilderness Distress Ink onto my craft mat and spritzed it with a little water. I then dabbed and smooshed a piece of watercolor paper into the ink, dried it with my heat tool and repeated the process until I was happy with the ink coverage. I then lightly spritzed the back side of the paper using my Distress Sprayer, placed the paper inside the 3D embossing folder and then ran it through my die cutting machine 3 times. The spritz of water and running it through 3 times helps ensure that the design is fully embossed into the paper. I then removed the die cut and allowed it to fully dry. Once dry, I inked the edges with Vintage Photo Distress Ink and added a bit of Aged Bronze Distress Crayon with my finger for a touch of shimmer.
With the stamping and die cutting completed, I wanted to add a bit more texture, so I die cut a wreath from Distress White Heavystock using the Funky Wreath Thinlits. I used the same dab and smoosh technique that I used on the four leaf clover, however this time I used Frayed Burlap Distress Ink.
To finish off the card, I added a Quote Chip that fit my theme and embellished it with some Hardware Heads that I distressed with some Mushroom Alcohol Ink. I then inked the edges of the Quote Chip with some Vintage Photo Distress Ink and adhered it to my card. For the final step, I created some coordinating cardstock by inking the edges of a piece of Distress White Heavystock with Rustic Wilderness.
I hope you enjoyed learning how this Lucky St. Patrick's Day Card came together with a bit of foiling with stencils, stamping, and die cutting. As always, if you have any questions, please feel to reach out and ask!
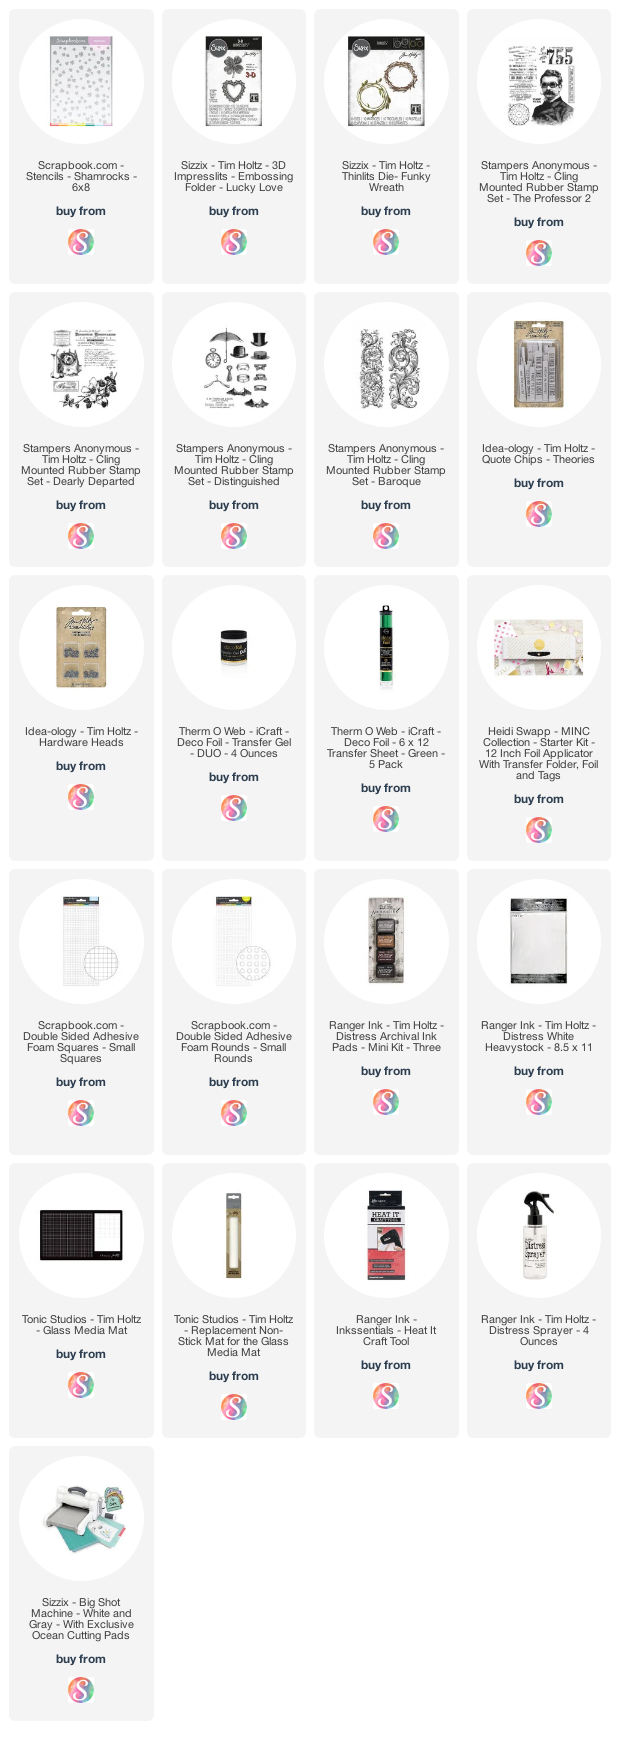
Supplies
Below you can find the products I used to create this project along with compensated affiliate links to Scrapbook.com. These links are at absolutely no extra cost to you. If you want to learn more about what an affiliate link is, you can see my full affiliate and product disclosure statement here.


No comments
Every time you smile at someone, it is an action of love, a gift to that person, a beautiful thing. ~Mother Teresa
HUGS!
JULIANA