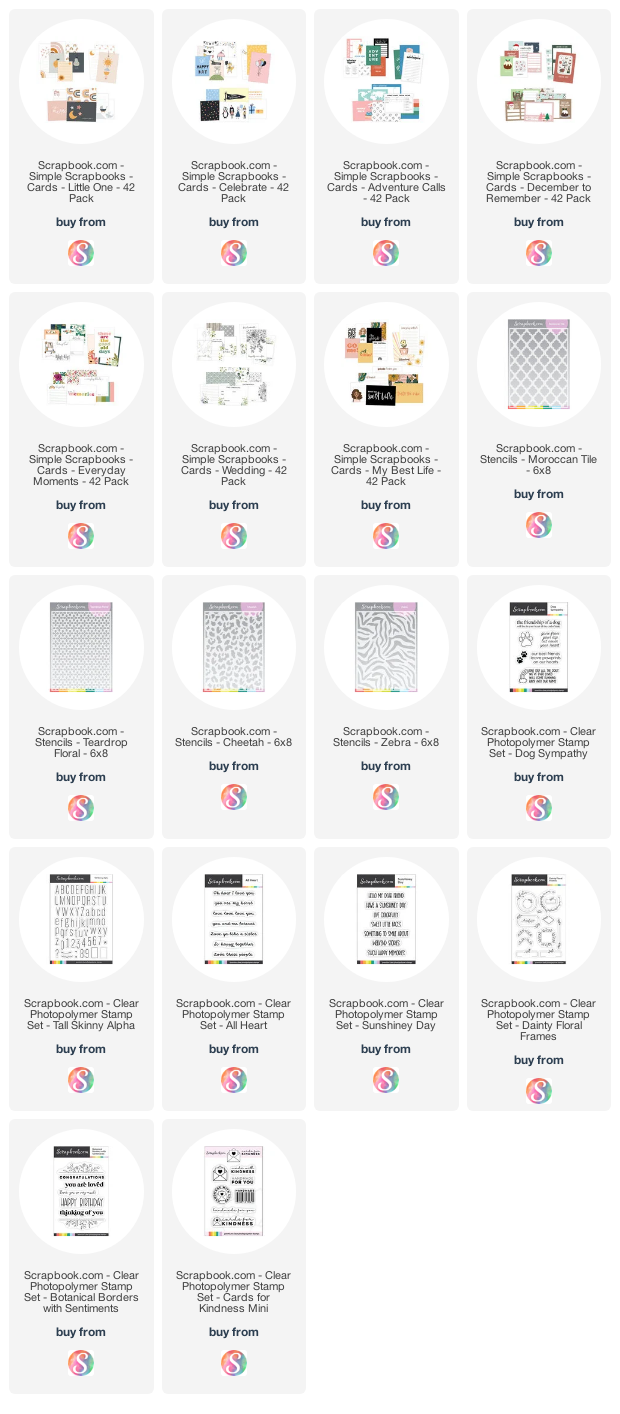
Supplies
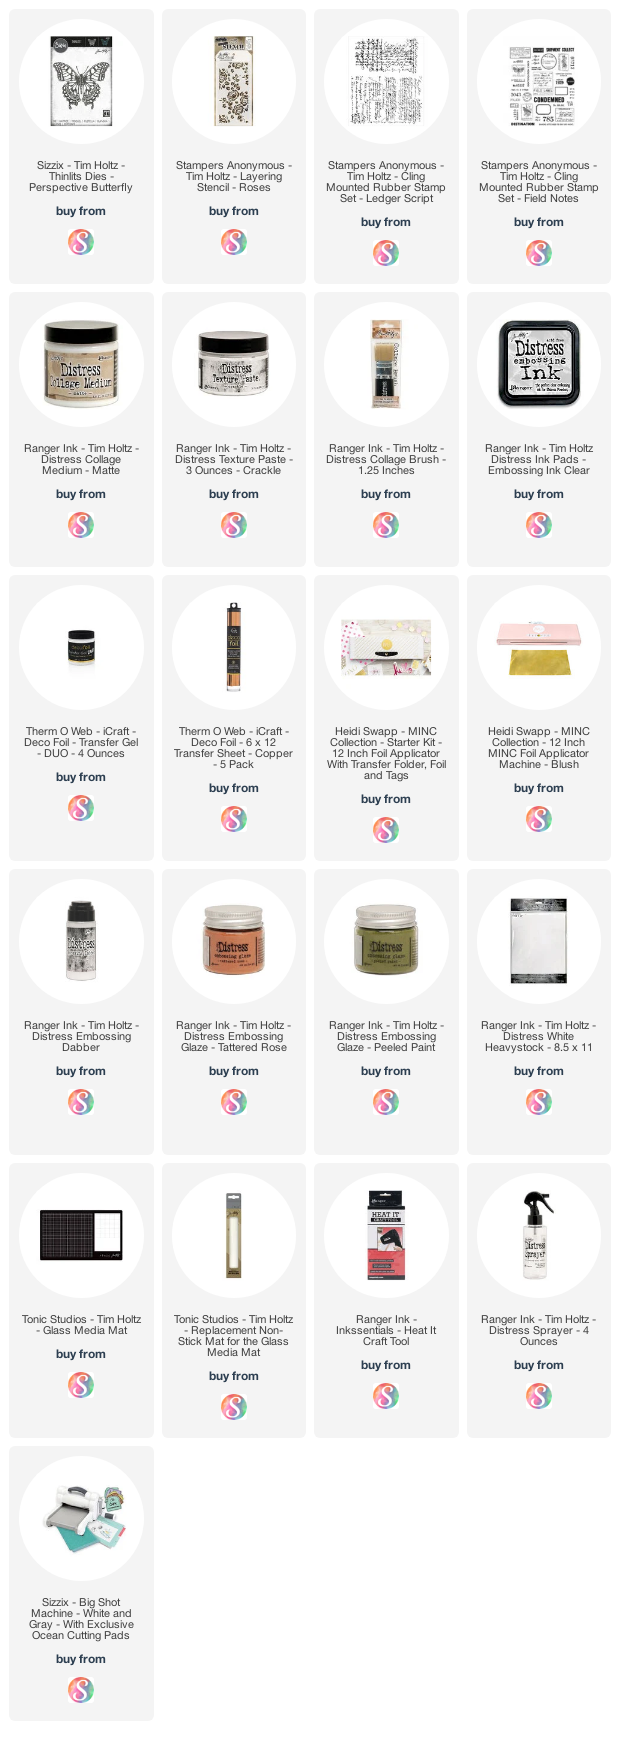

What do you think of when you hear the words 6x8 album? Do you think scrapbooking, mini album, pocket pages? Scrapbook.com recently released a new line of 6x8 albums in 10 new colors and designs. They sent me one to play with and I thought it would be fun to come up with some ways to use these beautiful albums. Today I'm going to share with you 5 Ways to Use a 6x8 Album to organize your craft room as well as a little scrapbooking/pocket page inspiration. So let's get started.
Memory keeping or scrapbooking is, of course, the most common way to use a 6x8 album. I recently started scrapbooking again using a pocket page type format and this past October I participated in Ali Edward's Art of Noticing. If you're interested in more information about this project you can check out her first Art of Noticing post from February.
Next up, let's get into some organization and storage ideas. I've been collecting stencils for quite awhile now and I've been looking for a way to store my ever growing stencil collection. For some reason, I tend to keep them in the package, but on many of them the plastic packaging has started to rip, so I've been on a mission to find a new solution. Once again, when the 6x8 album arrived I knew I had found the perfect solution!
I've been creating ink swatches for awhile now, but most of mine were done on a piece of paper, punched with a hole and then stored together on a binder or book ring. This worked great, but lately I've seen examples of people using coin collecting pages to organize their swatches and I really loved the look and how you can see the colors laid out next to each other!
By now you might be starting to see a theme for some of the ways to use a 6x8 Album...organization. Yes, these little albums are perfect for organizing so many of our favorite crafting supplies. But what about your handmade cards? Mine usually end up in a bin somewhere, bent and forgotten. By placing them in the two 4x6 page protectors you have a great way to safely store your cards. You can even sort them by theme with the use of handmade dividers. Include a pocket for your envelopes and stamps, add a pretty pen and you've created your own handmade card sending kit.
So, now that I've shared 5 Ways to Use a 6x8 Album with you, how would you use the 6x8 albums in your craft room? Would you just stick to memory keeping or would you use them as a way to organize your crafting supplies? I'd love to hear your ideas!
So, I finally had a bit more time to play with the new Kitsch Flamingo Distress Ink from Tim Holtz, and quite honestly I'm kind of in love with what I created. I don't say that often, but sometimes do you ever create something that just really makes your heart happy? Well, this is definitely one of those makes for me. This combination of beautiful florals and vintage typography is two of my favorite things. The only thing missing is a butterfly!
