So I have a confession to make. I'm a Poinsettia Die Addict. I didn't realize it, but just recently as I was going through my stash to pull together products to put into my
Holiday Maker Station I came across not one, but seven different poinsettia dies. I mean seriously...how many does one need?! Some of them had been used, but I had 4 of them that were brand new and had never been used. That's when I decided to challenge myself to create at least one card with each of the unused dies. I'm happy to say, I created 5 cards using the dies and today I'm going to walk you quickly through each card. I'm not going to go into too much detail, so as not to bore you, but if you do have a question about any of them please feel free to reach out and ask me.
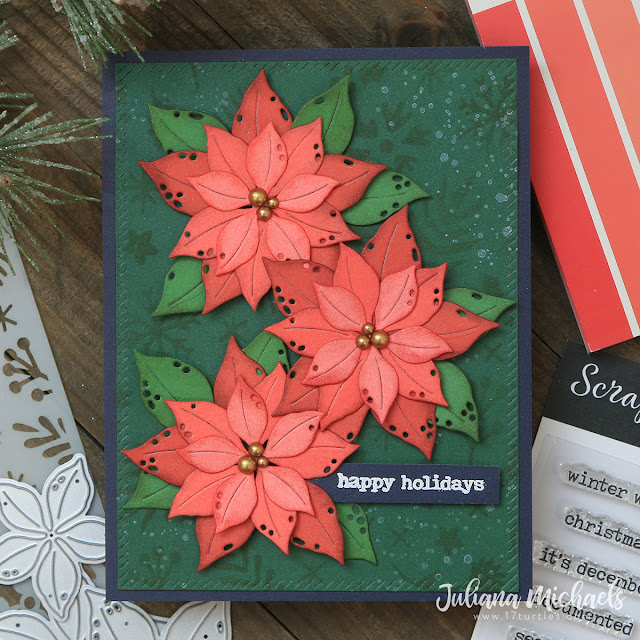
Happy Holidays Christmas Card | Waffle Flower Crafts Layering Poinsettia Die
The first card features the Layering Poinsettia Die by Waffle Flower Crafts. I love the uniqueness of this die with the little holes cut into the petals. I die cut each layer using the Scrapbook.com Jewels A2 Paper Pad and then inked the edges to add some contrast.
The center of each flower are Gold Matte Pearls from Pink Fresh Studio. On the background, I used the Scrapbook.com Winter Floral Stencil and die cut it using the Pink Fresh Studio Diagonal Stitched Rectangles. The "splatters" were created using the splatter stamp from the Tim Holtz The Poinsettia Stamp Set (yet another poinsettia in my stash!) and Picket Fence Distress Ink.
For the sentiment I used the Scrapbook.com Wordfetti December Stamp Set and heat embossed it with white embossing powder.
Tis The Season Christmas Card | Hero Arts Paper Layering Poinsettia Die
On this card I used the Hero Arts Paper Layering Poinsettia Die. I love the cut details on this die set and that it includes a leaf and center piece that have the same lovely texture and details. For the die cutting on this card, I used the Scrapbook.com Christmas A2 Paper Pad. I can't say enough about how easy these paper pads make selecting your color palette. All the colors coordinate perfectly!
Once again I inked the edges of the flowers and leaves. For the centers on these poinsettias I used Tim Holtz Metallic Kraft Stock in gold. The background on this card was created using the Scrapbook.com Wordfetti December Stamp Set. I laid out several rows of the words onto my background paper and then picked them up using my stamping tool. I stamped the words in Picket Fence Distress Ink and then slid the paper down and added another row of stamping. I repeated this until the entire background was filled. A super easy and fun way to create your own custom paper design.
I then finished off the card by adding a heat embossed sentiment from the Scrapbook.com Merry Sentiments Stamp Set.
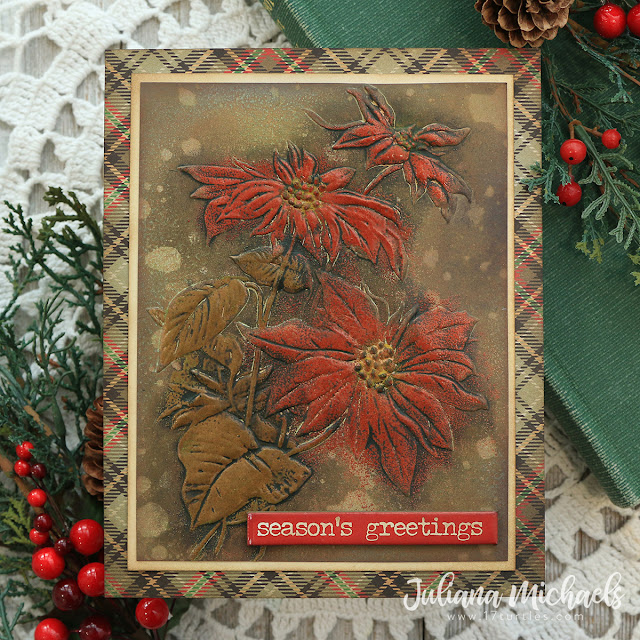
Poinsettia Christmas Card | Tim Holtz Layered Tattered Poinsettia Bigz Die
This die was on my wish list forever and then I got it and it just sat there. Thank goodness I went through my stash to create my Holiday Maker Station and found it! This die set is unique in that it includes both the die and an embossing folder that adds all of that gorgeous textured detail. For this card, I used papers from the Tim Holtz Kraft Stock Warm and Cool Paper Pack to do the die cutting because they are a bit thicker and able to handle the use of an embossing folder without tearing. I ended up with 2 cards, because I wanted to alternate the colors of the petals. Bigz dies are all in one dies so it's not easy to just cut one shape. But you can also use these dies to cut through really thick material such as chipboard and fabric!
Once the embossing was completed, I inked the edges and then applied a bit of Sizzix Gold Luster Wax to bring out the textural details even more. The center is those gorgeous Pink Fresh Gold Matte Pearls again. They add such a great vintage vibe!
The sentiment is die cut from Gold Metallic Kraft Stock using the Tim Holtz Christmas 2021 Vault Series Thinlits. To create the background I used the Scrapbook.com Dotted Stencil and the Tim Holtz Polka Dot Layering Stencil with Iced Spruce Distress Ink. I then added the stitching detail by die cutting the panel using the stitched rectangle die from the Sunny Studio Frilly Frames Quatrefoil Die Set. This card is just slightly larger than your standard A2 size at 4.5 x 5.25 inches.
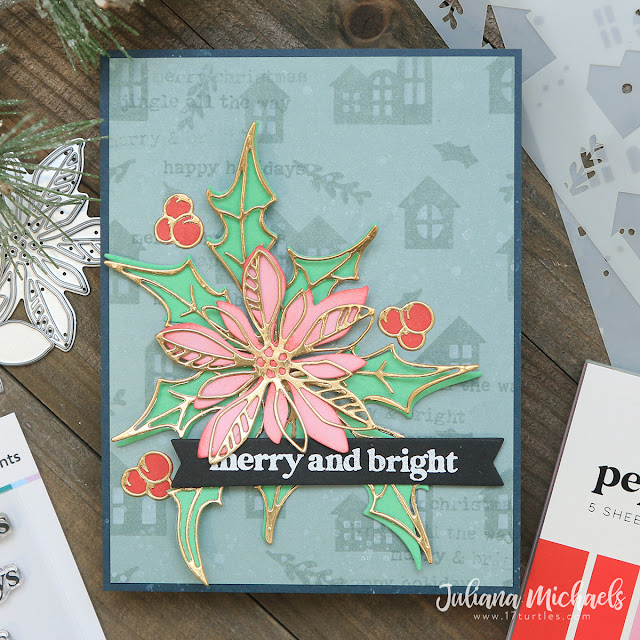
Merry and Bright Christmas Card | Tim Holtz Seasonal Sketch Poinsettia Thinlits Die
Last but not least is this gorgeous intricate poinsettia die called Seasonal Sketch by Tim Holtz. Another die that I was drooling over from the day it was released and then never took the time to play with it until now. The die cutting on this card was done using the Scrapbook.com Peppermint A2 Paper Pad and Tim Holtz Gold Metallic Kraft Stock.
To create the background I used the Scrapbook.com Winter Cottage Stencil with Iced Spruce Distress Ink for the first layer and then for the second I used Picket Fence Distress Ink. I then randomly stamped some of the phrases from the Scrapbook.com December Wordfetti Stamp Set.
I finished off the card by heat embossing the sentiment with white embossing powder using the Scrapbook.com Merry Sentiments Stamp Set and die cut it using the banner die included in the Scrapbook.com Snowflake Winter Wishes Die Set.
Just in case you wanted to see them all in one place, here is a peak at my collection of Poinsettia Dies.
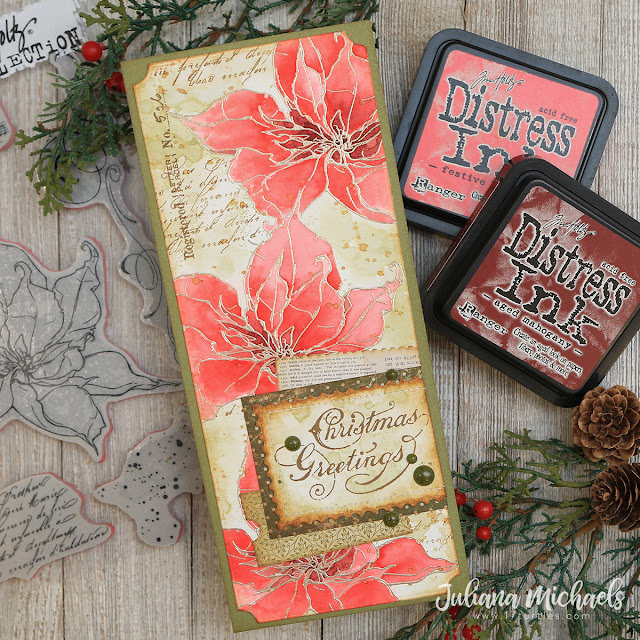
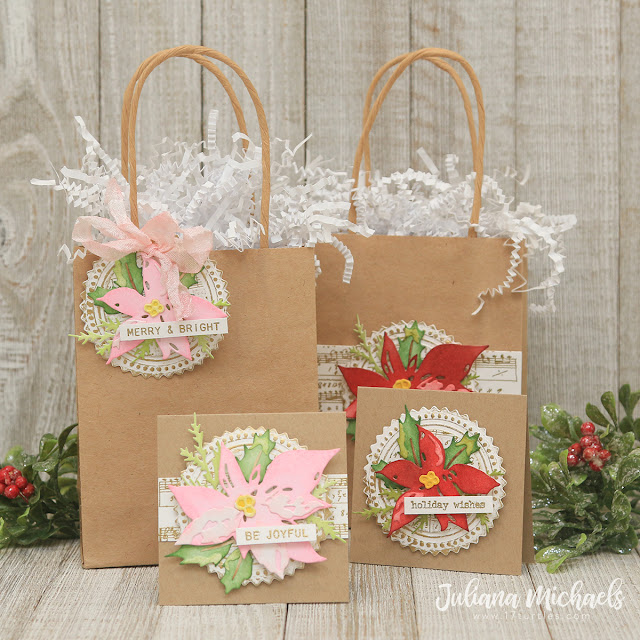
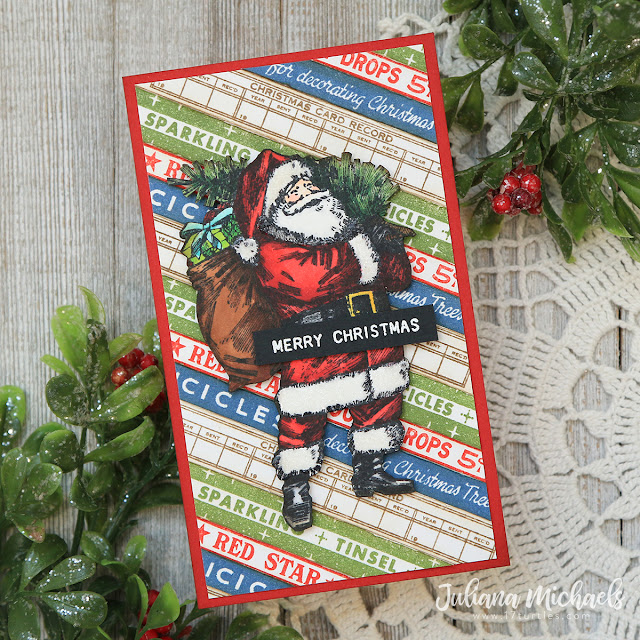
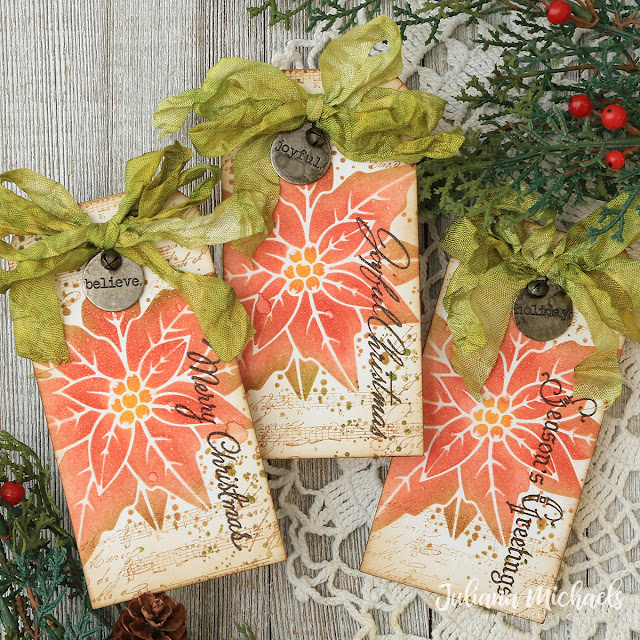
I also realized that my love for poinsettias goes beyond dies. I have a stamp, stencil and embossing folder in my stash as well! So....if you are looking for more Poinsettia inspiration you can check out the following blog posts that feature the other poinsettia products in my crafty stash. Below I've shared some of these makes. You can click on the link to visit the blog post that includes the details to create the project along with a complete supply list. If you click on the photo you will be taken directly to the supply list.
Supplies
Below you can find the products I used to create these cards along with compensated affiliate links to
Scrapbook.com. These links are at absolutely no extra cost to you. If you want to learn more about what an affiliate link is, you can see my full affiliate and product disclosure statement
here.


