Hello crafty friends! Slimline cards seem to be everywhere right now, but I know quite a few crafters who find this new size to be a bit challenging. They just aren't sure what to do with all that extra space. Well, today, I'm going to take you through a slimline Christmas card I created using a combination of stamps, stencils and dies and give you some tips and tricks on how to make this large size work for you.
On my card I used the Tim Holtz Sizzix Bigz Reindeer, Tim Holtz Forest Floor Stamp Set and the Scrapbook.com Stars Stencil. Each of these are large enough that they actually hang over the edge of the card size. I trimmed off part of the reindeer and was only able to stamp parts of the evergreen bough on the edges of the card. Here you can see how the stencil overlays the card design. I applied embossing ink over the edge of the stencil and then heat embossed it with embossing powder.
You might also notice there is a bit of white space on this card. Don't be afraid of this. It gives your eyes a place to rest as it wanders across the card design.
I hope you enjoyed learning a few tips and tricks on how to create your own slimiline card. Thanks to Scrapbook.com these are easy to create AND mail with their Slimline Card and Envelope Sets.
Another trick to fill in the space is to use a large sentiment or to use die cut letters. Here I used Scrapbook.com Bold Basic Alphabet Dies with some metallic kraftstock to create an elegant but bold sentiment that draws your eye across the card.
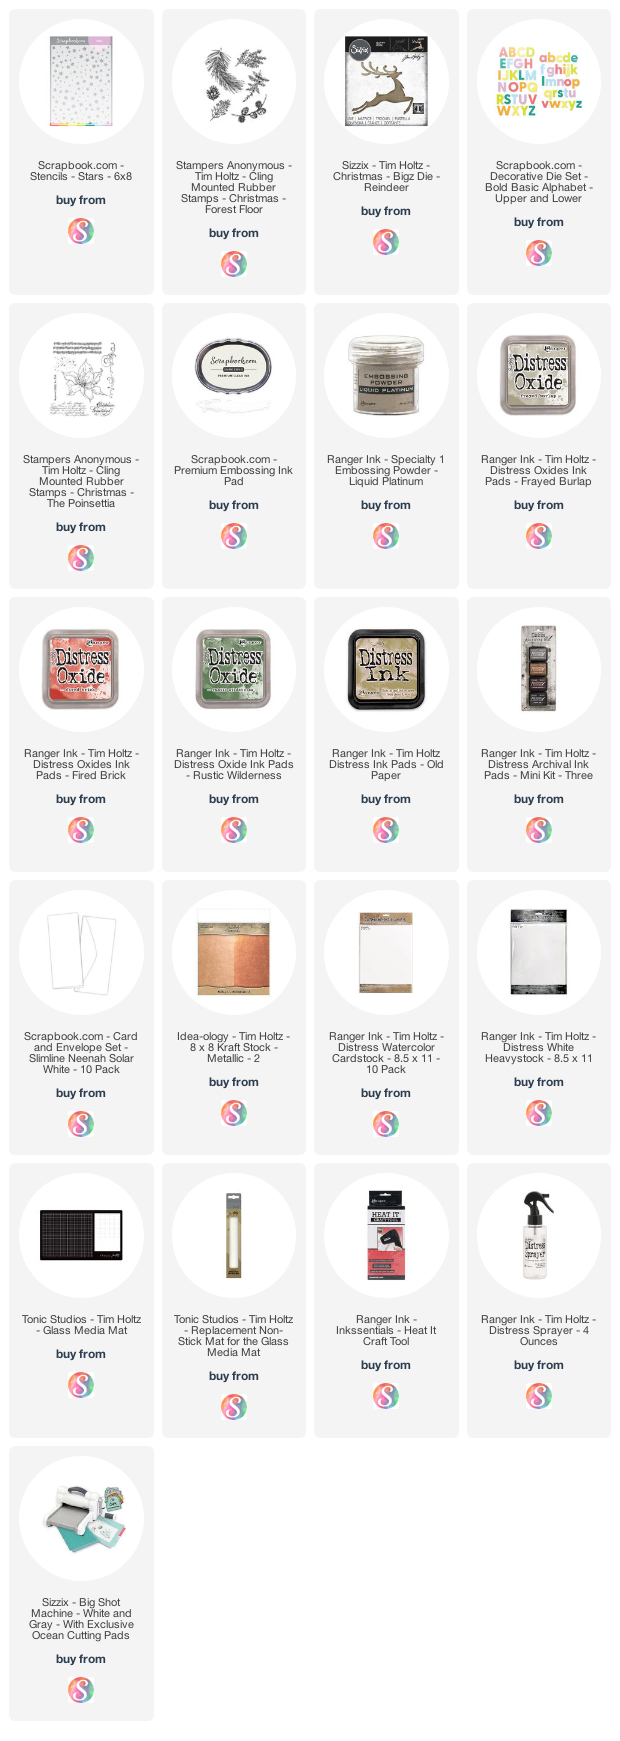
Supplies
You can find a supply list of the products I used to create this project below. This post contains compensated affiliate links to Scrapbook.com at no cost to you. If you want to learn more about what an affiliate link is, you can see my full affiliate and product disclosure statement here.


Just so lovely and peaceful.
ReplyDeleteBeautifully created!
ReplyDeleteWhat an elegant, immensely pretty design.
ReplyDeleteAutumn Zenith 🧡 Witchcrafted Life