One of my favorite holiday crafting traditions is to make handmade ornaments that I can then gift to family and friends. This year, I used the Paper Village Thinlits Die by Tim Holtz to create one and today I'm going to share with you how this Paper Village Christmas Ornament came together.

If you aren't familiar with the Paper Village Thinlits Dies it is a set that is full of possibilities and limited only by your imagination. With this die set, you can make your own little village by mixing and matching the three size houses with the multiple door and window options. As you might notice, my ornament features a church. This was created by combining two of the house shapes. So as you can see, once you start mixing and matching the possibilities are endless!
So let's get started on how this came together. First off, I created the ornament base using the BigzXL Curio Box Die. I die cut this from Distress Kraft Heavystock and painted it with Speckled Egg Distress Paint. For the inside of the box, I added some gold stars using the Scrapbook.com Stars Stencil.
I applied embossing ink with a sponge dauber through the stencil (which was held in place with Scrapbook.com Mint Tape), sprinkled it with gold embossing powder over it and then heat embossed it. I also added some gold embossed stars to the front of the box as well.
Here you can see how I used the Mint Tape to hold the die in place for the opening on the front of the box and die cut it using my Magic Mat. I used Scrapbook.com 1/4" Adhesive Roll to adhere the box together.

Once the box was finished, I was ready to create my church using the Paper Village Thinlits. I again die cut the pieces from Distress Kraft Heavystock. I painted the building with Antique Linen Distress Paint and the roof pieces with Hickory Smoke Distress Paint.
To create the church I die cut the tall skinny house and the medium sized house. For full details and tips on how to assemble the houses, I invite you to
check out this video by Tim Holtz. Next, I cut the tall skinny house to 1.5 inches tall. I then used the medium sized house die as a template to cut off the angle so the tall skinny house would fit on top of the medium house and create the church steeple. Here you can see the pencil line I drew. I then just trimmed this section away with scissors. To adhere this section to the top of the medium house, I used just a tiny bit of Collage Medium.

Once the church was assembled, I added Distress Grit Paste to the roof areas. While it was still wet, I sprinkled it with Distress Stickles Dry Clear Rock Candy Glitter and set it to the side to dry. To add a more snowy effect I splattered the church with Picket Fence Distress Paint using a splatter brush.
With the church completed, I adhered it inside the ornament with a bit of Collage Medium. I then added a little more Grit Paste and Glitter around the base of the church just like I did on the roofs.
For a touch of green, I added a length of pine stems that I found at my local craft store. I added some Grit Paste to them as well.
To finish it off, I added a hanger made from gold cording and a bow made from seam binding that was dyed with Antique Linen Distress Spray.
Thank you so much for stopping by today and I hope you enjoyed learning how to create this Paper Village Christmas Ornament.
Supplies
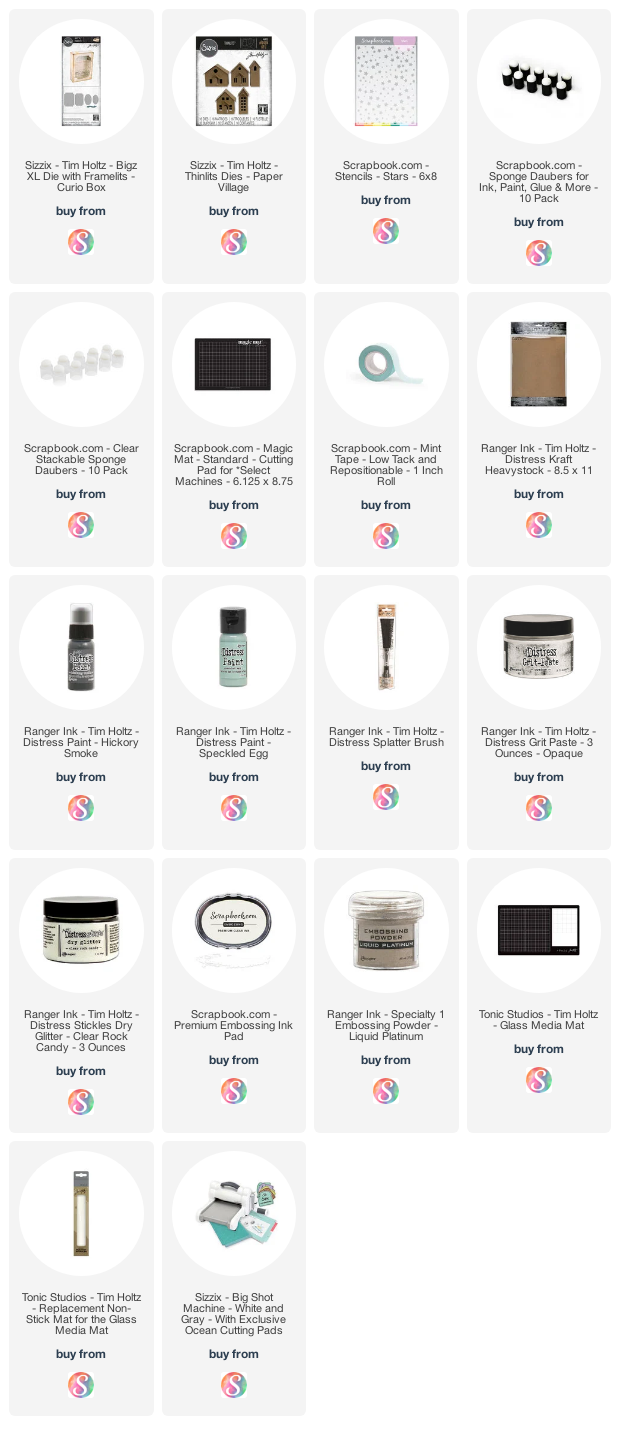
You can find a supply list of the products I used to create this project below. This post contains compensated affiliate links to Scrapbook.com at no cost to you. If you want to learn more about what an affiliate link is, you can see my full affiliate and product disclosure statement
here.


This came out so lovely and it looks so cool agains the green of the Christmas Tree. I absolutely love it.
ReplyDeleteHow very pretty and thanks for sharing your process!
ReplyDelete