Hello friends! Today I'm excited to share a card I created that features a fabulous and new to me product...Stickles Glitter Gel. I've used Stickles in the past, but this gel takes it to a whole new level. Because it's now in a gel format, you can add that same beautiful sparkle and shine to larger surfaces and even use it with stencils. On this card, I've combined the Stickles Glitter Gel with a Distress Oxide ink blended background to create a very merry Christmas card!
To create this card, I began with a piece of watercolor cardstock cut to 4 x 5.25 inches. I used this type of paper because I was planning on working with the gel and ink and I needed paper that would hold up to all that moisture.
Next, I placed the Scrapbook.com Bold Striped Stencil at an angle over the paper and used Mint Tape to hold the stencil in place. I also placed a rolled up piece of tape behind the paper to hold it in place on my glass mat. I then ink blended the stripes using Distress Oxide in Salty Ocean at the top, Blueprint Sketch in the middle, and Wilted Violet at the bottom.
Once I was finished with the ink blending, I cleaned off my stencil so I could use it again with the Stickles Glitter Gel. I used a large wide palette knife to apply a coat of the gel over the inked design. Once the gel was applied I again cleaned off the stencil and set the paper to the side to dry. And can we just pause a moment to enjoy the sparkle and shine! I mean come on, it's really quite fabulous!
While the paper was drying, I worked on the sentiment and embellishments. Using the Scrapbook.com Magic Mat with the Nested Star Dies, I cut a star from Tim Holtz Metallic Kraftstock in gold. I cut it again from thin chipboard and adhered the chipboard to the back side of the star die cut.
To get the embossed star design, I placed the next two smallest star dies on the the star die cut and used Mint Tape to hold them in place as I ran it through my die cutting machine. I did each die separately, but you could easily do them both in one pass. The thickness of the chipboard kept the die from cutting all the way through the paper and made it easier to keep this all as one piece as I adhered it to the front of my card.
For the sentiment, I die cut merry using the Tim Holtz Merry and Bright Thinlits die from black cardstock. I then stamped "merry & bright" from the Scrapbook.com Wordfetti December Stamp Set with embossing ink onto black cardstock. I then heat set it using white embossing powder and trimmed the strip into a banner.
Once the background was dry, I adhered the star and sentiment to the front of the card. I then finished it off by adding a some sequins for another bit of sparkle and shine.
I hope you enjoyed seeing how this Merry Christmas card featuring Stickles Glitter Gel and a Distress Oxide Ink blended background came together and I super appreciate your visit!
Now, just a bit of an enabler alert....Stickles Nebula Glitter Gel is today's FREEBIE at Scrapbook.com as part of their Cyber Monday Sale. So if you're planning on shopping you might as well enjoy an awesome freebie while your at it right?!
And to make this all a little sweeter...ALL Tim Holtz is on sale! So what are you waiting for my friend?!
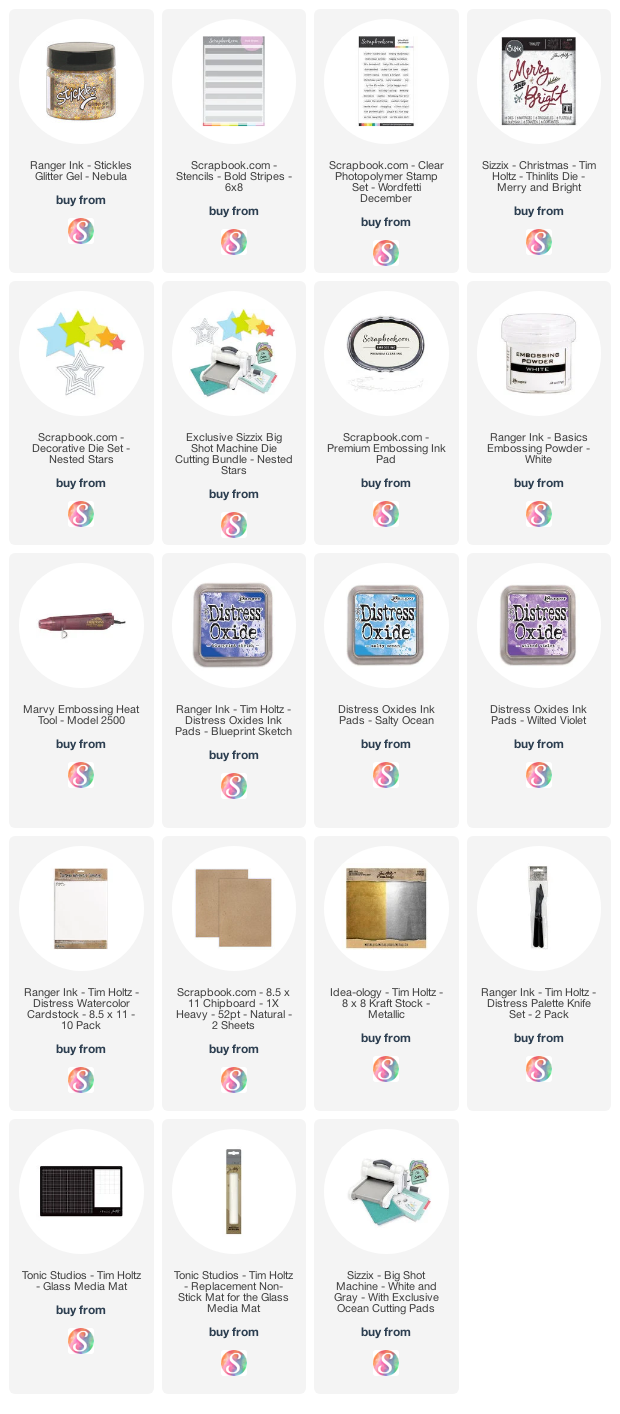
Supplies
You can find a supply list of the products I used to create this project below. This post contains compensated affiliate links to Scrapbook.com at no cost to you. If you want to learn more about what an affiliate link is, you can see my full affiliate and product disclosure statement here.


No comments
Every time you smile at someone, it is an action of love, a gift to that person, a beautiful thing. ~Mother Teresa
HUGS!
JULIANA