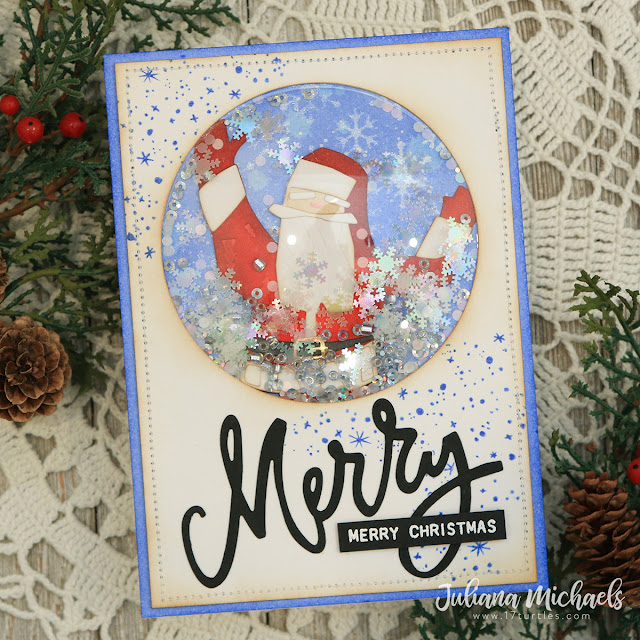
I don't know about you, but I'm always a sucker for a shaker card. Surely I'm not the only person who shakes a package of die cuts the first time they pick up the package. I just love to shake it and see what's inside! The same thing holds true for me and shaker cards. Today for my 12th and final day of the 12 Days of Christmas Card Ideas I'm sharing this Merry Merry Christmas Shaker Card that features some fun products from Tim Holtz and Sizzix.
Merry Merry Christmas Shaker Card
You may or may not know that Sizzix has a line of shaker products that is part of their Maker Essentials and it includes Shaker Domes in various sizes of circles along with a fabulous assortment of Sequins & Beads to fill them.
To create this shaker card I've used their 3.5 inch Shaker Dome. I choose this size so I would have on opening large enough to fit the Papercut Christmas Number 1 that features this adorable Santa! I then filled the shaker with Festive Sequins and Beads. However, before I got to filling the shaker, I had to create the rest of the card.
I started by die cutting, coloring and assembling the Papercut Christmas Santa. I die cut all the pieces from Bristol Smooth Paper and then ink blended each piece with Distress Ink. The colors I used were Fired Brick and Candied Apple, Black Soot, Spun Sugar and then just a touch of Vintage Photo on the edges. As I was creating and assembling the Santa, I trimmed off his lower half using the circle die as a guide, so that he would fit inside the shaker.
The background was created on a piece of Bristol Smooth cut to 4.5 x 6.25 inches. I ink blended it with Blueprint Sketch Distress Ink and a blending tool. I then placed the Flurries Layering Stencil over it and applied Scrapbook.com Metallic Frost Pigment Ink to give the snowflakes a bit of shimmer and shine. I then splattered it with some of the ink by squeezing a few drops of the Metallic Frost Reinker onto a craft mat. I added some water to thin it slightly and then used a paint brush to splatter the ink. Once this was completed, I sat it to the side.
Next, I worked on the frame around the shaker. For this I die cut a 3.5 inch circle into the center of a piece of Bristol Smooth cut to 4.25 x 6 inches. I stamped some snowflakes from the Vintage Holidays Stamp Set in the corners using Blueprint Sketch Distress Ink. I then inked the edges with Vintage Photo Distress Ink and added some machine stitching. To finish off the card front, I added a die cut sentiment from the Merry and Bright Thinlits and a heat embossed sentiment from the Tiny Text Christmas Stamp Set.
As I mentioned earlier, I filled the shaker with some of the sequins and beads from the Festive Sequins and Beads set. I adhered the Santa onto the background paper. I then poured the sequins and beads on top. Next, I peeled off the liner on the shaker and adhered it on top of everything. The final step was then to attach the frame on top.
I hope you've enjoyed these past 12 Days of Christmas Card Ideas and found some an idea, tip, trick or technique to inspire you during your holiday cardmaking. Thanks so much for your support and love!
Supplies
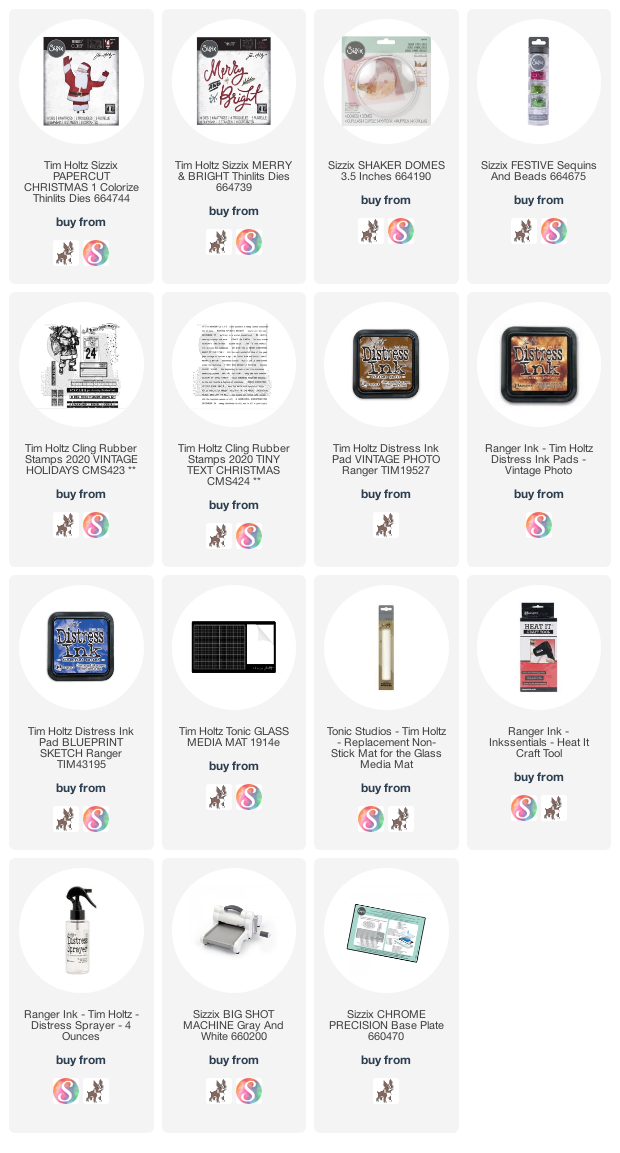
You can find a supply list of the products I used to create this project below. This post contains compensated affiliate links to Scrapbook.com and Simon Says Stamp at no cost to you. If you want to learn more about what an affiliate link is, you can see my full affiliate and product disclosure statement here.


So bright and fun, and all the shakies are so fun...love the snowflakes in there. Way cool make!
ReplyDeleteI love, love Shaker Cards and this is just too cute! I'm going to give a try with these awesome Santa die!!
ReplyDeleteThis is wonderful Juliana, the Blueprint Sketch makes the whole card look amazing and the Santa is such fun!
ReplyDelete