Stickles Glitter Gel + Ink Blended Background
MemoryDex with a Tim Holtz Twist
Supplies
Merry Merry Christmas Shaker Card
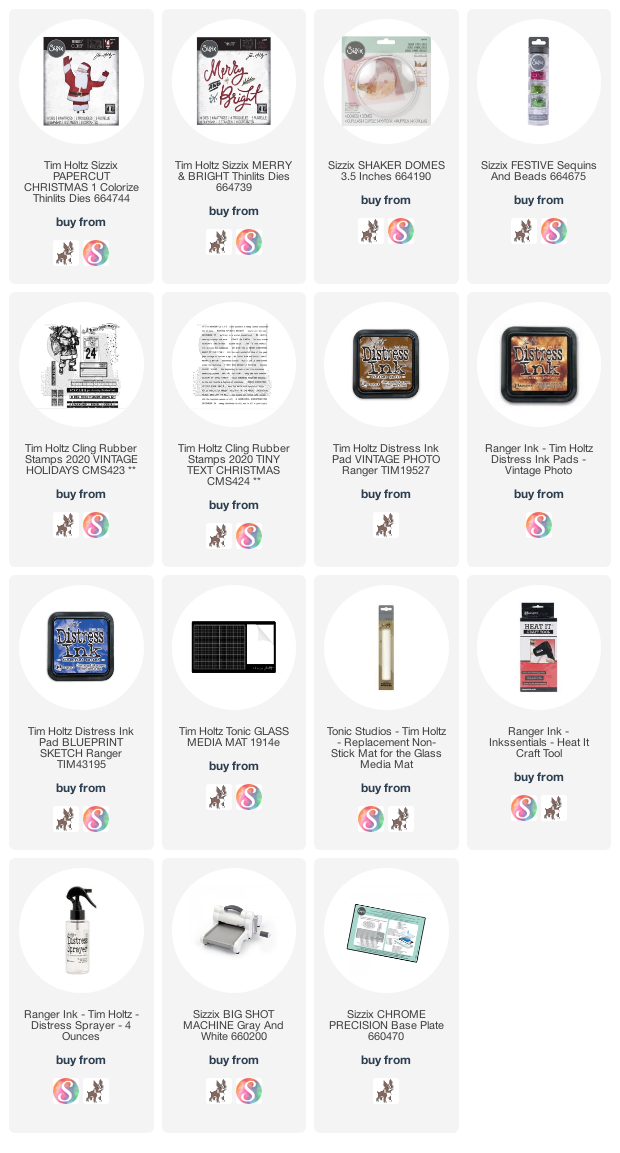
To create this shaker card I've used their 3.5 inch Shaker Dome. I choose this size so I would have on opening large enough to fit the Papercut Christmas Number 1 that features this adorable Santa! I then filled the shaker with Festive Sequins and Beads. However, before I got to filling the shaker, I had to create the rest of the card.
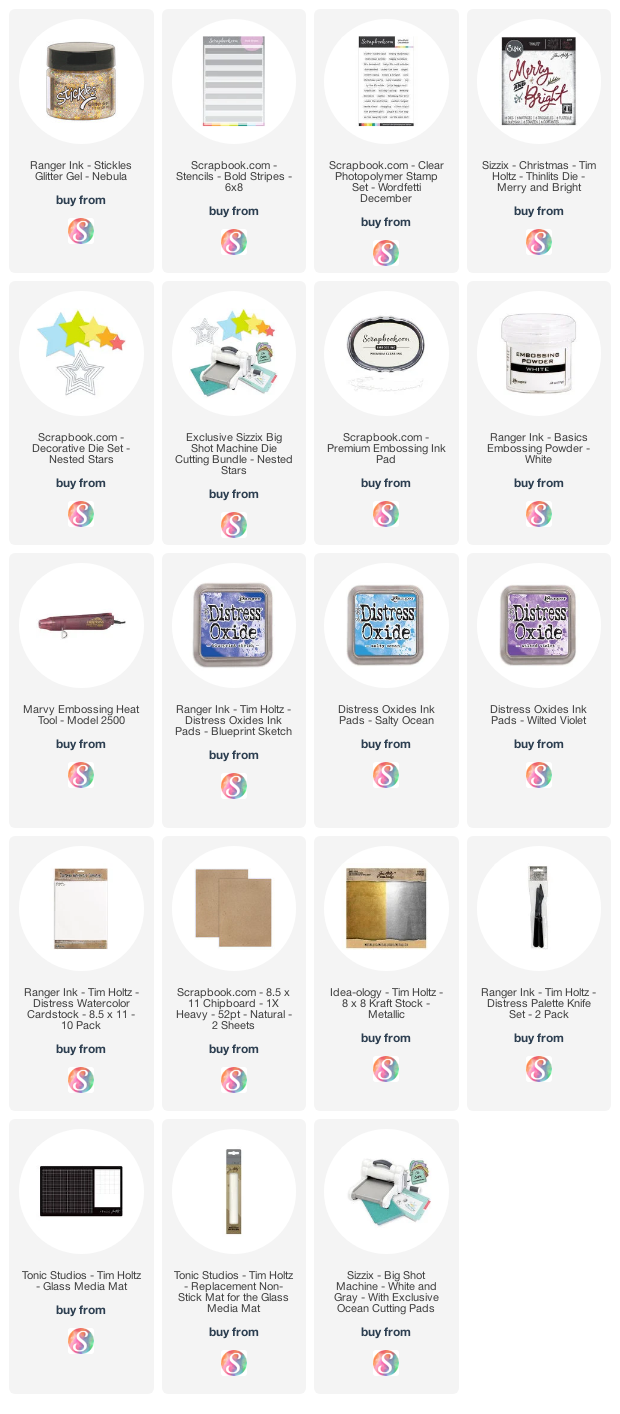
Next, I worked on the frame around the shaker. For this I die cut a 3.5 inch circle into the center of a piece of Bristol Smooth cut to 4.25 x 6 inches. I stamped some snowflakes from the Vintage Holidays Stamp Set in the corners using Blueprint Sketch Distress Ink. I then inked the edges with Vintage Photo Distress Ink and added some machine stitching. To finish off the card front, I added a die cut sentiment from the Merry and Bright Thinlits and a heat embossed sentiment from the Tiny Text Christmas Stamp Set.
As I mentioned earlier, I filled the shaker with some of the sequins and beads from the Festive Sequins and Beads set. I adhered the Santa onto the background paper. I then poured the sequins and beads on top. Next, I peeled off the liner on the shaker and adhered it on top of everything. The final step was then to attach the frame on top.
Supplies
Jingle All The Way Snowflake Tag
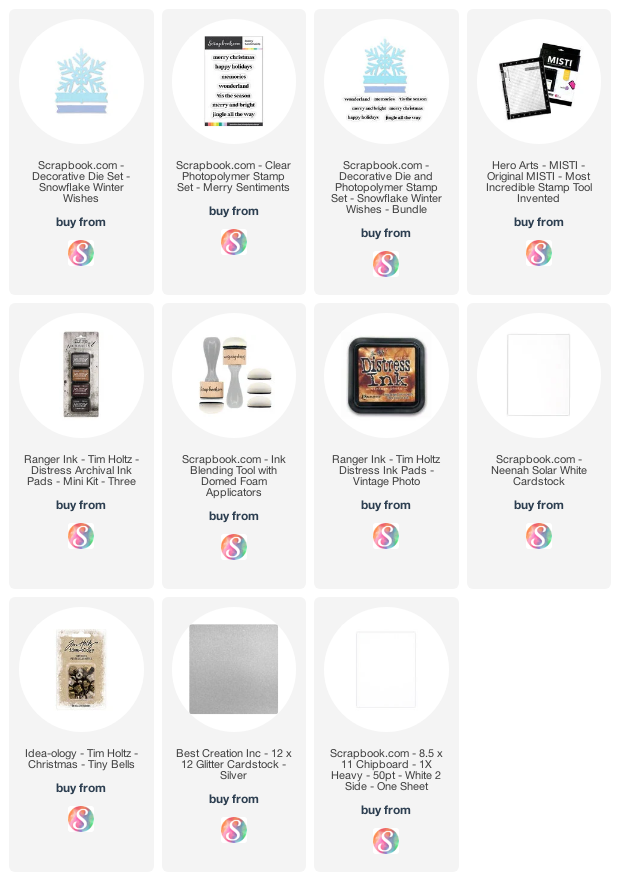
As of the writing of this post, both the Snowflake Winter Wishes Die and Merry Sentiments Stamp Set are sold out. If you are interested in these products make sure to sign up over at Scrapbook.com to be notified when they are back in stock.
Supplies
Special Delivery Christmas Card Alcohol Lift Ink Background
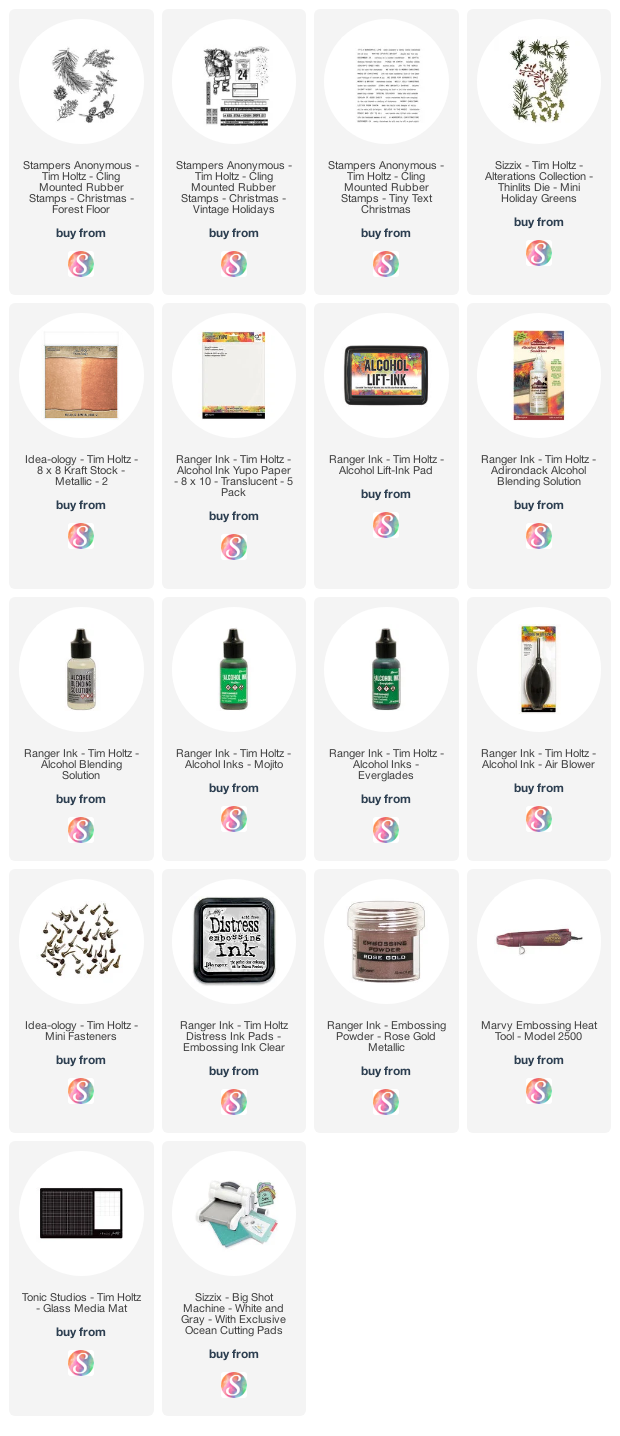
Alcohol ink backgrounds can be so dreamy! Don't you agree? Especially when you use Alcohol Lift Ink and stamps from Tim Holtz to add to the design. This has become a favorite holiday background for me and I've spent some time working out the details on getting a good stamped image with this technique when using more detailed stamped images. Today for my Day 10 of the 12 Days of Christmas Card Ideas I'll be sharing all about this with you.
Special Delivery Christmas Card
Around Halloween, I created a card using this Alcohol Lift Ink technique and it seemed to work so easy for me. However, when I had the idea to try it for a Christmas card I was on the struggle bus trying to get it to work and give me a similar look. Well, I think I've found the secret, or at least what works for me. I've found that if I use one, maybe two similar alcohol ink colors to create the background AND cover the paper with Alcohol Blending Solution before I add the ink I seem to get the larger more solid cells of color which allow the Alcohol Lift Ink to really show the stamped detail. Once I apply the ink, I use the Air Blower to move the ink around with long squeezes on the blower. Of course you still need to following the recommendations of dabbing the ink off with a clean paper towel to lift off the ink. So, with this technique now down to a "science" I was able to create and share today's card with you.
The sentiment along the left hand side is from the Tiny Text Christmas Stamp Set and is heat embossed with Rose Gold Embossing Powder. I added a couple of brads to each end to attach it to the card front. I then finished it off with the Special Delivery label from the Vintage Holidays Stamp Set and heat embossed it as well.
Supplies
Peace On Earth Christmas Card
Peace on Earth Christmas Card
Thanks so much for your visit today. You can find more of my 12 Days of Christmas Card Days visiting the previous post if you missed.
Supplies
As always you can find a complete supply list below. This post contains compensated affiliate links to Scrapbook.com at no cost to you. If you want to learn more about what an affiliate link is, you can see my full affiliate and product disclosure statement here.
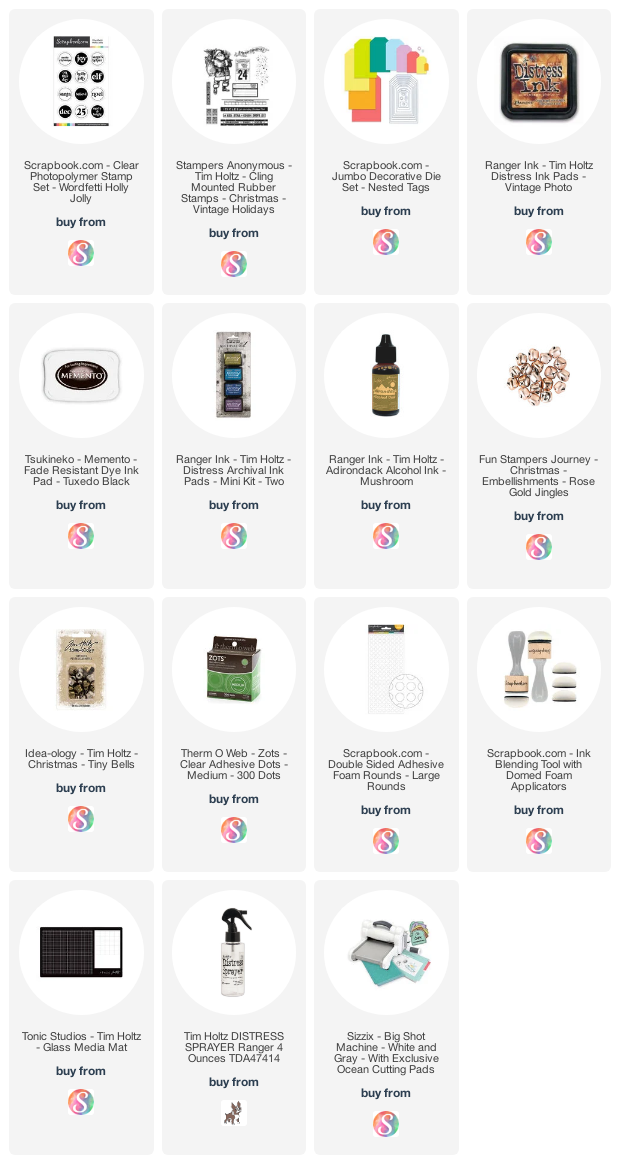
Santa Christmas Tags
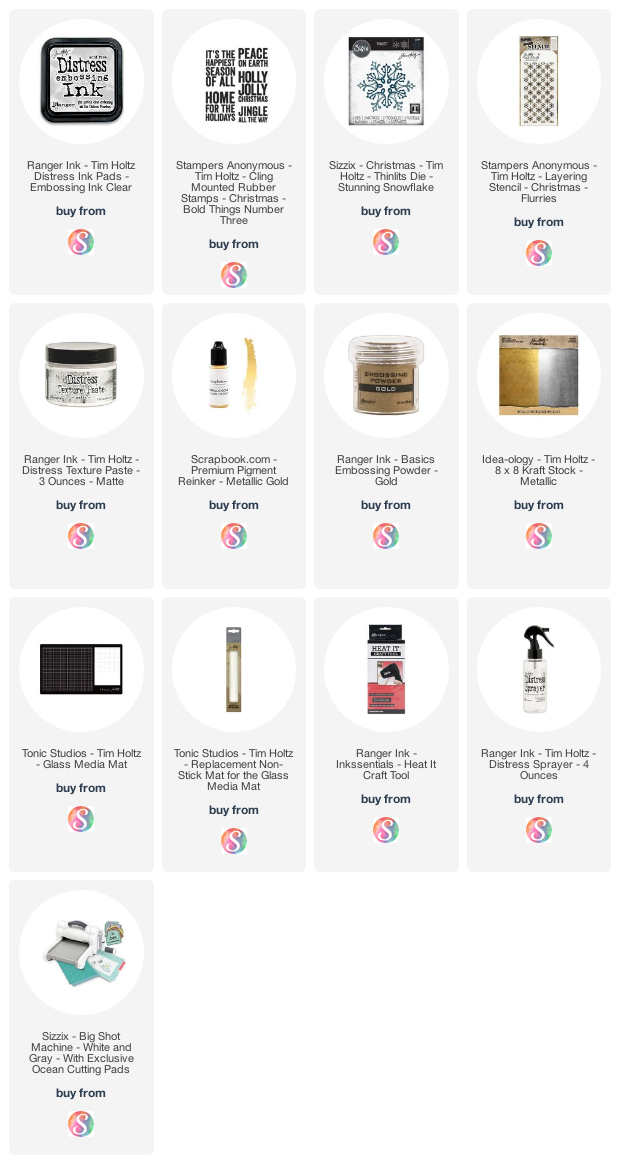
For the sentiments, I stamped the Wordfetti Holly Jolly images onto white cardstock using Peeled Paint Archival Ink. I then used a small circle die from the Tim Holtz Stacked Circles Thinlits to cut out each sentiment. I then inked the edges and adhered them to the tag.
Supplies
As always you can find a complete supply list below. This post contains compensated affiliate links to Scrapbook.com at no cost to you. If you want to learn more about what an affiliate link is, you can see my full affiliate and product disclosure statement here.
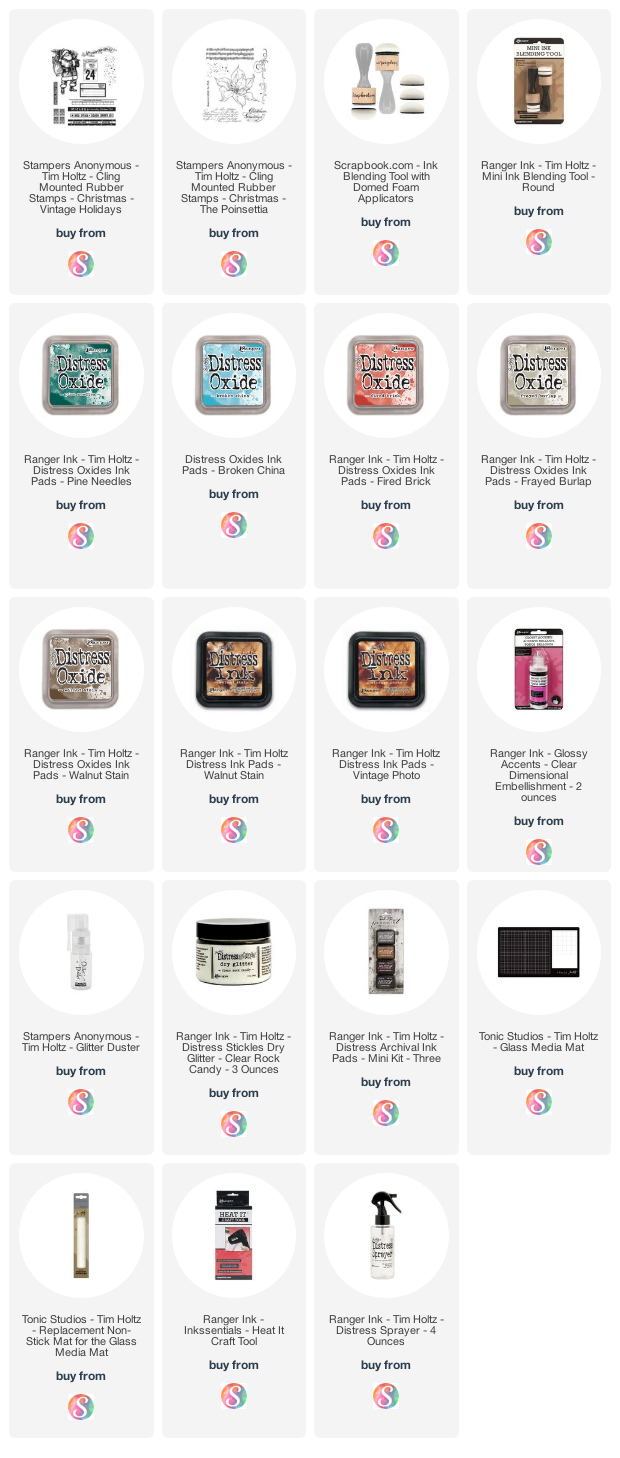
A Merry Christmas Vintage Holidays Card
Thanks again so much for stopping by today! I hope you enjoyed learning about my go-to Stamp and Smear Distress Oxide Technique and how I used it to create this A Merry Christmas Vintage Holidays Card. In case you missed it, I've been sharing a new card idea for the 12 Days of Christmas Card Ideas here on my blog. The first one I shared was 12 Days of Christmas Card Ideas | Vintage Santa Card. I invite you to check out each day after that for more ideas and inspiration.
Supplies
As always you can find a complete supply list below. This post contains compensated affiliate links to Scrapbook.com at no cost to you. If you want to learn more about what an affiliate link is, you can see my full affiliate and product disclosure statement here.