Embossed Shimmer Technique
I just want to share, that the photos really don't do this card justice in my opinion. There is so much shimmer, shine AND distress with this technique! When I was first working on this card, I really thought it was going to just end up in the trash. I really didn't like the way things were going. However, I was crafty chatting with a friend of mine (AKA crafting and chatting on Facetime) and I had mentioned wishing I could add some shine to the card, but I didn't want glitter. She mentioned Perfect Pearls and my brain took off. So let me walk you through what I'm calling the Embossed Shimmer Technique.This is where I originally stopped and was not feeling the love. It needed something more and that is where the Perfect Pearls came into play. As you may or may not know, once you rub over the Embossing Glaze with the Distress Crayon, it leaves the surface slightly sticky. This stickiness made me wonder if the Perfect Pearls would stick to it. Well guess what? It does! I brushed Perfect Pearls Bronze all over the card. At this point, it will looks like one big bronze shimmer and you'll think you've ruined everything. I promise you that you haven't! Next, I took my Distress Sprayer and spritzed over the paper and then dabbed to dry the water droplets. This is when the embossed shimmer magic happens! When I dabbed the droplets dry, it removed some of the Perfect Pearls and revealed the grunge below. I knew I had found my happy!
Once the background was complete, I then had to figure out what to do to turn it into a card. The Engraved design looks so much like a snowflake to me, so I pulled out the Stunning Snowflake Thinlits and realized that it lined up perfectly with the design on the Engraved 3D Texture Fade. It was like it was meant to be!
Thanks for stopping by today and I hope you enjoyed learning about the Embossed Shimmer Technique and how this Christmas Greeting Card came together.
Supplies
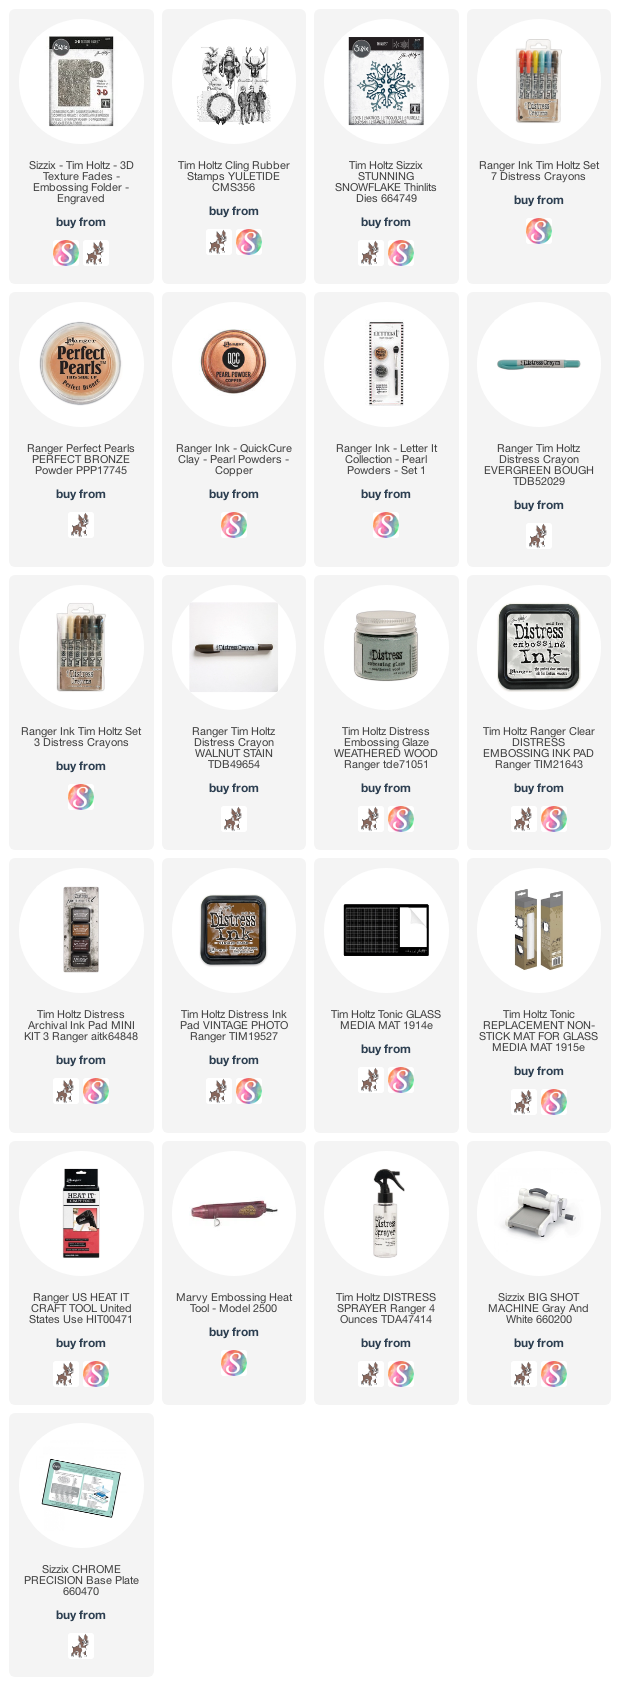
You can find a supply list of the products I used to create this project below. This post contains compensated affiliate links to Scrapbook.com and Simon Says Stamp at no cost to you. If you want to learn more about what an affiliate link is, you can see my full affiliate and product disclosure statement here.


Now that is very interesting. I never would have thought Perfect pearls. The card is beautiful and I love the colors that you ended up with. I know it has to be beautiful in person with the shimmer from the PP!
ReplyDeleteThis is beautiful! I’ve never used Perfect Pearls. I love the look you accomplished here!
ReplyDeleteI just adore the way this turned out and so glad that the passing mention of Perfect Pearls resulted in such a gorgeous outcome! ~ Blessings, Tracey
ReplyDeleteWhat a textural, visually alluring delight. This is absolutely gorgeous.
ReplyDeleteAutumn Zenith 🎃 Witchcrafted Life
The rich sumptuous colour and shimmer and the gorgeous textures make this a stunning card. Perfect pearls! hooray mine are abandoned in a drawer now I shall get them out to play again. Thanks for sharing your inspiration and beautiful card.
ReplyDelete