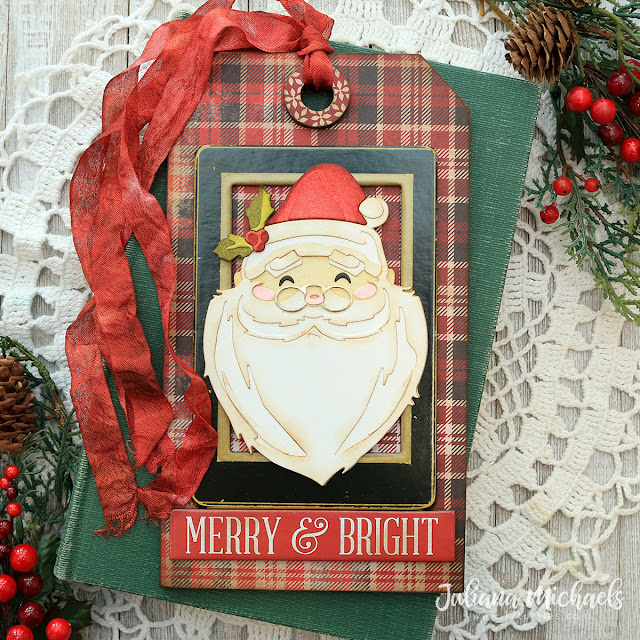
Hat: Festive Berries and Aged Mahogany
Holly Leaves: Crushed Olive and Forest Moss
Holly Berries: Festive Berries and Aged Mahogany
Face: Antique Linen
Cheeks and Nose: Spun Sugar
Beard and Hat Trim: I only inked the edges very lightly with Vintage Photo
Eyes: Black Soot
On the back of each die it gives you a suggestion of what color to die cut each piece (based on the sample on the package) and I used this as a guide to help me decide what colors to use for my Santa. Once all of the coloring was finished, I began assembling the image. I used package image as a guide for putting it all together. However, if you would love a more detailed guide you can check out this step-by-step video by Sizzix on how to use this Colorize die.
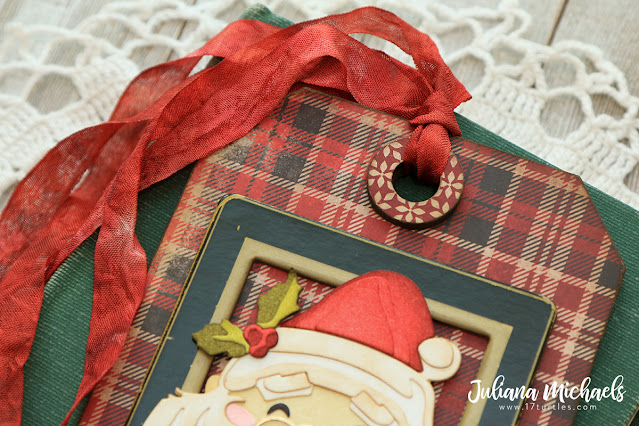
To assemble the rest of the project, I took a Etcetera #8 Thickboard Tag and covered it with patterned paper from a previous Christmas Paper Stash. I used Collage Medium to adhere a piece of paper to both sides of the tag. I find that covering both sides helps to keep the tag from warping...especially if you plan to add lots of layers to one side.
Next, I layered on a Idea-ology Baseboard Frame and then added Santa to the middle of the frame. To give added stability behind the die cut, I layered some scrap chipboard and adhered it in place with Collage Medium. I then added the "Merry & Bright" from an older pack of Christmas Quote Chips.
I hope you enjoyed learning how this Santa Tag came to life. I can't wait to see what you create and share using the Santa's Wish Colorize and all of the other new products from Tim Holtz's Sizzix Chapter 3 Release.
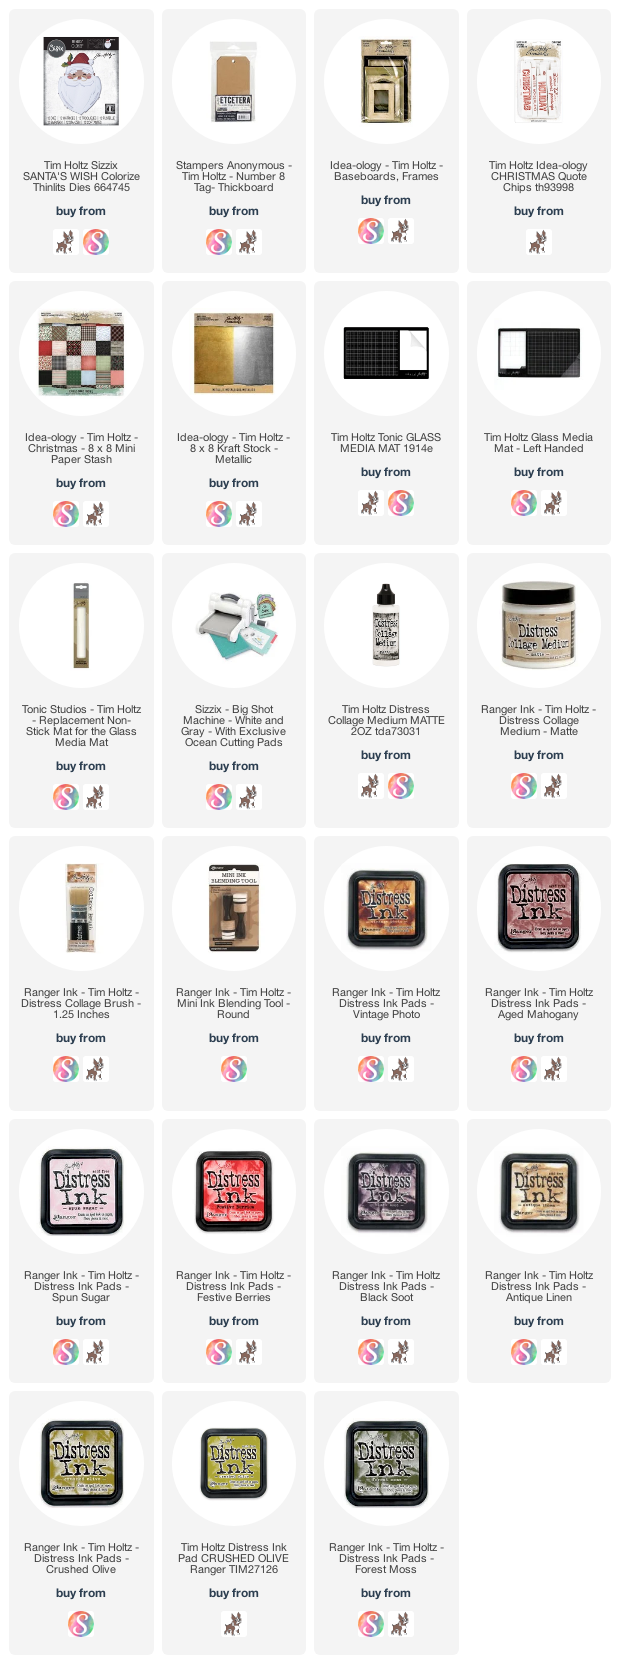
Supplies
You can find a supply list of the products I used to create this project below. This post contains compensated affiliate links to Scrapbook.com and Simon Says Stamp at no cost to you. If you want to learn more about what an affiliate link is, you can see my full affiliate and product disclosure statement here. The products I used to create this project are a mix of products I purchased myself and products I received as compensation for creating for the Tim Holtz Sizzix Chapter 3 Release.


I just adore the Colorize dies, and can not wait to get started on my Christmas crafting, but I am a big spooky, creepy, crawly fan...so Halloween first...LOL
ReplyDeleteThis is wonderful! I love that you used that plaid background for him and I adore the Santa!
ReplyDelete