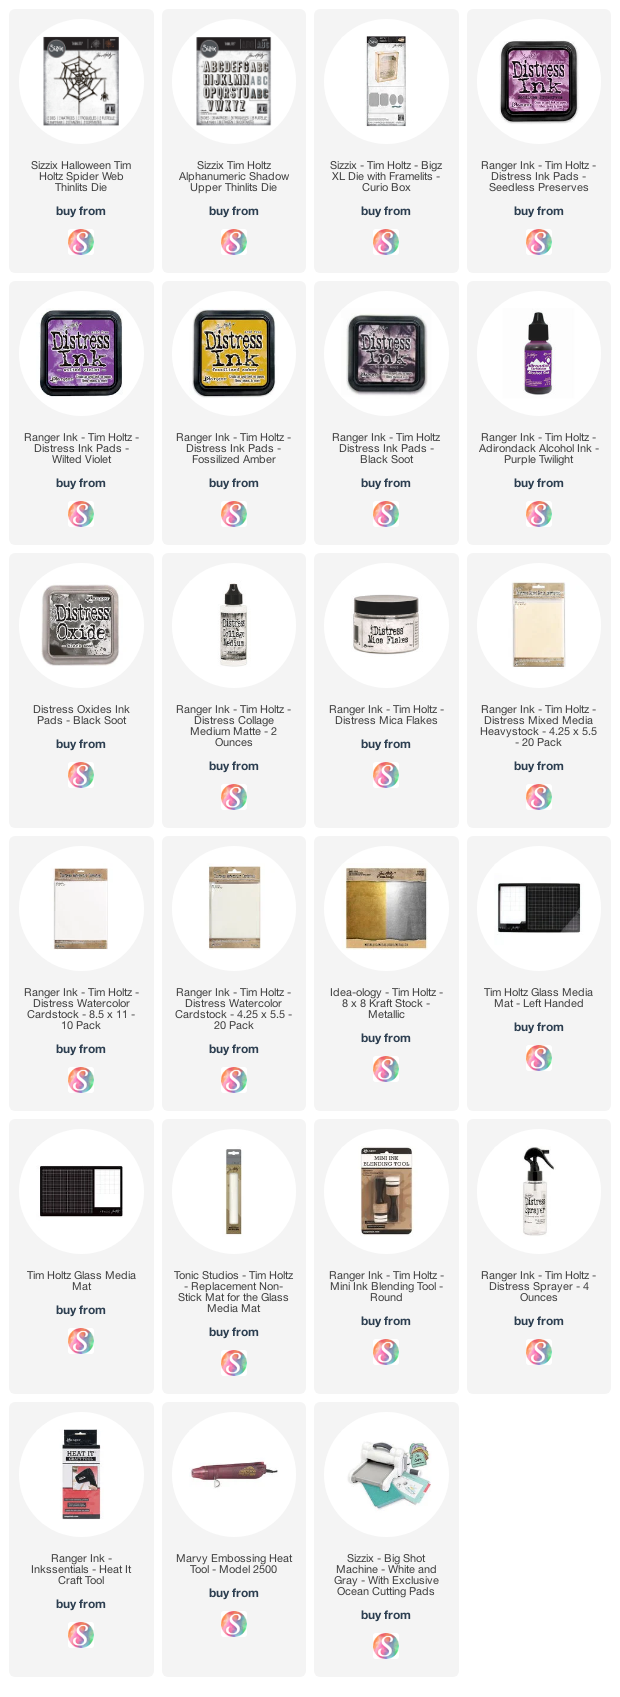
For this card I used the new Spider Web and Alphanumeric Upper Shadow Thinlits.
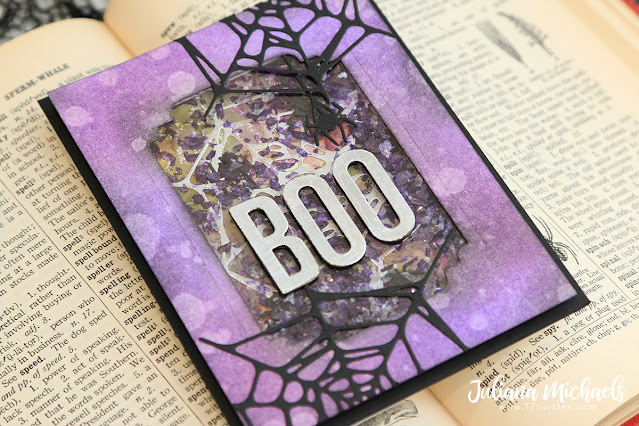
Now let's see how this shaker card came together! To get started, I took a piece of white Bristol paper (you can also use Mixed Media Heavystock) cut to 4 x 5.25" and die cut an opening in the center of it. I used one of the frames from the Curio Box Bigz Die, but any of the Stacked Thinlits would also work.
After creating the opening, I ink blended the paper using a combination of Wilted Violet and Seedless Preserves.
I then inked the edges with a bit of Black Soot Distress Oxide, gave the entire piece a spritzing of water with my Distress Sprayer and dabbed it dry.
After the inking was completed, I cut a piece of acetate and adhered it behind the opening. (I got the acetate from a Bigz Die packaging.) I then cut pieces of craft foam and adhered them around the opening. The adhesive of choice...Distress Collage Medium!
The background behind the shaker opening was created used the smoosh technique with a combination of Black Soot, Seedless Preserves and Fossilized Amber Distress Ink. I then adhered a spider web from the Spider Web Thinlits that I die cut from silver Metallic Kraftstock.
As for the shaker filler, I colored Distress Mica Flakes using Purple Twilight Alcohol Ink. I also die cut some spiders from the new Spider Web Thinlits, trimmed off the webbing, and added them to the mix as well. When creating shaker cards, I like to pour the filler onto the background to get a feel on whether I have enough filler or not. I then adhered the shaker box on top.
To decorate the front of the card, I die cut a couple of webs from black cardstock using the Spider Web Thinlits.
I then added the sentiment by die cutting silver Metallic Craftstock using the Alphanumeric Shadow Upper Thinlits. As you can see, I didn't use the shadow part of the die. I love the versatility of this die set...you can use it with or without the shadow to achieve a variety of looks! I also lightly sanded the letters to give them a slightly distressed look. To finish off the card, I layered the entire shaker onto a piece of black cardstock.
Thanks so much for stopping by today to check out how I created this Halloween Boo Shaker Card!
SUPPLIES
You can find a supply list of the products I used to create this project below. This post contains compensated affiliate links to Scrapbook.com at no cost to you. If you want to learn more about what an affiliate link is, you can see my full affiliate and product disclosure statement here. The products I used to create this project are a mix of products I purchased myself and products I received as compensation for creating for the Tim Holtz Sizzix Chapter 3 Release.


Juliana, I really liked how you used the spider web die on the two corners of your shaker card! Thank you so much for sharing your project on Tim"s FB Live launch and how you made it :)
ReplyDeleteLove your "shakety-shake" as Tim calls it...lol...cool project...
ReplyDeleteYour directions make this seem so easy to create but your card is so fabulous! Love it!
ReplyDelete