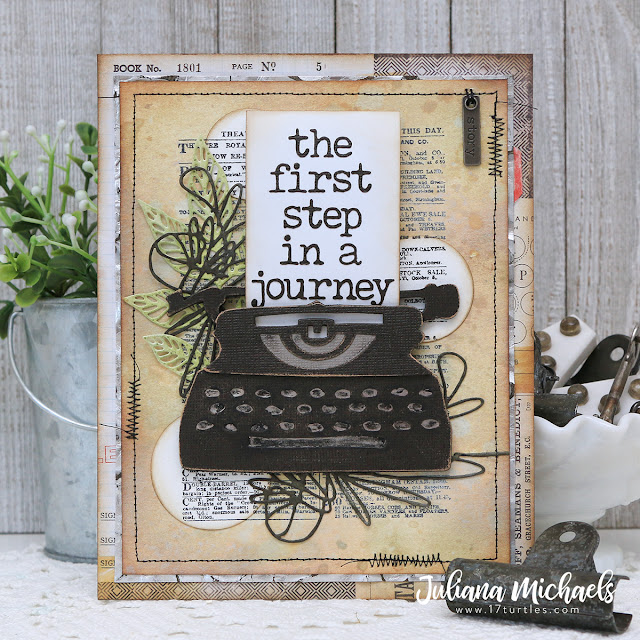
TIM HOLTZ SIZZIX RETRO TYPE BIGZ DIE
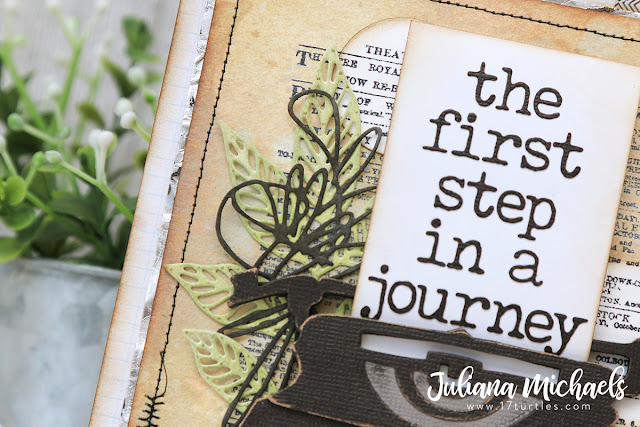
Before I begin, I want to tell you that I have no idea what the finished size of this project is. I wrote down all kinds of notes about what I did to make this card, but I never wrote down the finishes size. With that being said, let's get started on how this project came together. I began by creating the focal point...the typewriter. I die cut it from chipboard and from some black Kraft Stock. I adhered the layers together and distressed the edges with a sanding sponge. Before assembling the entire typewriter, I cut a scrap of gray Kraft Stock and adhered it behind the upper opening on the typewriter. I then cut a scrap of silver metallic Kraft Stock and adhered it behind the key opening. I then colored in the key area with a Black Soot Distress Crayon to grunge it up a bit. I also painted the edges of the chipboard with Black Soot Distress Paint for a more finished look to the piece.TINY TYPE
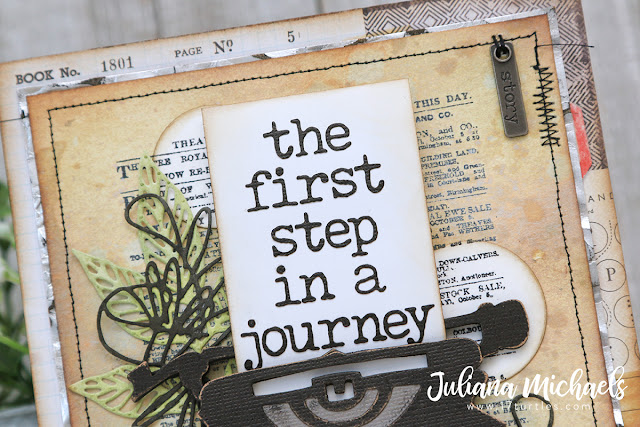
Next, I worked on the phrase to use with the typewriter. I love how Tim designed the Retro Type Die to with with the Tiny Type Upper and Lower Alphanumeric Thinlit Dies. With that being said, I used it to create the phrase on a piece of computer paper. I die cut the Tiny Type Lower Alphanumeric Thinlit letters from black Kraft Stock and then adhered them to a piece of computer paper. A thinner paper is easier to slide into the opening on the typewriter than a piece of regular cardstock. I then inked the edges with Vintage Photo Distress Ink.CREATING THE BACKGROUND
I then set about creating the background behind the typewriter. For this, I took a piece of watercolor paper and stamped the center of it with the Newsprint image from the Newsprint and Type Stamp using Black Soot Distress Archival Ink. I then stamped the image again onto another piece of watercolor paper. With one of them I used the Stacked Circle Thinlit Dies to cut three sections out of it. I inked the edges of them with Vintage Photo and set them to the side. I then took the other piece and went to work making it look old and vintage. To achieve this I sprayed Old Paper and Antique Linen Distress Spray onto my craft mat. I spritzed each color with water and then smooshed and dragged my paper through the two colors. I dried it with my heat tool and then repeated it until I was pleased with the look. I then spritzed the paper with Antique Linen Distress Oxide Spray, spritzed it with water and then dabbed it dry to activate the oxide and add to the distressed look. To finish it off, I inked the edges with Distress Ink in Vintage Photo and Ground Espresso. I also added some machine stitching around the outer edge with black thread.
Now for those circles I die cut earlier. I lined them up with the same stamped area on the background paper and adhered them to it.
DISTRESSED METALLIC KRAFT STOCK
Once the front panel was assembled, I sewed on an Idea-ology Story Stick with a needle and thread. I then layered it on a piece of distressed silver metallic Kraft Stock. To distress it, I spritzed it with some water and then wadded it up into a ball. Yes, you read that correctly. I then unwadded it and dried it with my heat tool. Next, I sanded it all over and along the edges with a foam sanding pad and then inked it with Walnut Stain Distress Ink. I wish it showed up better in the photos, but I promise in real life, it looks super cool!SUPPLIES
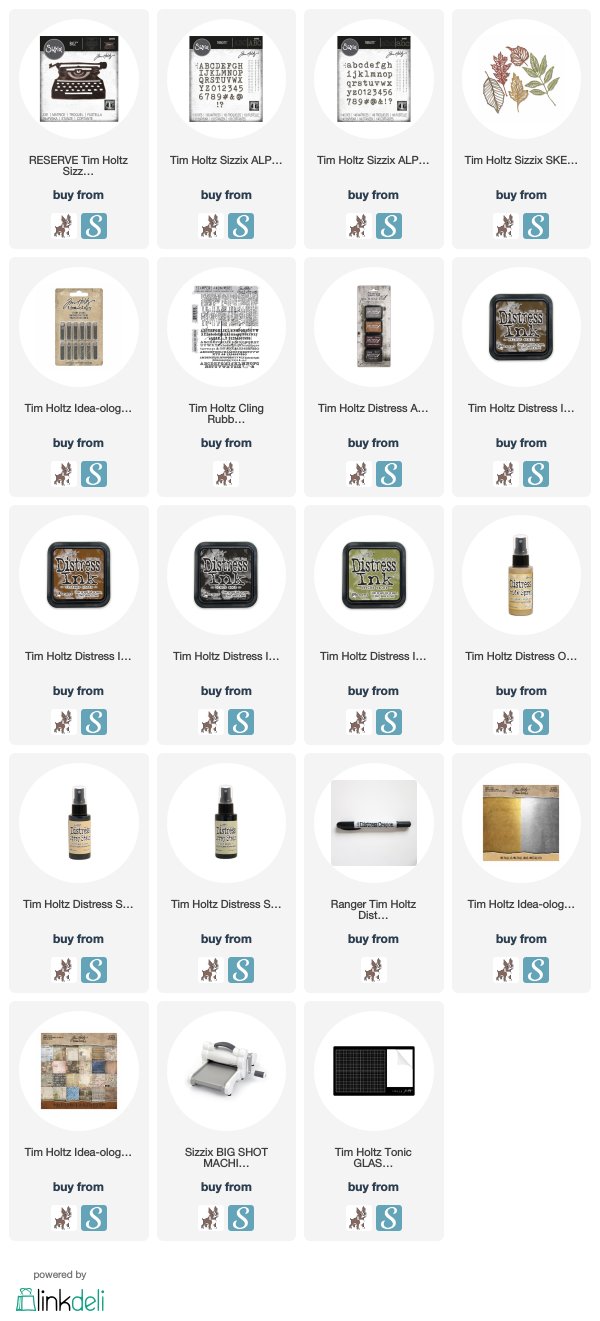
This post contains affiliate links to Scrapbook.com and Simon Says Stamp. If you buy anything through my links, it adds no extra cost to you. I truly appreciate and thank you for your support! (If you're interested, you can see my full disclosure statement here.)


Love that you crumpled up a paper to distress. I remember the first time I did that...I had been blending ink onto a too thin paper and the paper crumpled up on me...so I just went with it and wadded it up and then inked the crinkles...loved it...LOL...fun project with all the new dies...gotta love dies.
ReplyDeleteHappy accidents are the best! Thanks so much for stopping and leaving a comment! Super appreciated!
Delete