The Professor 2 | Creativity Takes Courage

Wow! Have you checked out Tim Holtz's January Release from Stamper's Anonymous yet? The Professor is back and he's bigger and better than ever, along with a group of other amazing stamp sets. Of course I'm totally in love with the larger than life Professor 2 and so today I'm sharing one of the cards I created with it for the Stamper's Anonymous Booth at Creativiation. I'm still pinching myself over this and I hope you can share in some of this excitement as you check out today's card.

THE PROFESSOR 2  | TIM HOLTZ STAMPER'S ANONYMOUS

So first up I stamped the Professor on watercolor paper and then water colored him with a water brush and Distress Inks. The colors I used were Antique Linen, Spun Sugar, Faded Jeans, Tumbled Glass, Fossilized Amber, Rusty Hinge, Hickory Smoke and Ground Espresso. If you aren't familiar with water coloring with ink pads, all you do is stamp the ink pad directly on to a craft mat, run your water brush through the ink to get it onto the bristles and then color it onto your paper. If you're a little more fancy, you can certainly use a watercolor brush! Once he was colored to my liking, I fussy cut around him, and then ran a black marker around the edges to hide the white and then inked blended it on the edges with a bit of Walnut Stain Distress Ink.

Creativity Takes Courage Card by Juliana Michaels featuring Tim Holtz Stamper's Anonymous Cling Mounted Rubber Stamp Set The Professor 2

For the background, I stamped some of the images from The Professor 2 stamp set onto watercolor paper using Distress Oxide in Peeled Paint, Fossilized Amber and Vintage Photo. As I stamped each image, I let it just briefly dry then white over it with a dry rag to slightly smear the ink. The trick to avoid it turning into a smeared mess is to let it dry just a bit. If you are like me and not super patience when it comes to waiting for things to dry, you can dab away the excess ink with a dry rag or paper towel. Then wipe over it with the dry rag to smear it. After you are finished stamping your design, it's time to age the paper and give it a nice grungy look. Spritz your craft mat with Old Paper Distress Spray, then spritz it with some water and then dab your paper into the ink. Dry it with your heat tool. Next, ink over the paper around the edges using a blending tool and Frayed Burlap Distress Oxide Spray. Spritz with water to activate the oxide and dab it dry. To finish it off, ink blend the edges with a little Walnut Stain Distress Ink. For even more interest, I added some machine stitching and distressed the edges of the paper with the backside of my kraft knife. 

Creativity Takes Courage Card by Juliana Michaels featuring Tim Holtz Stamper's Anonymous Cling Mounted Rubber Stamp Set The Professor 2

The next layer, is a piece of distressed metallic kraft stock. I shared all about how I do that in my previous post - The First Step | Tim Holtz Retro Type Bigz Die.  Here I used gold instead of silver to better coordinate with this card's color theme.

Creativity Takes Courage Card by Juliana Michaels featuring Tim Holtz Stamper's Anonymous Cling Mounted Rubber Stamp Set The Professor 2

For the blue background, I used a piece of blue cardstock from the 8x8 Classic Kraft Stock Paper Pad. You can't totally see it in these photos, but I stenciled over the paper using the new Bubbles Layering Stencil with Faded Jeans Distress Oxide Ink. It creates a subtle bit of interest that I can't wait to try again in the future.

Creativity Takes Courage Card by Juliana Michaels featuring Tim Holtz Stamper's Anonymous Cling Mounted Rubber Stamp Set The Professor 2

To finish off the card I added some Idea-ology Adornments Stars that I distressed with alcohol inks. I even added some Glossy Accents to the Professor's goggles, but you totally can't see it in the photos.


I then finished off the card by stamping my sentiment using another of my new faves from this release...Tiny Text. I stamped it with Black Soot Archival Ink onto white cardstock, trimmed it to size, added some Hardware Heads and inked the edges before adding it to the card.

There you are! I hope you enjoyed learning a bit more about how I created my card featuring The Professor 2!

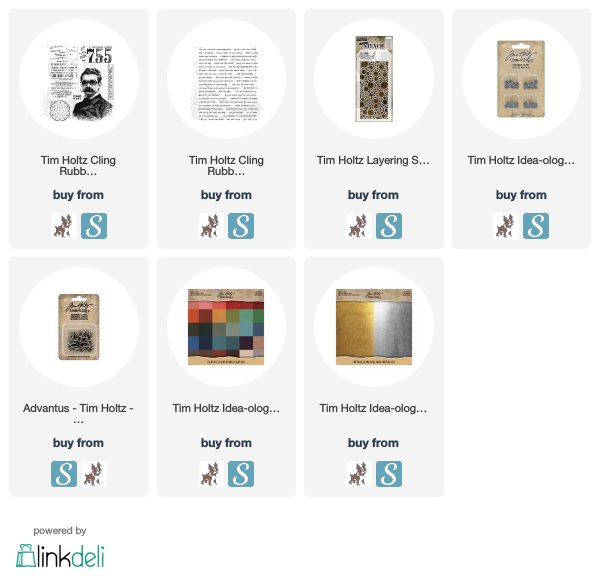
SUPPLIES

This post contains affiliate links to Scrapbook.com and Simon Says Stamp. If you buy anything through my links, it adds no extra cost to you. I truly appreciate and thank you for your support! (If you're interested, you can see my full disclosure statement here.)

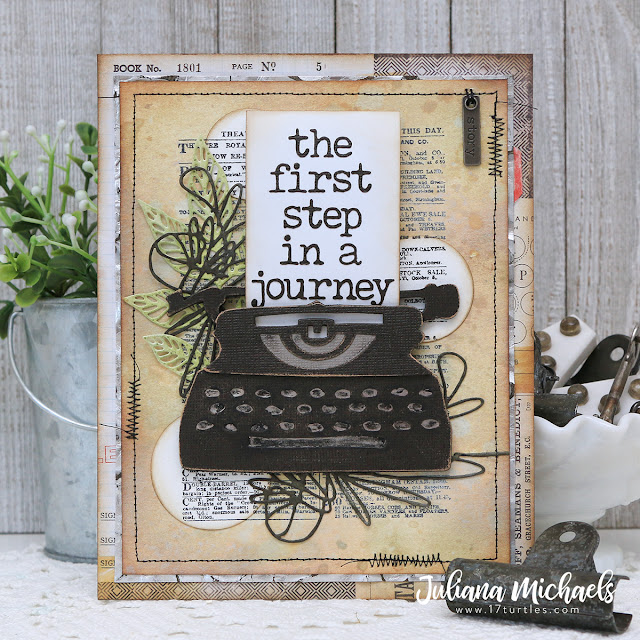
The First Step | Tim Holtz Retro Type Bigz Die

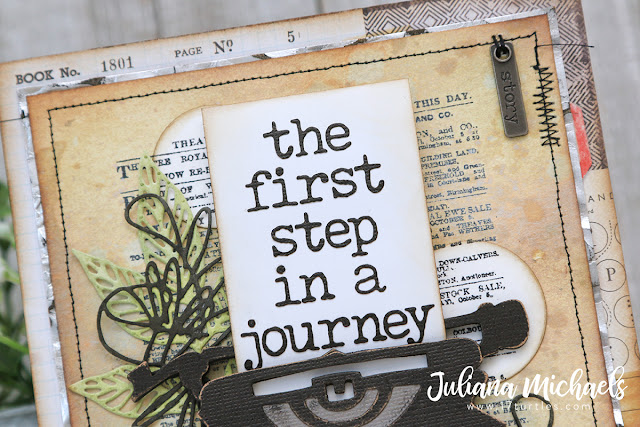
Hello friends! Today I'm back to share another Creativation 2020 project I created for Tim Holtz featuring his new dies from Sizzix. This project features the Retro Type Bigz Die and the Tiny Type Lower Alphanumeric Thinlits Die. I also snuck in a couple of other die that are part of the Sizzix Chapter 2 release, as well as an older favorite.

The First Step by Juliana Michaels featuring Tim Holtz Sizzix Retro Type Bigz Die

TIM HOLTZ SIZZIX RETRO TYPE BIGZ DIE

Before I begin, I want to tell you that I have no idea what the finished size of this project is. I wrote down all kinds of notes about what I did to make this card, but I never wrote down the finishes size. With that being said, let's get started on how this project came together. I began by creating the focal point...the typewriter. I die cut it from chipboard and from some black Kraft Stock. I adhered the layers together and distressed the edges with a sanding sponge. Before assembling the entire typewriter, I cut a scrap of gray Kraft Stock and adhered it behind the upper opening on the typewriter. I then cut a scrap of silver metallic Kraft Stock and adhered it behind the key opening. I then colored in the key area with a Black Soot Distress Crayon to grunge it up a bit. I also painted the edges of the chipboard with Black Soot Distress Paint for a more finished look to the piece.

The First Step by Juliana Michaels featuring Tim Holtz Sizzix Retro Type Bigz Die

The First Step by Juliana Michaels featuring Tim Holtz Sizzix Retro Type Bigz Die

TINY TYPE

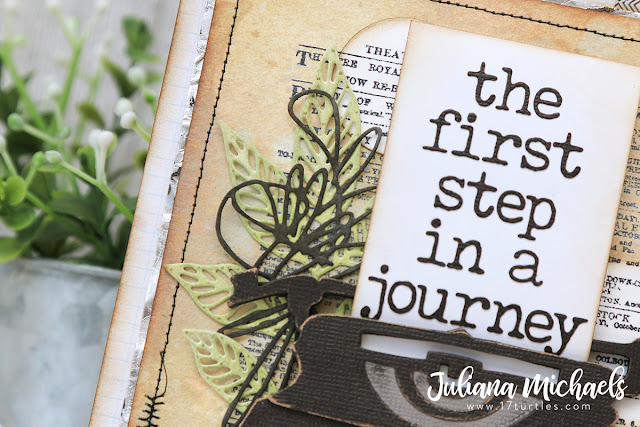
Next, I worked on the phrase to use with the typewriter. I love how Tim designed the Retro Type Die to with with the Tiny Type Upper and Lower Alphanumeric Thinlit Dies. With that being said, I used it to create the phrase on a piece of computer paper. I die cut the Tiny Type Lower Alphanumeric Thinlit letters from black Kraft Stock and then adhered them to a piece of computer paper. A thinner paper is easier to slide into the opening on the typewriter than a piece of regular cardstock. I then inked the edges with Vintage Photo Distress Ink.

The First Step by Juliana Michaels featuring Tim Holtz Sizzix Retro Type Bigz Die

CREATING THE BACKGROUND

I then set about creating the background behind the typewriter. For this, I took a piece of watercolor paper and stamped the center of it with the Newsprint image from the Newsprint and Type Stamp using Black Soot Distress Archival Ink. I then stamped the image again onto another piece of watercolor paper. With one of them I used the Stacked Circle Thinlit Dies to cut three sections out of it. I inked the edges of them with Vintage Photo and set them to the side. I then took the other piece and went to work making it look old and vintage. To achieve this I sprayed Old Paper and Antique Linen Distress Spray onto my craft mat. I spritzed each color with water and then smooshed and dragged my paper through the two colors. I dried it with my heat tool and then repeated it until I was pleased with the look. I then spritzed the paper with Antique Linen Distress Oxide Spray, spritzed it with water and then dabbed it dry to activate the oxide and add to the distressed look. To finish it off, I inked the edges with Distress Ink in Vintage Photo and Ground Espresso. I also added some machine stitching around the outer edge with black thread.

The First Step by Juliana Michaels featuring Tim Holtz Sizzix Retro Type Bigz Die

Now for those circles I die cut earlier. I lined them up with the same stamped area on the background paper and adhered them to it.

The First Step by Juliana Michaels featuring Tim Holtz Sizzix Retro Type Bigz Die

I felt like it need a bit more embellishment, so I die cut a leaf from the Skeleton Leaves Thinlit Dies from watercolor paper and inked it with Peeled Paint Distress Ink. I recommend using a Chrome Base Plate when cutting these super detailed dies. I also added that fun squiggly shape using the Media Marks Thinlits Die which I cut from watercolor paper and inked with Black Soot Distress Ink.

The First Step by Juliana Michaels featuring Tim Holtz Sizzix Retro Type Bigz Die

DISTRESSED METALLIC KRAFT STOCK

Once the front panel was assembled, I sewed on an Idea-ology Story Stick with a needle and thread. I then layered it on a piece of distressed silver metallic Kraft Stock. To distress it, I spritzed it with some water and then wadded it up into a ball. Yes, you read that correctly. I then unwadded it and dried it with my heat tool. Next, I sanded it all over and along the edges with a foam sanding pad and then inked it with Walnut Stain Distress Ink. I wish it showed up better in the photos, but I promise in real life, it looks super cool!

The First Step by Juliana Michaels featuring Tim Holtz Sizzix Retro Type Bigz Die

I then layered all the pieces onto a piece of patterned paper from the 8x8 Etcetera Paper Stash. And of course, I inked the edges with some Vintage Photo and Walnut Stain Distress Ink.

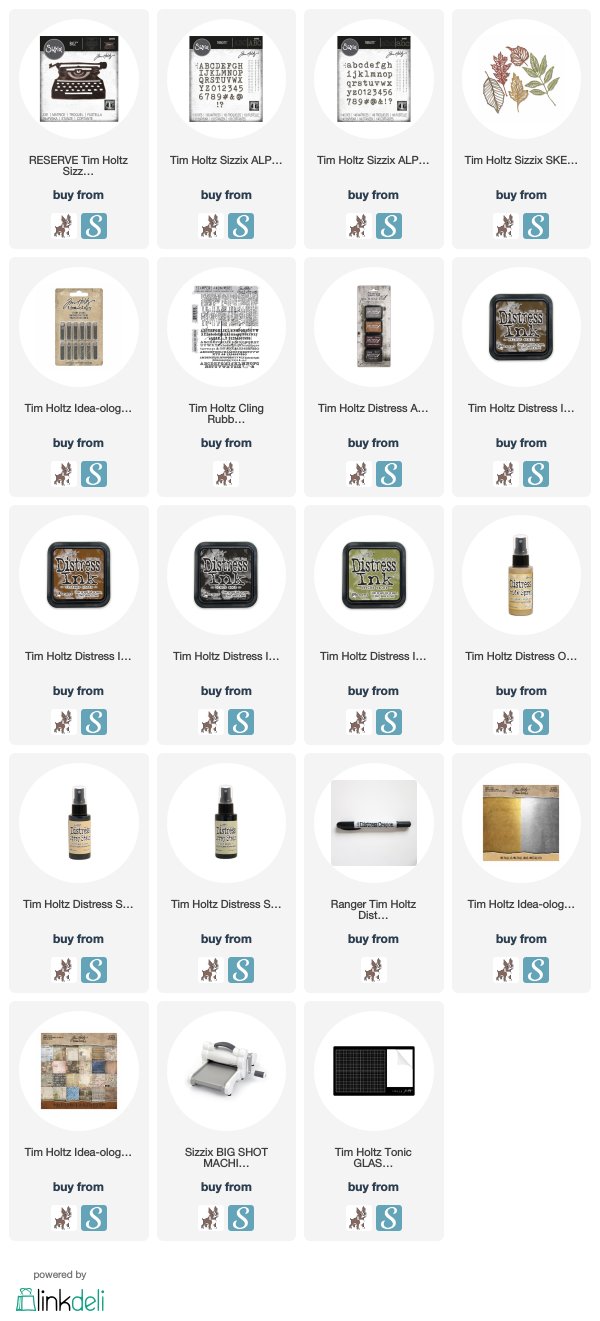
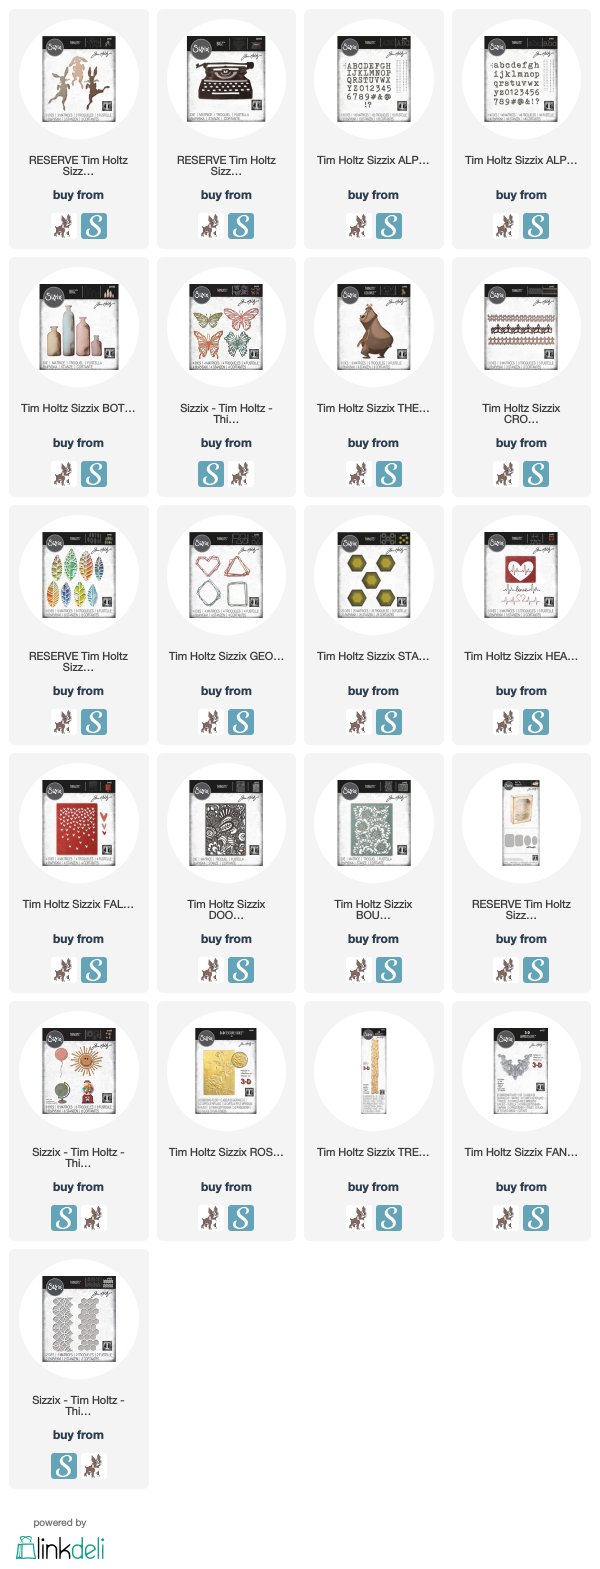
SUPPLIES

This post contains affiliate links to Scrapbook.com and Simon Says Stamp. If you buy anything through my links, it adds no extra cost to you. I truly appreciate and thank you for your support! (If you're interested, you can see my full disclosure statement here.)


Happy Easter Placeholders | Tim Holtz Bunny Hop Thinlits Die

Hello friends! Today is an awesome day because it's time for me to begin sharing some of the Creativation 2020 projects I created for Tim Holtz. I was blessed to have been asked to create projects for both the Sizzix and Stampers Anonymous Booths. I'm going to start with sharing the rest of the project I made for the Sizzix booth. I shared the first one called Collect Beautiful Moments, which features the Scribbly Butterflies Die. If you missed it make sure to click over to check it out.

Hopefully you are already starting to see some images of the booths, but if you missed them, you'll certainly be able to catch a recap of it over on Tim's blog.

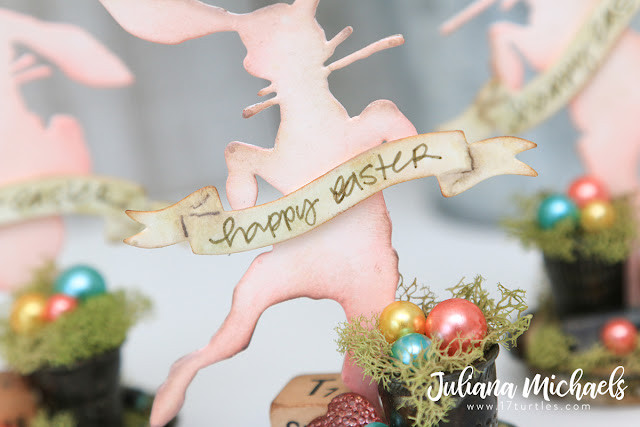
So let's get started with some project inspiration. The first project I'm sharing with you is the Happy Easter Placeholders featuring the Bunny Hop Thinlit Dies. From the moment I first saw them, I had the idea of creating Easter table placeholders...and since there are three bunnies I had to make one for Tim, Mario and Paula!

HAPPY EASTER PLACEHOLDERS

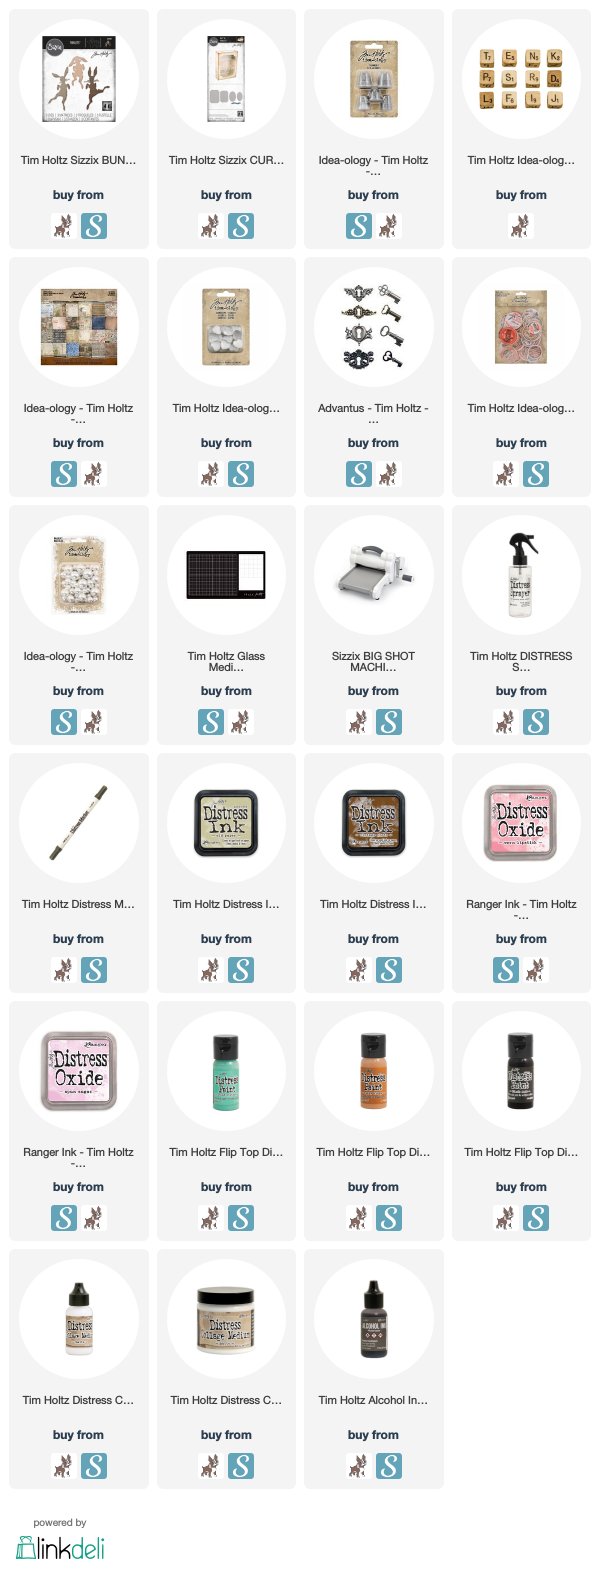
All of the products I've used are listed below with affiliate links to Scrapbook.com and Simon Says Stamp.

TIM HOLTZ SIZZIX BUNNY HOP THINLITS DIE

I began by die cutting the bunnies from watercolor cardstock, a piece of thin chipboard and a piece of patterned paper from the 8x8 Etc Paper Stash. I adhered all of these layers together to give the bunny more substance. I then ink blended the watercolor paper with Distress Oxide in Spun Sugar and Worn Lipstick, spritzed them with water and dabbed them dry. And as I always tend to do, I inked the edges with a bit of Vintage Photo Distress Ink.

Happy Easter Placeholders by Juliana Michaels featuring Tim Holtz Sizzix Chapter 1 Bunny Hop Thinlit Die

I then took the banner die from the Curio Box Bigz Die and cut a banner for each bunny from cardstock. To give the paper a distressed look, I smooshed some Old Paper Distress Ink onto my craft mat, spritzed it with water and then dragged the paper through the ink. To dry the paper, I used my heat tool  and then I hand wrote "Happy Easter" on each one using a Distress Marker in Walnut Stain. I then finished them off with a bit of Vintage Photo Distress Ink along the edges.

Happy Easter Placeholders by Juliana Michaels featuring Tim Holtz Sizzix Chapter 1 Bunny Hop Thinlit Die

CREATING THE BASE

Next, I started on creating a base for them to stand on. This took a bit of trial and error, but in the end I was pleased with final result. I used a metal bottle cap from my stash. These are about 2 inches in diameter. I don't even want to admit how long I've had them in my stash, but at least they finally came to a good use! I did my best to locate them and I was able to find them on Etsy begin sold by Handy Harry.

Happy Easter Placeholders by Juliana Michaels featuring Tim Holtz Sizzix Chapter 1 Bunny Hop Thinlit Die

To fill the inside of the bottle cap, I found that the Idea-ology Milk Caps fit perfectly inside. I also layered some extra chipboard underneath them to raise them up a bit. I carefully cut a slit into the milk cap and chipboard using a craft knife, making sure it was wide enough for the bunnies foot to fit down into. This helped to hold the bunnies in place along with some adhesive.  Once the bunnies were securely attached to the base, I then set about decorating the base around them.

Happy Easter Placeholders by Juliana Michaels featuring Tim Holtz Sizzix Chapter 1 Bunny Hop Thinlit Die

DECORATING THE BASE

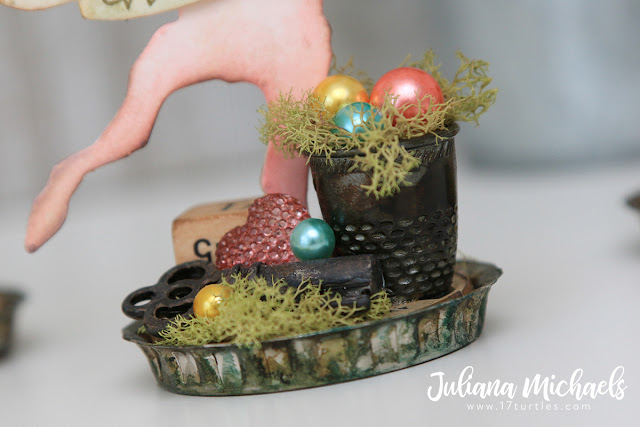
Since these are Easter bunnies, they needed Easter baskets! I created these from Idea-ology Thimbles and filled them with Baubles colored with Alcohol Inks in Lemonade, Shell Pink and Aqua. I also added a Gumdrop Heart colored with Shell Pink Alcohol Ink. The other bits I added where a Locket Key and Dice. If you look closely, you will see that the letter on top of each of the dice are T, M and P. Remember I said these for Tim, Mario and Paula!

Happy Easter Placeholders by Juliana Michaels featuring Tim Holtz Sizzix Chapter 1 Bunny Hop Thinlit Die

Happy Easter Placeholders by Juliana Michaels featuring Tim Holtz Sizzix Chapter 1 Bunny Hop Thinlit Die

DISTRESSING THE METAL PIECES

All of the metal pieces for this project were coated with Collage Medium.

Bottle caps: Once the Collage Medium was dry, I applied a mix of Alcohol Ink in Mushroom, Pebble and the tiniest bit of Stream. I then used a Qtip to apply blending solution here and there to blend and lighten the ink.

Thimbles and Keys: Once the Collage Medium was dry, I dabbed on Distress paint with my finger in Black Soot, Cracked Pistachio and Rusty Hinge. I used a heat tool to dry between each color and applied much less of the Cracked Pistachio and Rusty Hinge to give it the look of old metal.

Happy Easter Placeholders by Juliana Michaels featuring Tim Holtz Sizzix Chapter 1 Bunny Hop Thinlit Die

Happy Easter Placeholders by Juliana Michaels featuring Tim Holtz Sizzix Chapter 1 Bunny Hop Thinlit Die

The final touch was the addition of some floral moss, which always adds a touch of softness and texture.

Happy Easter Placeholders by Juliana Michaels featuring Tim Holtz Sizzix Chapter 1 Bunny Hop Thinlit Die

And there you have it...Happy Easter Placeholders featuring the Tim Holtz Bunny Hop ThinLits Die by Sizzix.  I hope you enjoyed learning how these came together for me. I can't wait to see what you all create and share using this adorable new die. Thanks so much for stopping by today!

Happy Easter Placeholders by Juliana Michaels featuring Tim Holtz Sizzix Chapter 1 Bunny Hop Thinlit Die

SUPPLIES

This post contains affiliate links to Scrapbook.com and Simon Says Stamp. If you buy anything through my links, it adds no extra cost to you. I truly appreciate and thank you for your support! (If you're interested, you can see my full disclosure statement here.)

Metal Bottle Caps found for sale by Handy Harry on Etsy - click here.


Sizzix Chapter 1 & 2 Sneak Peek

Hey friends! I'm so happy to have all the new visitors here lately. Many of you may be coming here from Tim Holtz's blog after watching his recent Facebook Live's for Sizzix Chapter 1 and Sizzix Chapter 2.  I was blessed to be one of the makers for his recent release and I wanted to pop in and let you know that I have some upcoming technique and tutorial blog posts that will be starting January 19. These posts will feature three other projects I created using his latest Sizzix release. 

Here's a little sneak peek of the projects I'll be sharing. And another little tease... I'll also have some projects to share from the Stamper's Anonymous Release as well!


If you don't want to miss any of these posts, I invite you to subscribe through FeedburnerMad Mimi or Bloglovin. Once you do this, you'll receive an email when my blog posts go live!

Tim Holtz Sizzix Chapter 1 and Chapter 2  Videos

If you missed the Facebook Live's, you can still check them out and I highly recommend taking some time to do so. (I've shared them below for your convenience.) In the videos, he shares all the fabulous new dies, tons of inspiration from his team of makers and as always some insights on what inspired him to create the dies and his thoughts on ways they could be used. I was seriously blown away by what the other makers created!

The Sizzix Chapter 1 dies are available NOW from your favorite stores and Chapter 2 will be in stores in April.
Tim Holtz Sizzix Chapter 1


Tim Holtz Sizzix Chapter 2


Sizzix Chapter 1 Available Now

Below I've linked to all the new Sizzix Chapter 1 dies available now at Scrapbook.com and Simon Says Stamp. These are affiliate links. If you buy anything through my links, it adds no extra cost to you, but I truly appreciate and thank you for your support! (If you're interested, you can learn more about what affiliate links are and read my full disclosure statement here.)


Collect Beautiful Moments | Tim Holtz Sizzix Chapter 1

Hello friends and Happy New Year! I have something super exciting to share with you. One of those things that I had only dreamed about, but when I got the email back in October, I nearly fell over from shock! I was being asked to create projects for Tim Holtz for the 2020 Sizzix Chapter 1 Release! Now, today I'm excited to share with you one of the projects I created and that you may have seen on the Tim Holtz Sizzix Chapter 1 Facebook Live. If you missed it, you can check out the full replay here.

The project I'm sharing today is called Collect Beautiful Moments and it's a vignette box featuring the gorgeous new Scribbly Butterflies. If you know me at all, you know I love butterflies. Like, I would use them on every project if I could, love butterflies! So as soon as I saw these beautiful dies, I knew I had to create a springtime garden for them.


To get started, I created the background for the vignette box by stamping various images from the following stamp sets: Ticket Booth, Flutter, Entomology, Illustrated Garden, Ledger Script and Tiny Toadstools using the Stamp and Smear Technique I shared on my Wicked Halloween Tags. This is one of my favorite techniques for creating a patterned background. Feel free to grab your stash of stamps and mix and match them to create your own design.

Collect Beautiful Moments Vignette Box Tim Holtz Sizzix Chapter 1 2020 Scribbly Butterflies by Juliana Michaels

For this project I used the following Distress Oxide Inks: Peeled Paint, Forest Moss, Brushed Corduroy, Peacock Feathers, Fossilized Amber, and for the edges Vintage Photo and Walnut Stain. Once this was completed, I trimmed to paper to size to fit the inside of the box...the back, top, bottom and both sides.

Collect Beautiful Moments Vignette Box Tim Holtz Sizzix Chapter 1 2020 Scribbly Butterflies by Juliana Michaels

Continuing on to the inside of the box, I die cut watercolor paper using the Wildflower Stems #1 and Wildflower Stems #2. I then watercolored them using a waterbrush with Distress Ink. To do this, smoosh the ink pad directly onto your craft mat, use the waterbrush to pick up the color from the mat and then color the die cuts. Here I used Mustard Seed, Wild Honey, Ripe Persimmon and Spiced Marmalade for the yellow flowers. For the blue flowers I used Peacock Feathers, for the purple ones I used Dusty Concord, Seedless Preserves and Wilted Violet and for the stems I used Forest Moss and Peeled Paint.

Collect Beautiful Moments Vignette Box Tim Holtz Sizzix Chapter 1 2020 Scribbly Butterflies by Juliana Michaels

To get the little "dots" of color, I simply spritzed the darker inks that were left on my craft mat and dabbed the paper into them. I also recommend using your heat tool to dry between colors for more interest.

Collect Beautiful Moments Vignette Box Tim Holtz Sizzix Chapter 1 2020 Scribbly Butterflies by Juliana Michaels

Now for those beautiful Scribbly Butterflies! These dies are super think and intricate, so I highly recommend that you use a Sizzix Precision Chrome Base Plate when cutting them. I die cut them from a mix of purple and teal colors found in the Metallic Jewels and Metallic Confections 8x8 Kraft Stock Paper Pads. I then took the die cut shape and used it as a template to cut out a solid butterfly shape from a piece of cardstock. I then inked that paper with a coordinating Distress Ink to match the Metallic Paper. For these I used Peacock Feathers, Dusty Concord and Wilted Violet.

Collect Beautiful Moments Vignette Box Tim Holtz Sizzix Chapter 1 2020 Scribbly Butterflies by Juliana Michaels

A couple of other details at the bottom of the vignette box include the title piece. This was created using an Ideology Quote Chip. I built up a ledge on the bottom of the box to the height of the Quote Chip using scraps of Chipboard. I then added a Metal Gate that I cut in half and some florist moss to complete the look of a springtime garden. 

Collect Beautiful Moments Vignette Box Tim Holtz Sizzix Chapter 1 2020 Scribbly Butterflies by Juliana Michaels

The final detail was to finish the outside of the box. I cut strips of patterned paper from the Lost and Found 12x12 Paper Stack and adhered them to the back, sides, top and bottom. I then inked the edges with Walnut Stain Distress Ink. I also inked the edges of the front of the box. Yes, I inked the wood. After inking the wood, I then added Opaque Crackle Paste with my finger and allowed it to dry. I have found that by inking under the paste, the color kind of seeps through and gives the paste I nice aged look without any more work on my part!

Collect Beautiful Moments Vignette Box Tim Holtz Sizzix Chapter 1 2020 Scribbly Butterflies by Juliana Michaels

So there you have it. I hope you enjoyed this peek into my creative process for my Collect Beautiful Moments Vignette Box featuring the Tim Holtz 2020 Sizzix Chapter 1 Thinlit Die Scribbly Butterflies. Thank you so much for stopping by and I hope I'll see again soon!

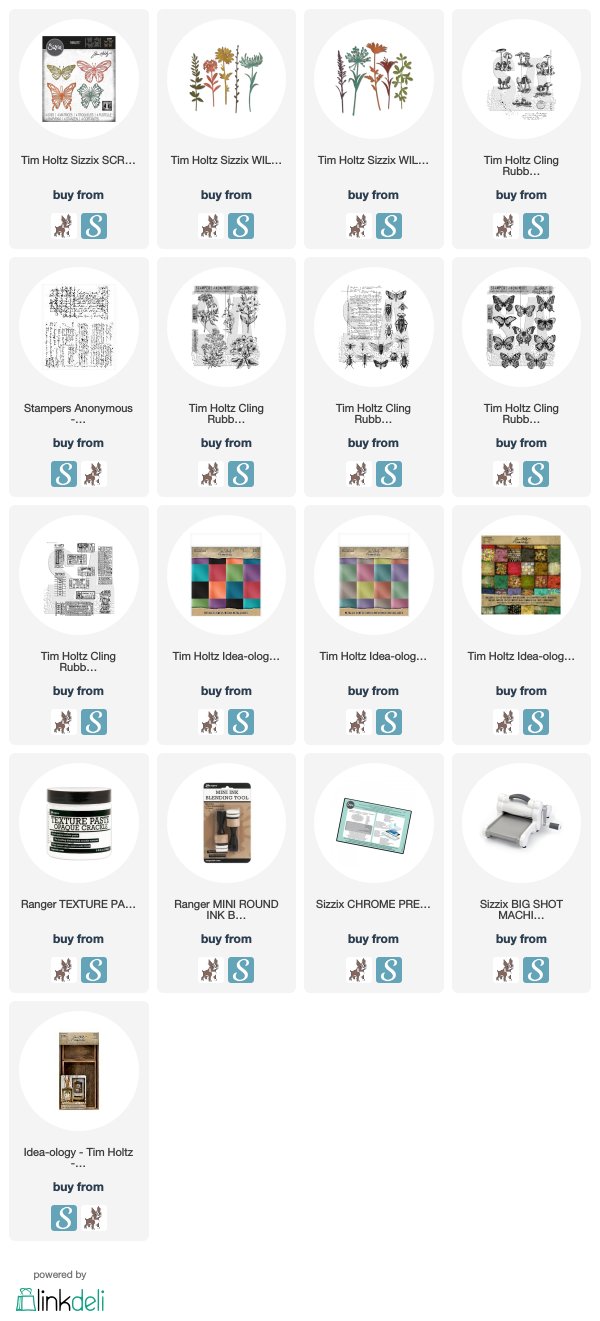
SUPPLIES

This post contains affiliate links to Scrapbook.com and Simon Says Stamp. If you buy anything through my links, it adds no extra cost to you. I truly appreciate and thank you for your support! (If you're interested, you can see my full disclosure statement here.)


Subscribe