Hello 2021

Hello friends! As we close the door on 2020 and very possibly yelling don't let the door hit you on the way out...I thought it appropriate to create a card that captured my feelings for 2021. As I look ahead, I'm filled with hope and joy. Hope for what the new year will bring. Joy that I'm searching for, creating, making, and sharing. Crafting brings me so much joy and has really sustained me during this terrible year for so many of us. I'm so thankful to have had a creative outlet and the ability to share it with so many of you. So here's to 2021! May it be filled with hope and joy for each and every one of you!

Hello 2021 Card by Juliana Michaels featuring Scrapbook.com, Tim Holtz and a Minc Foiled Background

Now let's get on with the creating part! To get started here, I took a white card panel and placed the Scrapbook.com Mod Asterisk Stencil on top and held it in place with Mint Tape. I then applied a layer of Therm O Web Deco Foil Transfer Gel Duo over the stencil using a palette knife. I removed the stencil, washed it off and allowed the gel to dry until it was tacky to touch and clear. 


Once the gel was tacky touch I placed a piece of Copper Deco Foil on it and ran the piece through my Minc to adhere the foil to the design. Don't you just love the shimmer and shine of foil?!


For the sentiment, I used the Scrapbook.com Charcoal, Blush and Rose Gold Sticker Book. I layered some of the label stickers with the Rose Gold number stickers to create the design. A little tip I'll share...I adhered a strip of cardstock to the back side of the stickers to hold everything together and make it easier to adhere to my card front.


To complete the card background, I stamped the script stamp from the Tim Holtz Ledger Script Stamp using Vintage Photo Distress Ink. I then inked the edges with the same ink to give it a slight vintage feel.


Before I added the sentiment, I adhered the clock die cut and inked it lightly with the Scrapbook.com Metallic Frost Ink to add just a bit more shimmer and shine.

I then finished off the card by layering it onto a piece of black cardstock.


Thanks so very much for following along with me this past year. I wish each and every one of you a hope and joy filled 2021!

Supplies
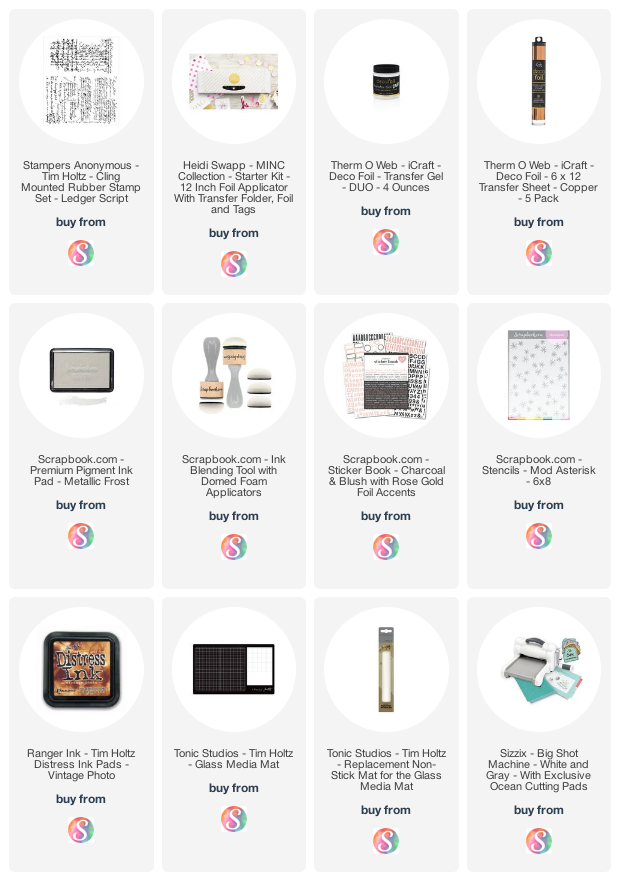
You can find a supply list of the products I used to create this project below. This post contains compensated affiliate links to Scrapbook.com at no cost to you. If you want to learn more about what an affiliate link is, you can see my full affiliate and product disclosure statement here.

Paper Village Christmas Ornament

One of my favorite holiday crafting traditions is to make handmade ornaments that I can then gift to family and friends. This year, I used the Paper Village Thinlits Die by Tim Holtz to create one and today I'm going to share with you how this Paper Village Christmas Ornament came together.

Paper Village Christmas Ornament by Juliana Michaels featuring Tim Holtz Sizzix Paper Village Thinlits Die and Curio Box Bigz Die 

If you aren't familiar with the Paper Village Thinlits Dies it is a set that is full of possibilities and limited only by your imagination. With this die set, you can make your own little village by mixing and matching the three size houses with the multiple door and window options. As you might notice, my ornament features a church. This was created by combining two of the house shapes. So as you can see, once you start mixing and matching the possibilities are endless!

So let's get started on how this came together. First off, I created the ornament base using the BigzXL Curio Box Die. I die cut this from Distress Kraft Heavystock and painted it with Speckled Egg Distress Paint. For the inside of the box, I added some gold stars using the Scrapbook.com Stars Stencil.
I applied embossing ink with a sponge dauber through the stencil (which was held in place with Scrapbook.com Mint Tape), sprinkled it with gold embossing powder over it and then heat embossed it.  I also added some gold embossed stars to the front of the box as well. 


Here you can see how I used the Mint Tape to hold the die in place for the opening on the front of the box and die cut it using my Magic Mat. I used Scrapbook.com 1/4" Adhesive Roll to adhere the box together.


Once the box was finished, I was ready to create my church using the Paper Village Thinlits. I again die cut the pieces from Distress Kraft Heavystock. I painted the building with Antique Linen Distress Paint and the roof pieces with Hickory Smoke Distress Paint.

To create the church I die cut the tall skinny house and the medium sized house. For full details and tips on how to assemble the houses, I invite you to check out this video by Tim Holtz. Next, I cut the tall skinny house to 1.5 inches tall. I then used the medium sized house die as a template to cut off the angle so the tall skinny house would fit on top of the medium house and create the church steeple. Here you can see the pencil line I drew. I then just trimmed this section away with scissors. To adhere this section to the top of the medium house, I used just a tiny bit of Collage Medium.


Once the church was assembled, I added Distress Grit Paste to the roof areas. While it was still wet, I sprinkled it with Distress Stickles Dry Clear Rock Candy Glitter and set it to the side to dry. To add a more snowy effect I splattered the church with Picket Fence Distress Paint using a splatter brush.


With the church completed, I adhered it inside the ornament with a bit of Collage Medium. I then added a little more Grit Paste and Glitter around the base of the church just like I did on the roofs.


 For a touch of green, I added a length of pine stems that I found at my local craft store. I added some Grit Paste to them as well.


To finish it off, I added a hanger made from gold cording and a bow made from seam binding that was dyed with Antique Linen Distress Spray.


Thank you so much for stopping by today and I hope you enjoyed learning how to create this Paper Village Christmas Ornament.

Supplies

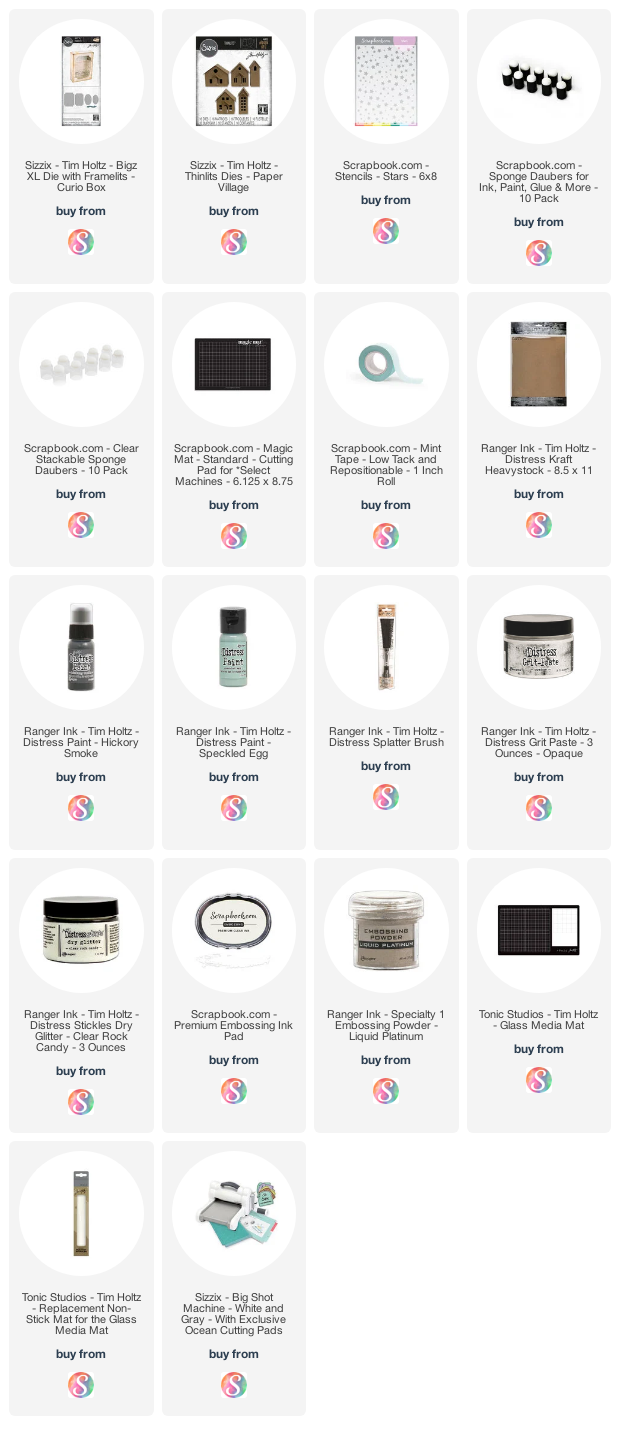
You can find a supply list of the products I used to create this project below. This post contains compensated affiliate links to Scrapbook.com at no cost to you. If you want to learn more about what an affiliate link is, you can see my full affiliate and product disclosure statement here.

Mass Produced Christmas Tags

During my last post, I shared with you some tips and tricks for creating a Slimline card. After creating that slimline Christmas card I was inspired to create a set of coordinating Christmas tags using some of the techniques I used to create that card. In that post, I focused on how to use your stamps, stencils and dies and create a slimline card. I did not however, go over how I created the background for the card. Today, I'm going to share how I created that background and then used it to mass produce a set of Christmas tags.

Christmas Tags by Juliana Michaels featuring Scrapbook.com Big and Bold Christmas Stamp Set

I love being able to mass produce an idea, but I also like a little variety as well. By using the Big and Bold Christmas Stamp Set, I was able to easily repeat the design from one tag to the next AND get a little variety by using a different sentiment on each tag.


To get started, I began with a piece of Distress Heavystock which I die cut using one of the tags from the Nested Tag Dies. Scrapbook.com Mint Tape works wonderfully to hold the hole part in place as you die cut each tag and the Magic Mat is a wonderful new tool that replaces one of your cutting plates and keeps them from warping.


After die cutting the tags, I smooshed some Old Paper Distress Ink onto my craft mat, spritzed it with water and dabbed the paper into the ink. I dried the ink with my heat tool and repeated the dabbing and drying until I was pleased with the ink coverage. I repeated this process for all three tags.


Once the tags were dry, I began to add the stamping. For this I used the Tim Holtz Forest Floor and The Poinsettia Stamp Sets. I stamped various images with Distress Oxide Ink in Rustic Wilderness, Frayed Burlap and Fired Brick. After I stamped each image, I lightly wiped over it with a dry paper towel to smear the ink. I then stamped the music notes and script stamps with Archival Ink in Vintage Photo. By using a stamp platform, such as the MISTI, I was able to do the same stamp on each tag before moving onto the next stamp image. After I had finished the stamping, I added some stenciling using the Scrapbook.com Star Stencil with a bit of Vintage Photo Distress Ink. I then finished off the background by inking the edges with Vintage Photo Distress Ink.


At this point, the tags all looked exactly the same. To add some variety, I stamped one of the Big and Bold Christmas Stamp sentiments using embossing ink and then heat embossed it with Copper Embossing Powder. If you want even more variety make sure to check out the Big and Bold Holidays Stamp Set which will add three more sentiments to your options.

To finish off each tag, I added some Hug Snug Seam Binding. I love that you can dye this ribbon using Distress Spray stains. For these ribbons, I sprayed them with Old Paper Distress Spray, crinkled them and then dried them with my heat tool.


Thanks so much for stopping by today and I hope you enjoyed learning how easy it is to mass produce a design while adding some variety with your sentiment stamps.

Supplies

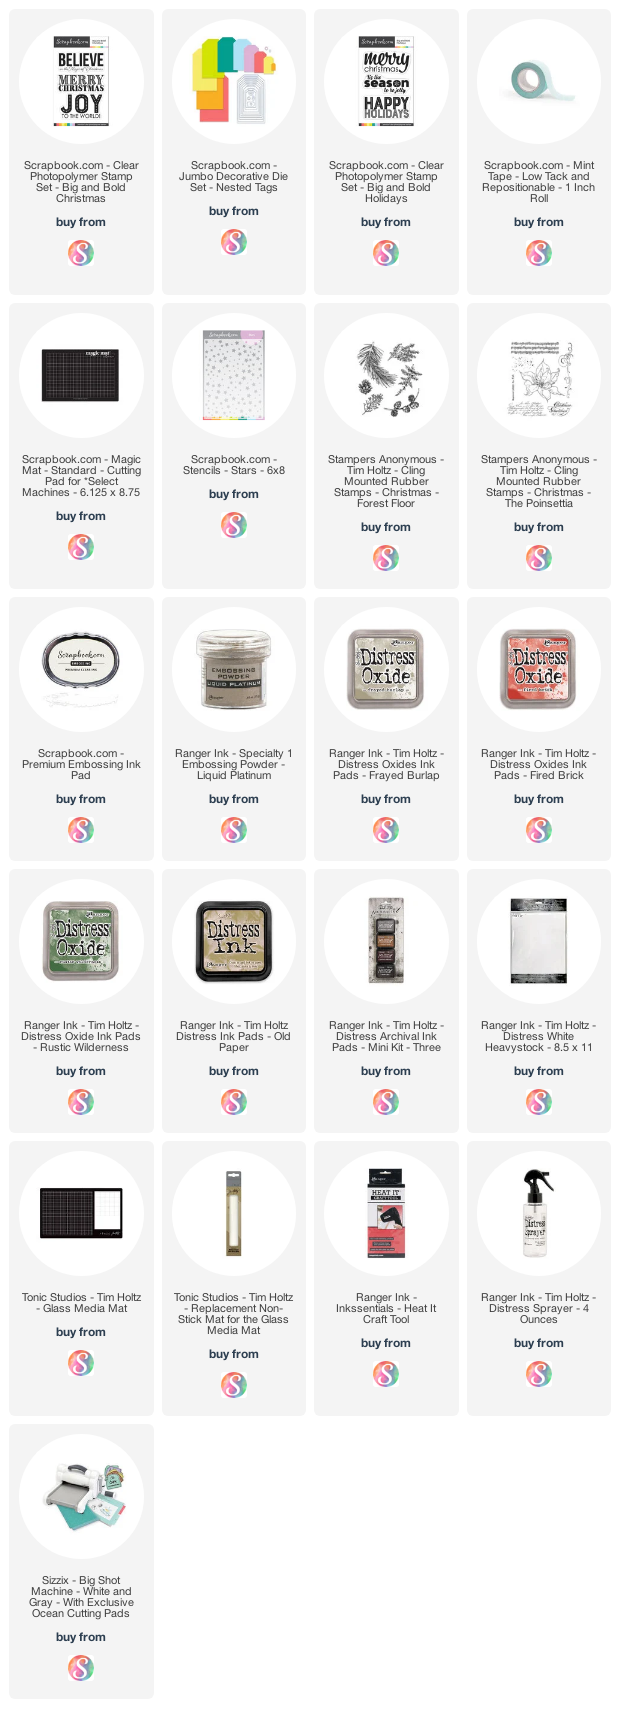
You can find a supply list of the products I used to create this project below. This post contains compensated affiliate links to Scrapbook.com at no cost to you. If you want to learn more about what an affiliate link is, you can see my full affiliate and product disclosure statement here.

Slimline Christmas Card

Hello crafty friends! Slimline cards seem to be everywhere right now, but I know quite a few crafters who find this new size to be a bit challenging. They just aren't sure what to do with all that extra space. Well, today, I'm going to take you through a slimline Christmas card I created using a combination of stamps, stencils and dies and give you some tips and tricks on how to make this large size work for you.
Believe Slimline Christmas Card by Juliana Michaels

Since these cards have lots of space to fill, I reached for some of my oversize stamps and dies. If you look through your stash you probably have stamps, stencils and dies that are larger than a standard size card or maybe ones that are larger designs than others that will help fill in the space.


On my card I used the Tim Holtz Sizzix Bigz Reindeer, Tim Holtz Forest Floor Stamp Set and the Scrapbook.com Stars Stencil. Each of these are large enough that they actually hang over the edge of the card size. I trimmed off part of the reindeer and was only able to stamp parts of the evergreen bough on the edges of the card. Here you can see how the stencil overlays the card design. I applied embossing ink over the edge of the stencil and then heat embossed it with embossing powder.


You might also notice there is a bit of white space on this card. Don't be afraid of this. It gives your eyes a place to rest as it wanders across the card design.


Another trick to fill in the space is to use a large sentiment or to use die cut letters. Here I used Scrapbook.com Bold Basic Alphabet Dies with some metallic kraftstock to create an elegant but bold sentiment that draws your eye across the card.


I hope you enjoyed learning a few tips and tricks on how to create your own slimiline card. Thanks to Scrapbook.com these are easy to create AND mail with their Slimline Card and Envelope Sets.

Supplies

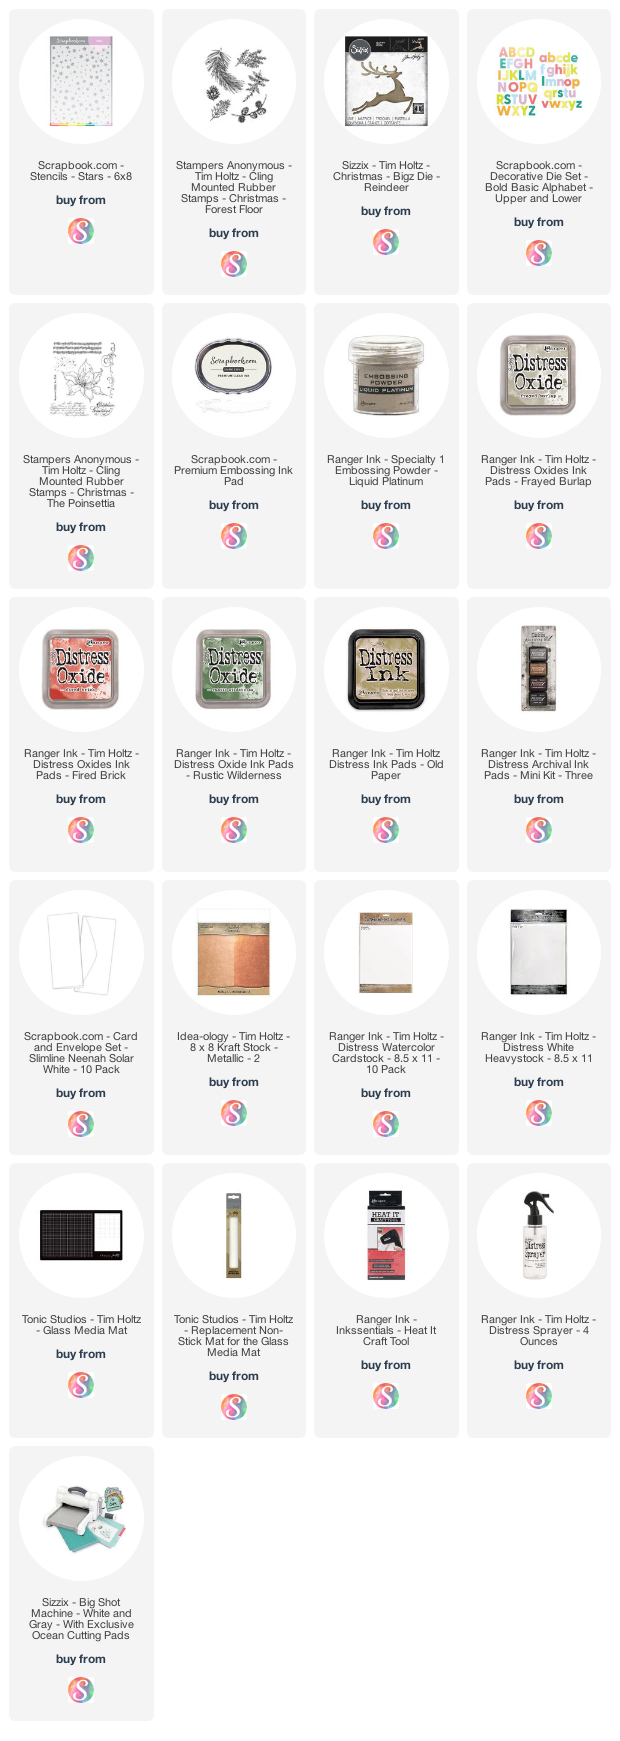
You can find a supply list of the products I used to create this project below. This post contains compensated affiliate links to Scrapbook.com at no cost to you. If you want to learn more about what an affiliate link is, you can see my full affiliate and product disclosure statement here. 

Simon Says Stamp DieCember® + Tim Holtz Feathered Cardinal

Hello crafty friends! Today I have something super fun to share with you. Every December Simon Says Stamp celebrates all things die cutting with their month long DieCember® Celebration. This year they have joined together with Tim Holtz to give you a free (while supplies last) gift with every Tim Holtz brand purchase. This gift is an exclusive Sizzix die designed by Tim Holtz called Feathered Cardinal! It is perfect for all your holiday crafting, but also for those year round nature lovers and it pairs perfectly in size to the Feathered Friends Thinlits that was released earlier this year.

With the holidays fast approaching, I used the Feathered Cardinal die to create a Christmas card, because one can never have to many Christmas cards. Am I right?!

Be Joyful Christmas Card by Juliana Michaels featuring Tim Holtz Feathered Cardinal Thinlit for Simon Says Stamp DieCember

The background for the card was created with some ink smooshing and dabbing onto White Heavystock with Old Paper and Vintage Photo Distress Ink. I then stamped the Tim Holtz CMS358 Music and Advert stamp using Vintage Photo Archival Ink. To further distress the paper, I inked the edges with some Vintage Photo and Walnut Stain Distress Ink and added some machine stitching.


Now to the die cutting! I cut all of the images including the Feathered Cardinal, Funky Festive and Funky Wreath Thinlits from watercolor paper. I then colored them by ink blending the paper using the following Distress Ink colors: Festive Berries, Fired Brick, Aged Mahogany, Mustard Seed, Crushed Olive, Peeled Paint, Forest Moss, Walnut Stain and Black Soot. For the wreath I used: Gather Twigs. And with all of them I inked the edges with a bit of Vintage Photo.

To make it easier to color the tiny pieces, I adhere Purple Tape (any low tack tape will work) to the back side of the paper and place the die cuts back into place. I then ink blend each piece with the desired ink colors. For more details on this technique you can check out my Making Spirits Bright Christmas Tag blog post.


Once all of the coloring was completed, I assembled the die cuts and began arranging them onto the wreath.


To complete the card, I added a white heat embossed sentiment using the Tiny Text Christmas CMS424 Stamp Set onto black cardstock. I then trimmed it into a banere shape and added it to the card.


I hope you enjoyed this bit of inspiration using the Tim Holtz Feathered Cardinal Thinlit that is a free gift with any Tim Holtz brand purchase from Simon Says Stamp as part of their 2020 DieCember® Celebration.


For more ideas, inspiration and to learn more about this month long celebration, make sure to visit Simon Says Stamp.

Supplies

You can find a supply list of the products I used to create this project below. This post contains compensated affiliate links to Simon Says Stamp at no cost to you. If you want to learn more about what an affiliate link is, you can see my full affiliate and product disclosure statement here. 

Stickles Glitter Gel + Ink Blended Background

Hello friends! Today I'm excited to share a card I created that features a fabulous and new to me product...Stickles Glitter Gel. I've used Stickles in the past, but this gel takes it to a whole new level. Because it's now in a gel format, you can add that same beautiful sparkle and shine to larger surfaces and even use it with stencils. On this card, I've combined the Stickles Glitter Gel with a Distress Oxide ink blended background to create a very merry Christmas card!

Merry Christmas Card by Juliana Michaels featuring Ranger Stickles Nebula Glitter Gel and Distress Oxide Ink blended background

To create this card, I began with a piece of watercolor cardstock cut to 4 x 5.25 inches. I used this type of paper because I was planning on working with the gel and ink and I needed paper that would hold up to all that moisture.


Next, I placed the Scrapbook.com Bold Striped Stencil at an angle over the paper and used Mint Tape to hold the stencil in place. I also placed a rolled up piece of tape behind the paper to hold it in place on my glass mat. I then ink blended the stripes using Distress Oxide in Salty Ocean at the top, Blueprint Sketch in the middle, and Wilted Violet at the bottom.


Once I was finished with the ink blending, I cleaned off my stencil so I could use it again with the Stickles Glitter Gel.  I used a large wide palette knife to apply a coat of the gel over the inked design. Once the gel was applied I again cleaned off the stencil and set the paper to the side to dry. And can we just pause a moment to enjoy the sparkle and shine! I mean come on, it's really quite fabulous!


While the paper was drying, I worked on the sentiment and embellishments. Using the Scrapbook.com Magic Mat with the Nested Star Dies, I cut a star from Tim Holtz Metallic Kraftstock in gold. I cut it again from thin chipboard and adhered the chipboard to the back side of the star die cut.


To get the embossed star design, I placed the next two smallest star dies on the the star die cut and used Mint Tape to hold them in place as I ran it through my die cutting machine. I did each die separately, but you could easily do them both in one pass. The thickness of the chipboard kept the die from cutting all the way through the paper and made it easier to keep this all as one piece as I adhered it to the front of my card.


For the sentiment, I die cut merry using the Tim Holtz Merry and Bright Thinlits die from black cardstock. I then stamped "merry & bright" from the Scrapbook.com Wordfetti December Stamp Set with embossing ink onto black cardstock. I then heat set it using white embossing powder and trimmed the strip into a banner.


Once the background was dry, I adhered the star and sentiment to the front of the card. I then finished it off by adding a some sequins for another bit of sparkle and shine.


I hope you enjoyed seeing how this Merry Christmas card featuring Stickles Glitter Gel and a Distress Oxide Ink blended background came together and I super appreciate your visit!


Now, just a bit of an enabler alert....Stickles Nebula Glitter Gel is today's FREEBIE at Scrapbook.com as part of their Cyber Monday Sale. So if you're planning on shopping you might as well enjoy an awesome freebie while your at it right?! 


And to make this all a little sweeter...ALL Tim Holtz is on sale! So what are you waiting for my friend?!


Supplies

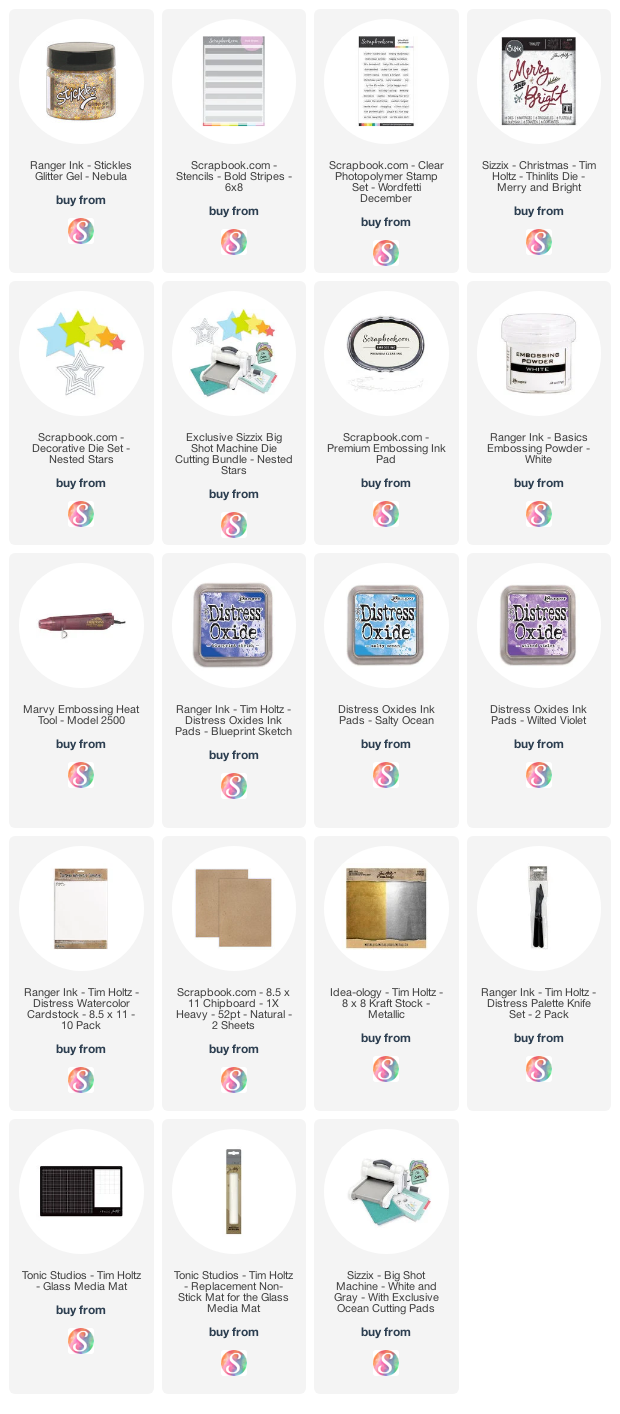
You can find a supply list of the products I used to create this project below. This post contains compensated affiliate links to Scrapbook.com at no cost to you. If you want to learn more about what an affiliate link is, you can see my full affiliate and product disclosure statement here. 

Subscribe