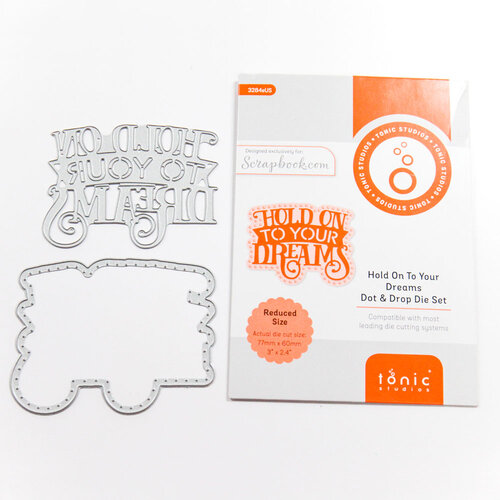
Hello friends! Today I'm here to share an exclusive "Hold On To Your Dreams"Tonic Studio Die that's FREE today (Wednesday, December 11th) at Scrapbook.com with any purchase through Thursday, December 12th at midnight MST or while supplies last.
This fun die is one of Tonic's Dot and Drop Layering Dies. And I hate to admit it, but this was my first time to play with one! Besides cutting a fun design, it also provides a perfect guide for placing Nuvo Crystal, Glitter and Jewel Drops.
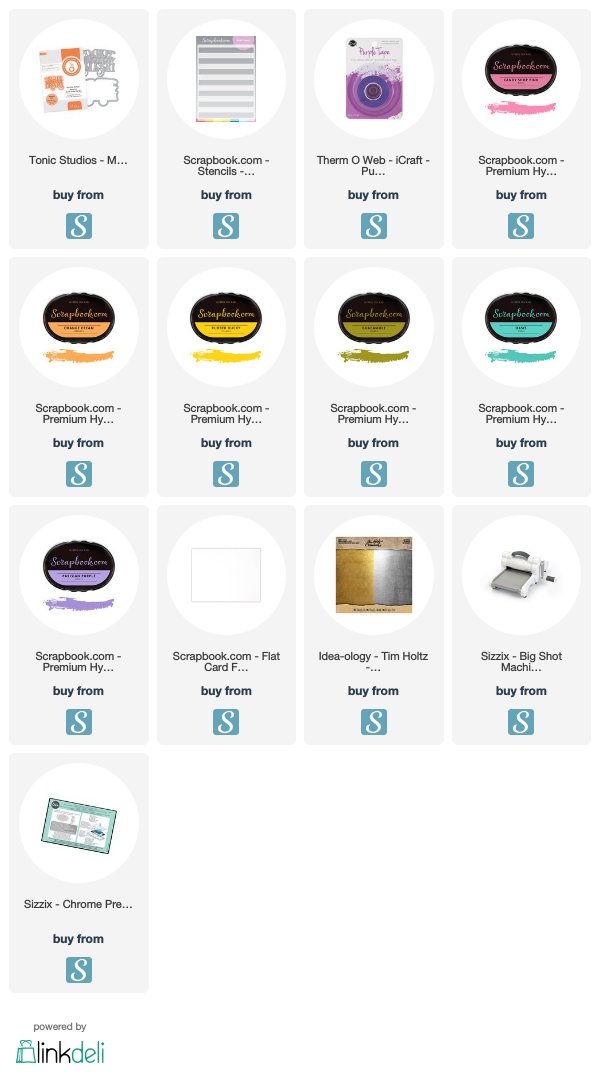
At the bottom of this post you will find links to all of the products I used. These links are affiliate links to shop at Scrapbook.com. You can read my full disclosure regarding this here.

Another thing I hate to admit is I don't have any Nuvo Drops of any kind, so I decided to challenge myself and come up with another way to use those guide holes.
Thanks for stopping by today! I hope you enjoyed seeing a new twist on using Tonic Studios Dot and Drop dies with stitching! This freebie is only available through Thursday, December 12th at midnight MST or until the supply run outs. What are you waiting for? Head on over to Scrapbook.com NOW to get your free die with any purchase!
HOLD ONTO YOUR DREAMS DIE | TONIC STUDIO SCRAPBOOK.COM EXCLUSIVE
This fun die is one of Tonic's Dot and Drop Layering Dies. And I hate to admit it, but this was my first time to play with one! Besides cutting a fun design, it also provides a perfect guide for placing Nuvo Crystal, Glitter and Jewel Drops.
At the bottom of this post you will find links to all of the products I used. These links are affiliate links to shop at Scrapbook.com. You can read my full disclosure regarding this here.

I began by die cutting the phrase from white cardstock and the layering back piece from a piece of Tim Holtz Metallic Kraft Stock in gold.
Since the die is a phrase, I knew I wanted to make it the focal point of my card. As I pondered what to do, the idea of using those holes as a stitching guide popped in my head! I pulled out my stash of embroidery thread and using 4 strands and a needle, I stitched along the edge to created a colorful and textured border for the phrase.
Once the stitching was completed, I knew it needed a fun background to make the die cut pop. I pulled out the Scrapbook.com Bold Stripes Stencil and placed it diagonally onto a 5.5 x 4.25 inch Neenah Flat Card Front in Solar White. I used a bit of adhesive to hold it to my craft mat and I used Therm O Web Purple Tape to hold the stencil in place while I inked it up in a rainbow of Scrapbook.com Hybrid Ink colors.
I finished off the card with a few splatters of watered down white and black acrylic paint and then adhered the sentiment using Scrapbook.com Double Sided Adhesive Foam Squares.
Thanks for stopping by today! I hope you enjoyed seeing a new twist on using Tonic Studios Dot and Drop dies with stitching! This freebie is only available through Thursday, December 12th at midnight MST or until the supply run outs. What are you waiting for? Head on over to Scrapbook.com NOW to get your free die with any purchase!
SUPPLIES
Here is a list with links to Scrapbook.com of the supplies I used to create my Vintage Style Christmas Cards. These are affiliate links to Scrapbook.com. If you buy anything through my links, it adds no extra cost to you. I truly appreciate and thank you for your support! (You can see my full affiliate disclosure statement here.)


No comments
Every time you smile at someone, it is an action of love, a gift to that person, a beautiful thing. ~Mother Teresa
HUGS!
JULIANA