BLACK FRIDAY WEEK
Black Friday Week starts today November 26 and continues through November 30. There are tons of amazing deals, discounts with Scrapbook.com Exclusive Products at their Lowest Prices - 30%, 40% and 50% OFF!FREEBIE
There is an awesome Freebie each day of the sale and today's Freebie is this adorable enamel pin by Doodlebug Design created exclusively for Scapbook.com.VINTAGE STYLE CHRISTMAS CARDS
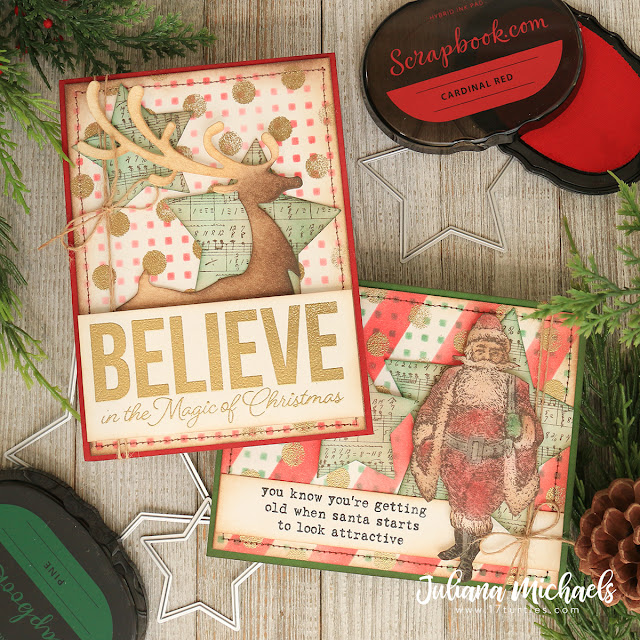
As I mentioned above, I am hopping along and as part of this I've created two vintage style Christmas cards to share with you using Scrapbook.com Exclusive products including their Hybrid Inks, Domed Blending Tool, Stencils, Stamps and Dies. Keep reading to learn more about how I created each card. At the bottom of this post you will find links to all of the products I used. These links are affiliate links and you can read my full disclosure regarding this here. And as always, I appreciate your support!
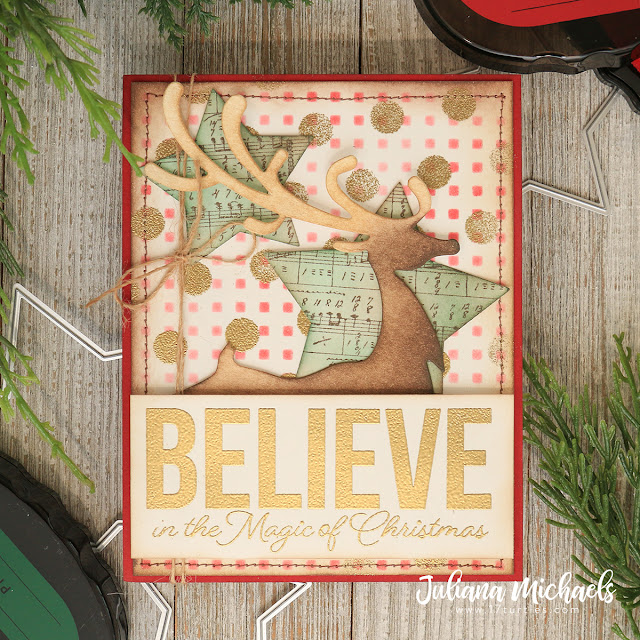
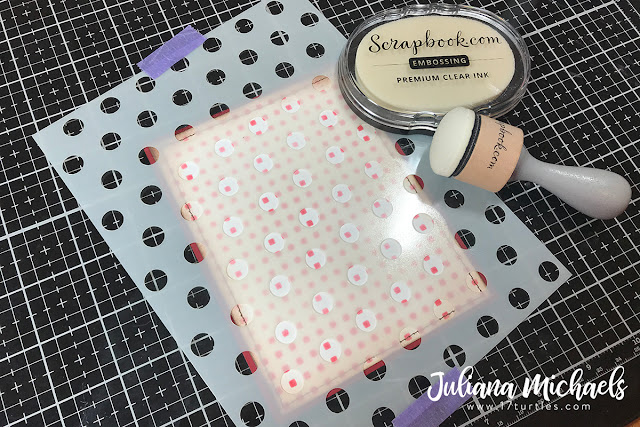
To create the background, I placed the Little Boxes Stencil on top of a 5.5 x 4.25 inch Neenah Flat Card Front in Solar White. To hold the paper in place, I add a little adhesive to the backside of the paper and stick it down onto my crafting surface. I then position the stencil on top and use Therm O Web Purple Tape to hold it in place. I then applied Cardinal Red ink through the stencil using the awesome Scrapook.com Exclusive Ink Blending Tool with Domed Foam Applicator!
I wanted to add a bit more interest to the background, so I took the Dotted Stencil, tilted it slightly and applied Scrapbook.com's Exclusive Embossing Ink using the ink blending tool. I removed the stencil, sprinkled the paper with gold embossing powder and heat set it with a heat gun. Once I was finished with the stenciling, I trimmed the paper to 4 x 5.25 inches and inked the edges with Scrapbook.com Hybrid Ink in Leather. To finish off the background, I added some machine stitching with brown thread.
For the deer die cut, I inked it up using Scrapbook.com Hybrid Ink in Dark Chocolate and Leather for the body. Black was added to the hooves and Sugar Cookie to the antlers.
The sentiment on this card is from the Big Bold Christmas Stamp Set. I stamped it using the Embossing Ink and then heat embossed it with gold embossing powder. The sentiments in this set are just that...big and bold and perfect as the focal point of your card.
To add more interest to the card, I stamped a music note image onto a 5.5 x 4.25 inch Neenah Flat Card Front using Dark Chocolate Ink. I then die cut 2 stars using the Nested Star Die Set. I inked them with Pine Ink and added a bit of Leather Ink to the edges for a more distressed look.
For the final touch I tied a length of jute twine around the side of the card.
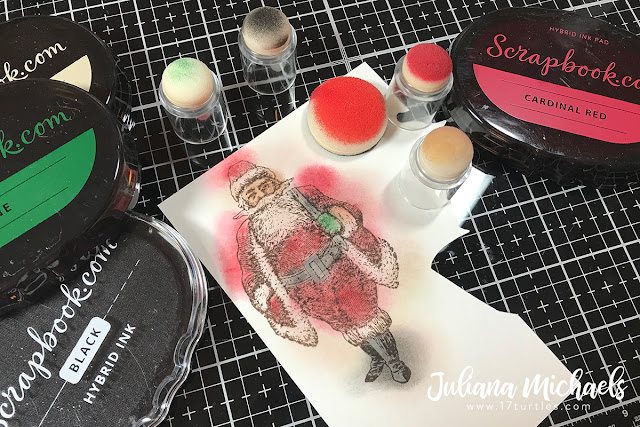
I knew I wanted to use the funny sentiment about Santa from the Christmas Fun Card Sentiments Stamp Set so I grabbed a Santa image and stamped it using Dark Chocolate Ink. I then used the Sponge Daubers to color the image using Cardinal Red for the suit, Pine for the gloves, and Black for the boots. This is a rather unconventional way to color and image, but I knew I was going to fussy cut it so I didn't mind if the ink went outside the lines. This technique made for a quick and easy way to color a stamped image. After I fussy cut the Santa, I inked the edges with an Ink Blending Tool and Leather Ink.
I hope you enjoyed this bit of vintage style Christmas Card inspiration using some of the fabulous Scrapbook.com Exclusive Products.
Alexandra Stapleton-Smith
Jess Francisco
Nicole Watt
Mona Toth
Amy Tsuruta
Terri Burson
Anita Trippi
Laura Volpes
Laura Mooney
Brandi Mahon
Nanette Tracy
Daniel West
Ashley Ebben
Marie Heiderscheit
Erin Reed
Juliana Michaels (you are here!)
HOP OVER TO YouTube
Justine Hovey
Heather Little
Ingrid Blackburn
Lorene Caido
The stars on this card are created just like the stars I used on the first card.
For the background on this card, I used the Bold Stripes Stencil and tilted it to make diagonal stripes. It didn't quite cover the card front, so I just slide it up and down to get full coverage. Here I used Cardinal Red Ink with the Ink Blending Tool.
To continue with the background, I used the Little Boxes Stencil with Pine Ink and I also added the same gold embossed dots using the Dotted Stencil. Once all the stenciling was complete, I inked the edges with Leather Ink and added the same machine stitching to the edge.
This card was also finished off with a bit of jute twine tied around the side.
GIVEAWAY
You'll be so inspired after visiting each of the 20 stops that you'll want to create designs of your own, we just know it! Why not enter to win a Scrapbook.com Gift Certificate for yourself? Scrapbook.com is giving away a $100 Gift Certificate to ONE lucky winner! To be eligible, leave a comment letting us know a bit about your holidays at each of the 20 hop stops along with your email. It's that easy! Share a favorite tradition, a cherished memory, or a memorable handmade gift! Giveaway closes Tuesday, December 3, 2019, at midnight MST. The winners will be notified and announced no later than Monday, December 9, 2019. The winner will be notified through the email provided and has 72 hours to respond to claim their prize. Good luck! For complete official rules click here.HANDMADE HOLIDAY PARADE STOPS
(Leave a comment at each of these official stops to enter the Giveaway!)Alexandra Stapleton-Smith
Jess Francisco
Nicole Watt
Mona Toth
Amy Tsuruta
Terri Burson
Anita Trippi
Laura Volpes
Laura Mooney
Brandi Mahon
Nanette Tracy
Daniel West
Ashley Ebben
Marie Heiderscheit
Erin Reed
Juliana Michaels (you are here!)
HOP OVER TO YouTube
Justine Hovey
Heather Little
Ingrid Blackburn
Lorene Caido
SUPPLIES
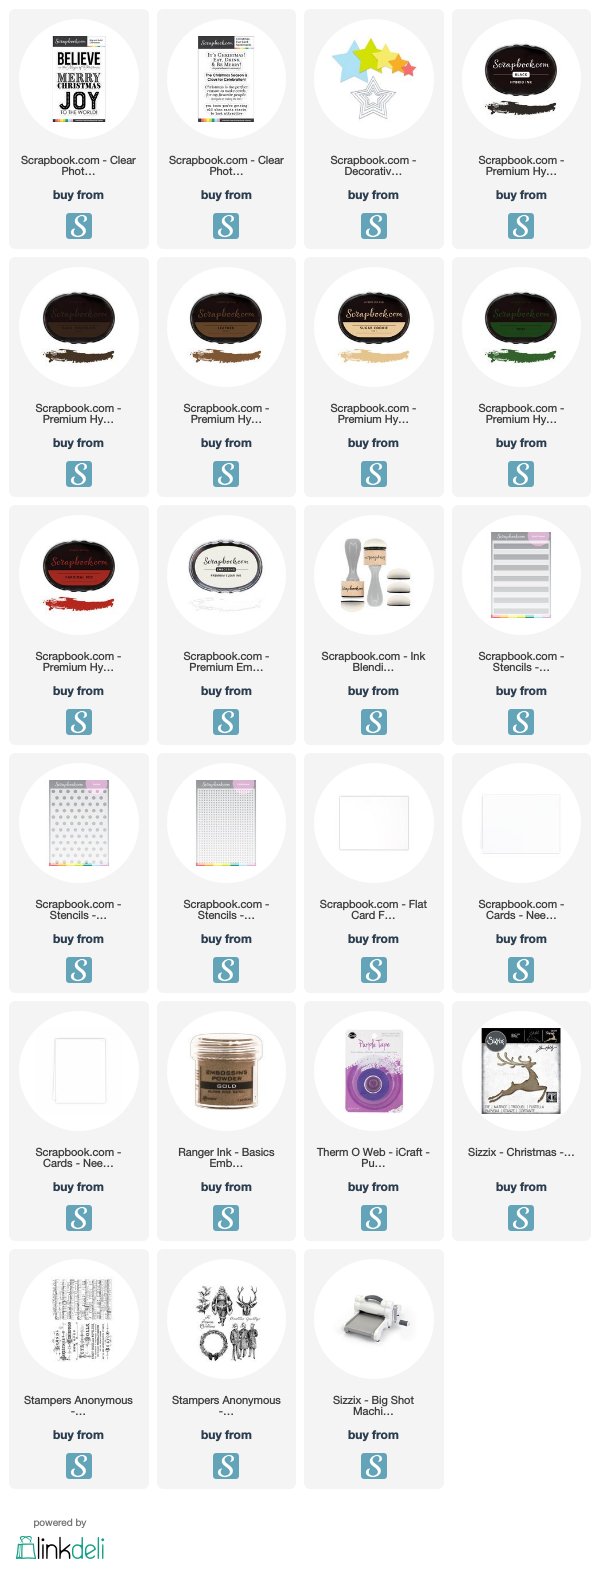
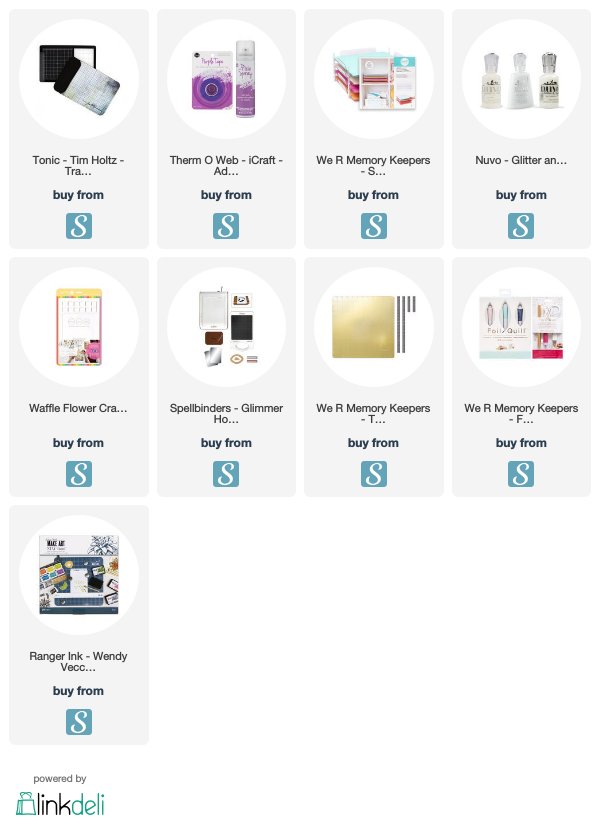
Here is a list with links to Scrapbook.com of the supplies I used to create my Vintage Style Christmas Cards. These are affiliate links to Scrapbook.com. If you buy anything through my links, it adds no extra cost to you. I truly appreciate and thank you for your support! (You can see my full affiliate disclosure statement here.)
