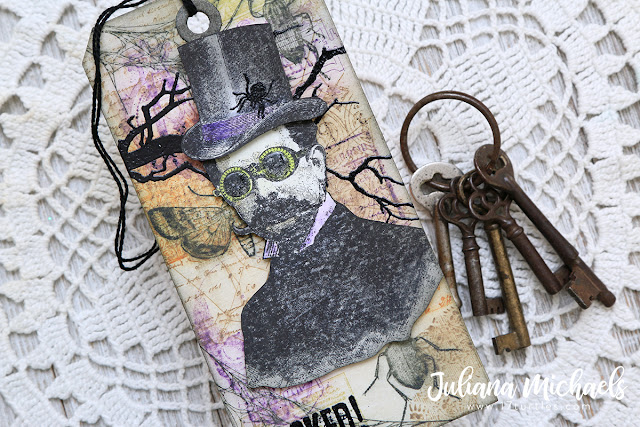
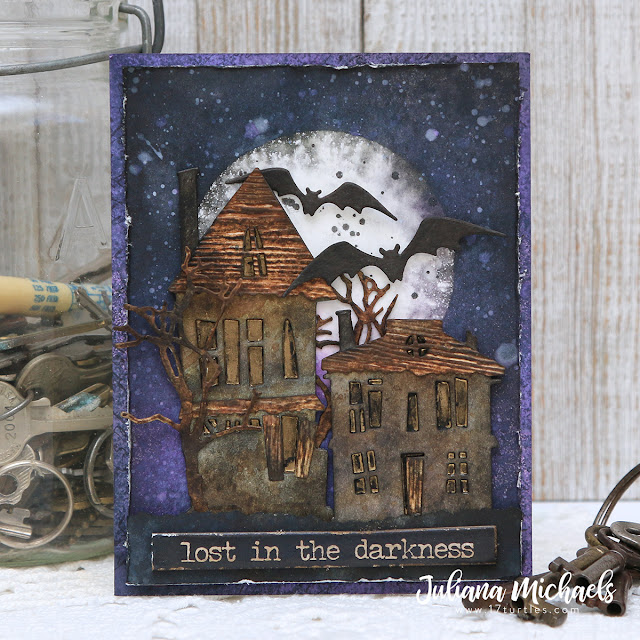
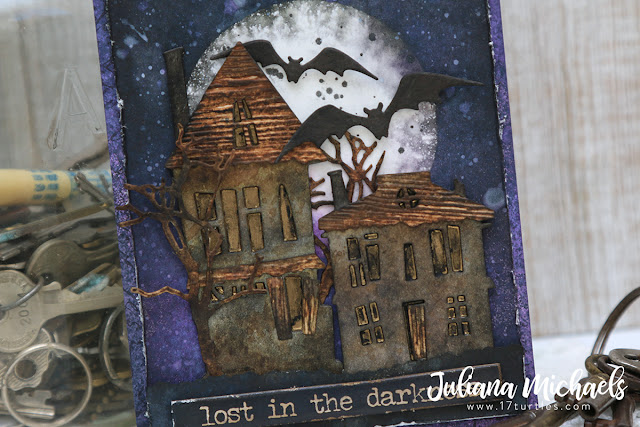
Happy Halloween friends! Today I have one last Halloween project to share with you... a trio of Wicked Halloween Tags.
STAMP & SMEAR DISTRESS OXIDE TECHNIQUE
These tags are rather easy to make. Just grab a paper tag, any tag size you prefer. Here I used the largest tag die from the Stacked Tags Dies and cut it from Bristol paper.
Next came the fun part...one of my favorite background techniques that I like to refer to as Stamp and Smear! You simply stamp the image, wait just a bit to let it slightly dry and then smear the ink with an ink blender or paper towel. If waiting isn't your thing, you can also dab the wet ink off and then smear.
The stamped images I used came from the following stamp sets, but feel free to go through your stash to select a mix that fits your style or the theme of your project.
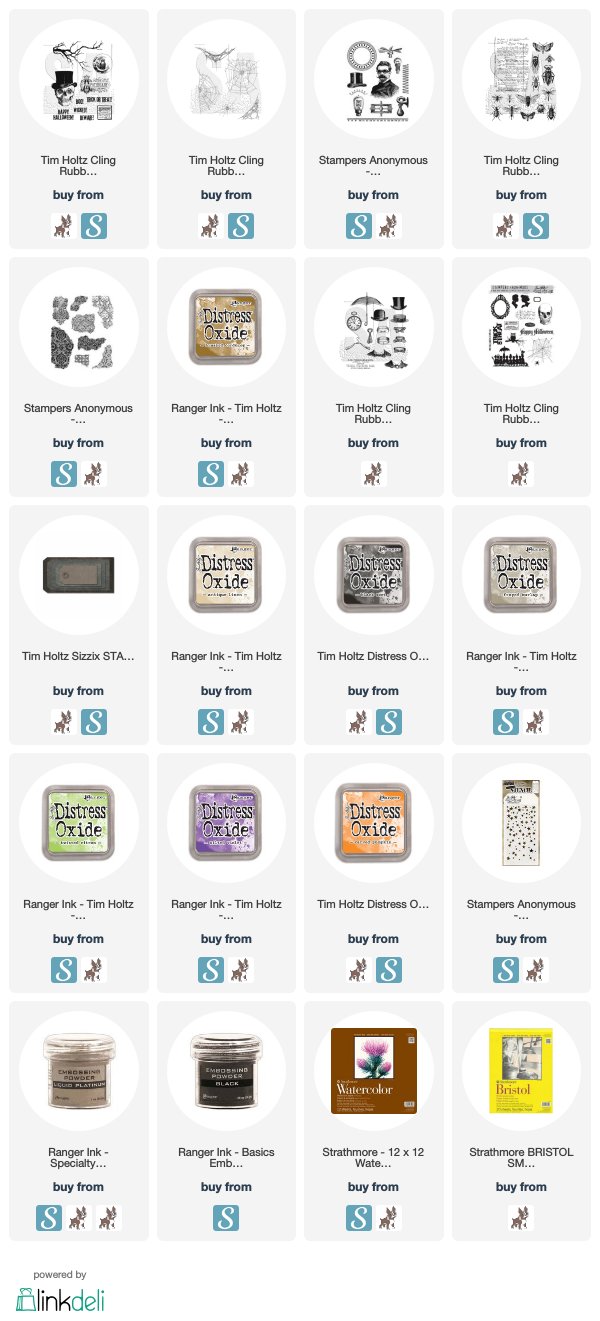
Stamps used: Entomology, Mini Halloween 3, Ticket Booth, Mr Bones, The Professor, Distinguished, Tangled Webs and Fragments.
I then began stamping the images onto the tag using various Distress Oxide inks using the Stamp and Smear Technique mentioned above.
Distress Oxide Inks used: Wilted Violet, Twisted Citron, Carved Pumpkin, Brushed Corduroy, Frayed Burlap, and Black Soot.
Once I was finished with the background, I added some extra interest by stamping the branch on a couple of these with embossing ink and then I heat embossed it with black embossing powder.
I then inked the edges and slightly over the images with Antique Linen. I added a little Black Soot and Frayed Burlap only on the edges.
Now for the main feature on each tag. Here I stamped the Professor and his hat onto watercolor paper with Black Archival Ink. I then fussy cut the pieces and colored them with Distress Ink and a water brush. I also added the little spider which is heat embossed with black embossing powder and I added Glossy Accents to the lenses on his goggles.
I then added the sentiment which is heat embossed with black embossing powder.
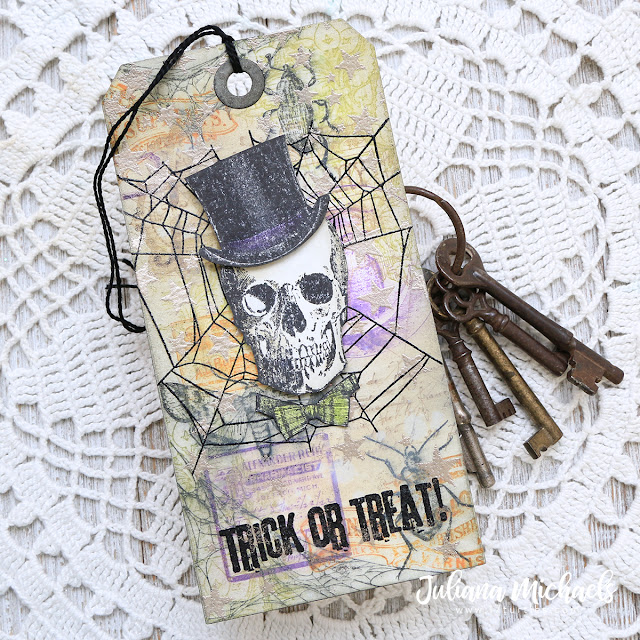
This tag features Mr Bones. I used the same process as on the Professor and added Glossy Accents to his eye!
On this final tag, I used the Falling Stars Stencil to add some interest to the background. I inked through it with embossing ink and heat embossed it with liquid platinum embossing powder. I then stamped the large web and heat embossed it with black embossing powder.
The main image here is a combo of the small skull from the Mini Halloween 3 set and the hat and bowtie from the Distinguished set.
Thanks so much for stopping by today! I hope you enjoyed learning about how I created these Wicked Halloween Tags!
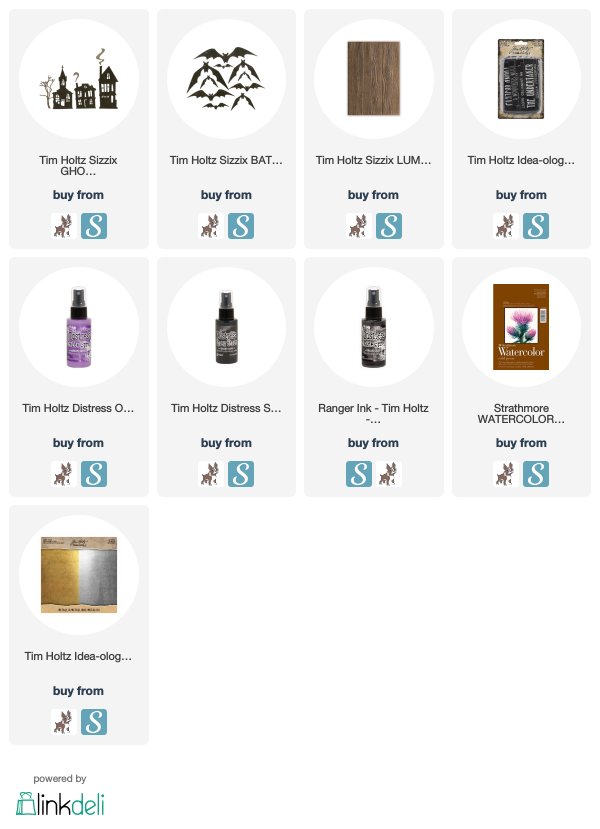
SUPPLIES
This post contains affiliate links to Scrapbook.com and Simon Says Stamp. If you buy anything through my links, it adds no extra cost to you, but it does help me keep my blog up and running and allows me to share this content with you! I truly appreciate and thank you for your support! (If you're interested, you can see my full disclosure statement here.)