Hey friends! I'm back in Halloween mode and sharing a project I started on nearly a year ago. Yes, you read that correctly. Last year I had gathered all my Tim Holtz Halloween goodies from the 2018 release to play with them at a weekend crop. I finished one project and started on this one as the crop was coming to an end. I knew I wouldn't have time to finish it, but assumed I'd find some time to do so once I got home. Well...that never happened, so it stayed packed up until a few weeks ago when I went to another weekend crop. However at this point, I had more new Tim Holtz Halloween goodies to play with so I knew I had to add them in. This adding in, ended up causing me to redo a bit of the original piece, but in the end, I really love how it turned out. Welcome to The Witches' Kitchen!


Last but not least is the witches' Cauldron! With this being a Bigz die, I was able to cut it from chipboard. I cut two layers for the cauldron and glued them together. I then painted it with Black Soot Distress Paint. Once the paint was dry, I applied Collage Medium Crazing to give it a little texture. For the handle, I cut if from chipboard and then again from Silver Metallic Kraft Stock. And finally for the smoke tendrils, I cut them from chipboard and painted them with Peeled Paint and Frayed Burlap Distress Paint. I then filled the cauldron with the smoke, bones and some funky moss!
This post contains affiliate links to Scrapbook.com and Simon Says Stamp. If you buy anything through my links, it adds no extra cost to you, but it does help me keep my blog up and running and allows me to share this content with you! I truly appreciate and thank you for your support! (If you're interested, you can see my full disclosure statement here.)


I will say, the final piece kept the original witch theme. That happens to be one of my favorite themes for Halloween and when I saw the new Sizzix Bigz Cauldron Die, I KNEW it would be perfect for this piece. Now that you've entered The Witches' Kitchen, let's take a look around!
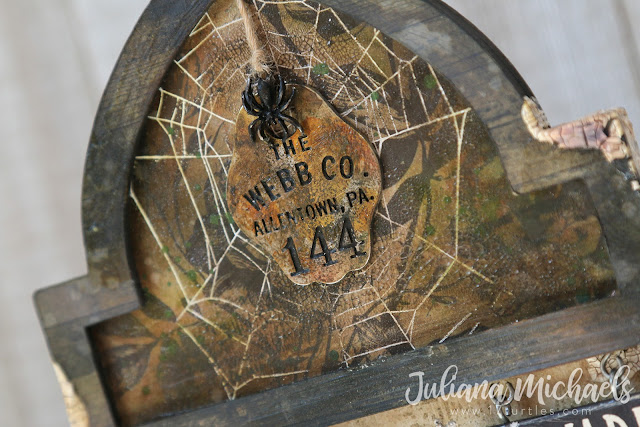
The base of the piece is a Stampers Anonymous Tombstone Overlay Small that was released last year. They have released some new ones for this year, that I know I will be adding to my stash for future Halloween projects! I covered the pieces with patterned paper from past Halloween paper pads. The top and base pieces were inked up with a mix of Distress Ink and Distress Oxide to give them a worn wood look. For the inlaided section of the top, I also covered with patterned paper and then inked with a mix of Distress Ink and Distress Oxide. I did this part nearly a year ago, so I can't remember all of the details, but I think I used Vintage Photo, Black Soot, and Peeled Paint to get the colors you see. Next, I stamped the spider web from the Tangled Web Stamp Set with embossing ink and heat embossed it with white embossing powder. I then covered the entire area with Collage Medium Crazing to give it a bit more distressed look.
The base of the piece is a Stampers Anonymous Tombstone Overlay Small that was released last year. They have released some new ones for this year, that I know I will be adding to my stash for future Halloween projects! I covered the pieces with patterned paper from past Halloween paper pads. The top and base pieces were inked up with a mix of Distress Ink and Distress Oxide to give them a worn wood look. For the inlaided section of the top, I also covered with patterned paper and then inked with a mix of Distress Ink and Distress Oxide. I did this part nearly a year ago, so I can't remember all of the details, but I think I used Vintage Photo, Black Soot, and Peeled Paint to get the colors you see. Next, I stamped the spider web from the Tangled Web Stamp Set with embossing ink and heat embossed it with white embossing powder. I then covered the entire area with Collage Medium Crazing to give it a bit more distressed look.

I'm going to continue on with the base of the piece. I love how these pieces are all separate so you can work on each piece separately before putting them together. I again adhered another piece of Halloween paper to the background and inked the edges with Distress Ink. Make sure to allow the ink to dry before continuing on to the next step. Embossing powder will sticker to Distress Ink when it's still wet. Ask me how I know! LOL Once the ink was dry, I took the Falling Stars Stencil and used a palette knife to add Opaque Crackle Texture Paste. I then removed the stencil and sprinkled the stars with Liquid Platinum Embossing Powder, let the paste dry and then heat embossed them to give them a super crackly effect!
For the bottom part of the tombstone, I actually built out a ledge to make a shelf for the witches' cauldron and other goodies. I cut foam core board to the size of the larger piece, covered it with scrap patterned paper and adhered it to the bottom of the tag base and then added the other parts to complete the tombstone. All of these were covered with patterned paper from past Halloween paper pads. I then added the cool metal bat and used the same technique on it that I used on the metal tag, and also added in some Pitch Black Alcohol Ink. I have personally found that I just keep playing with adding the media to the piece until I like the look of it!
Once the base was completed, I adhered all the pieces together. I then added some Opaque Crackle Texture Paste to random areas and once it was dry, I inked it with Walnut Stain and Vintage Photo Distress Ink.
Now that the base is complete, let's continue with all the little details. On the top, I added the Webb Co. metal tag from the Tim Holtz Idea-ology Adornment Foundry and a spider (from last years Halloween Wicked Metal) hanging from a bit of twine. All of the metal pieces where first painted with Collage Medium. Once this was dry, I added Alcohol Inks in Mushroom and Butterscotch to give them the look of aged metal. I also rubbed over it with some Black Soot Distress Crayon using my finger. For the spider here at the top, as well as the one I the broom, I painted them with Black Soot Distress Paint.
To give the broom, I used feel, I applied Distress Stain in Black Soot to the bristles and scrunched it up a bit while it was wet. I then dried it with my heat gun. I thought the handle needed some distressing as well, so I applied some Opaque Crackle Texture Paste, allowed it to dry and then inked it with Walnut Stain and Vintage Photo Distress Ink. I finished it off by tying another metal spider to it using a bit of twine.
Next on the tour, you'll see the witches' shelf with her cook books and other ingredients. I created the shelf from foam core, covered it with patterned paper and inked it until it was distressed to match the other wood looking sections. I then adhered it to the base to create a shelf. While this was drying, I worked on creating the books. They are made from scraps of cardboard that I wrapped in patterned paper and added titles to the spines using Halloween Remnant Rubs. I then inked the edges with Black Soot Distress Ink. The pumpkins and skull where distressed with Distress Crayons...mostly Walnut Stain and Peeled Paint. I then glued on a bit of moss to the pumpkins.
One other small detail, that was actually one of the last things I added is the Beware sign. It's a Halloween Quote Chip, distressed a bit with sand paper and then inked with Walnut Stain Distress Ink. I wanted it to be a hanging sign, so I attached it using hooks from the Vignette Hardware. I was able to carefully screw them into the Quote Chip and then into a the space between the top of the tombstone and the tag portion.
Now onto the bottles! I'll be talking about those at the top and bottom of the piece. Some of them were already amber and others started out clear. To give them all a similar look, I painted them with Collage Medium, let that dry, then added Clear Rock Candy Crackle Paint and let that dry. I then added some Grit Paste to the tops and let that dry. Once all that was dry, I applied a mix of Alcohol Ink in Mushroom and Butterscotch and even a touch of Pitch Black. I also inked the corks using Walnut Stain and Black Soot Distress Ink. Once the bottles were all grunged up, I began adding labels and other details to them. Some of these are stickers from the Tim Holtz Idea-ology Apothecary Vials and others are from past Halloween Ephemera. I also distressed the edges of the paper with the back side of an X-acto Knife and then inked them up with some Walnut Stain Distress Ink. Now, I want you to look closer at some of the bottles....see anything?! Yes, there are eye balls in that one jar! They are googlie eyes from my stash, but don't they add a fun touch?! I also filled the other large bottle with some bones!
Phew! I think that's it! Hopefully I covered enough of the details on how I created The Witches' Kitchen to give you some ideas of your own. And as always, if you any questions, don't hesitate to ask! I'm more than happy to answer them.
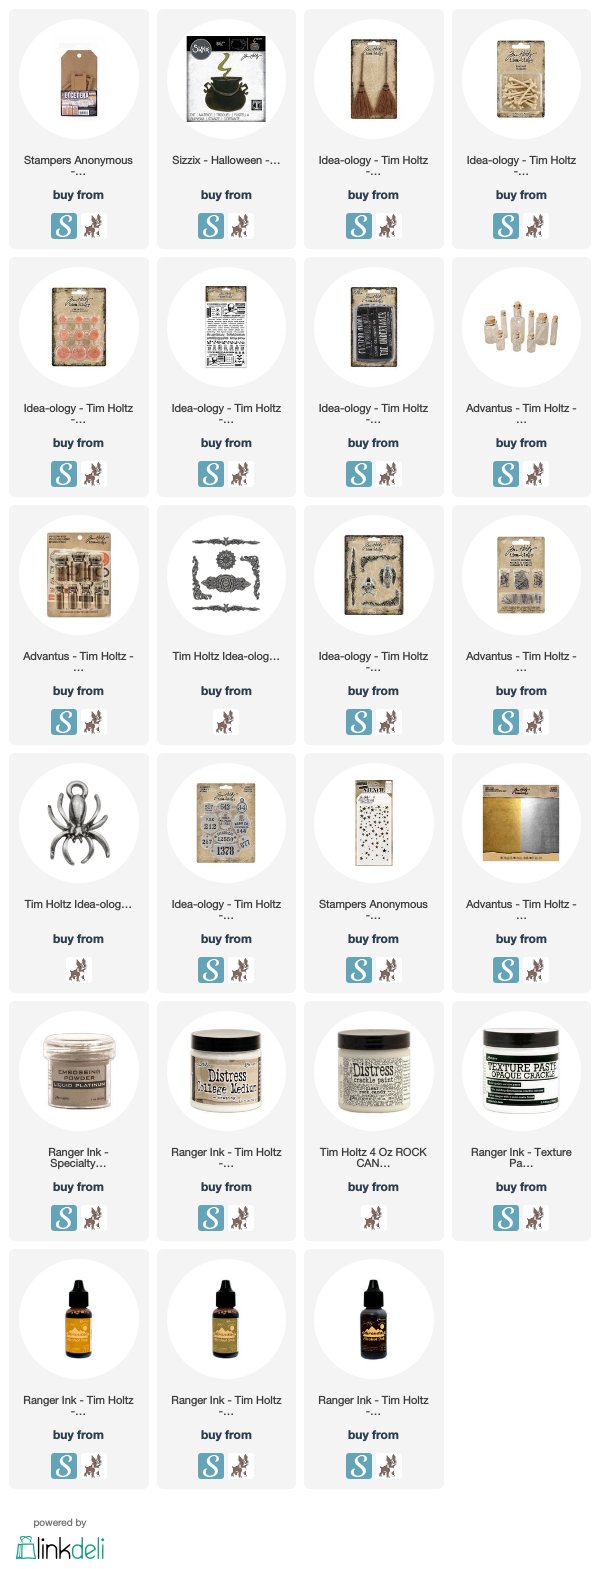
SUPPLIES
This post contains affiliate links to Scrapbook.com and Simon Says Stamp. If you buy anything through my links, it adds no extra cost to you, but it does help me keep my blog up and running and allows me to share this content with you! I truly appreciate and thank you for your support! (If you're interested, you can see my full disclosure statement here.)


Wow! This is the COOLEST witches kitchen ever! LOVE it! Nicely done!
ReplyDeleteThank you so much!!!
Delete