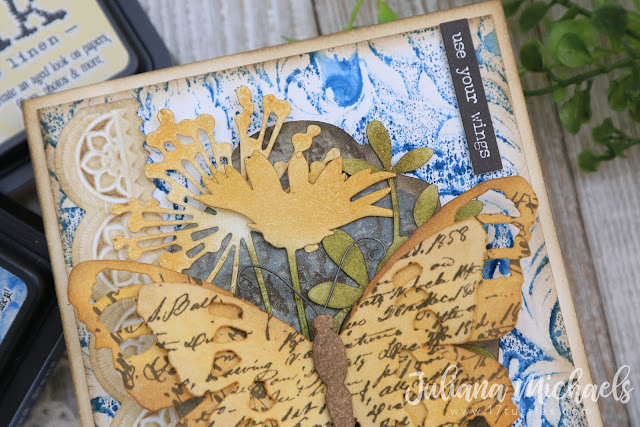
Hello crafty friends! Today I'm sharing a mixed media birthday card that features a fun background technique that tried recently. It incorporates the 3D Botanical Texture Fade Embossing Folder with Distress Ink for a fun way to add color to your embossed paper.
I began with the 3D Botanical Texture Fade Embossing Folder and applied Faded Jeans Distress Ink directly to the folder. I then spritzed a piece of water color paper trimmed to size and placed it inside the embossing folder. Following the instructions that come with these folders, I then ran the piece through my Sizzix Big Shot three times. I just love how the ink pooled in and around the edges of the embossed areas to bring out their shape and texture. I then inked the edge with Frayed Burlap and layered this onto a piece of watercolor paper with the same inked edges.
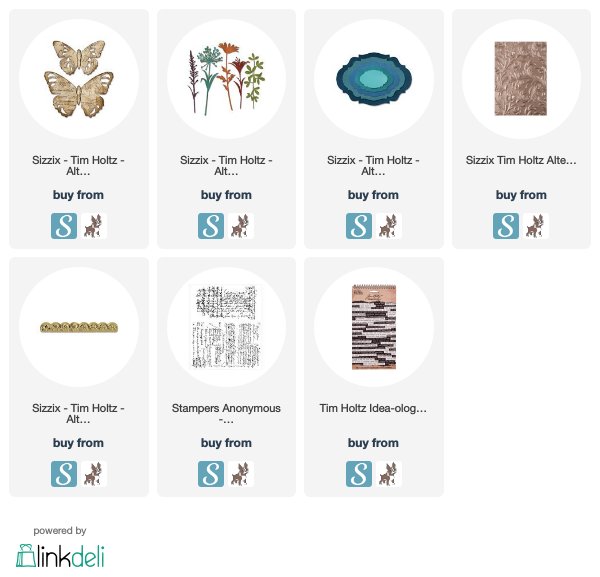
I then took a piece of watercolor paper and ink smooshed a mix of Distress Oxides onto it. Unfortunately, I don't recall what mix of colors I used, but it definitely included Walnut Stain and Vintage Photo! I then die cut this piece using the Stacked Baroque dies to create a base for my flowers and butterfly.
Now onto the main embellishments...Here I used the Wildflower Stems 2 and the Tattered Butterfly dies and cut them from watercolor paper. I inked up the flowers with Fossilized Amber Distress Oxide and the stems with Peeled Paint and Shabby Shutters.
To give the butterfly some interest, I stamped it with the script stamp from the Ledger Script Stamp Set using Espresso Archival Ink. Next, I inked the layers with Mustard Seed, Vintage Photo and Walnut Stain Distress Ink. I then adhered all the layers together and gave it some antenna using a bit of wire from my stash.
Once this main piece was complete, I added the Small Talk Stickers for the sentiment. Since I was making this as a birthday card for a dear friend, I thought "use your wings" and "embrace the journey" were a perfect fit!
After all that, I still felt like it needed a little something, so I cut a piece of watercolor paper using the Mini Scallop 3D Impresslits Embossing Folder. I inked it lightly with some Frayed Burlap Distress Ink and adhered it along the left hand side of the card.
I'm entering this project into the Simon Says Stamp Monday Challenge - Midsummer Blues.
SUPPLIES
This post contains affiliate links to Scrapbook.com and Simon Says Stamp. If you buy anything through my links, it adds no extra cost to you, but it does help me keep my blog up and running and allows me to share this content with you! I truly appreciate and thank you for your support! (If you're interested, you can see my full disclosure statement here.)


I really admire this! I have this embossing folder and your technique sounds so interesting--I am anxious to try this--thanks for sharing!
ReplyDeleteYour cards are delightful! I’ve always enjoyed making a series a series of cards, where some details remain the same & other details are varied! The Bold alphabet is used very effectively here & the colors are soft & muted, making sweet cards indeed! Thank you for sharing such good instructions!
ReplyDelete