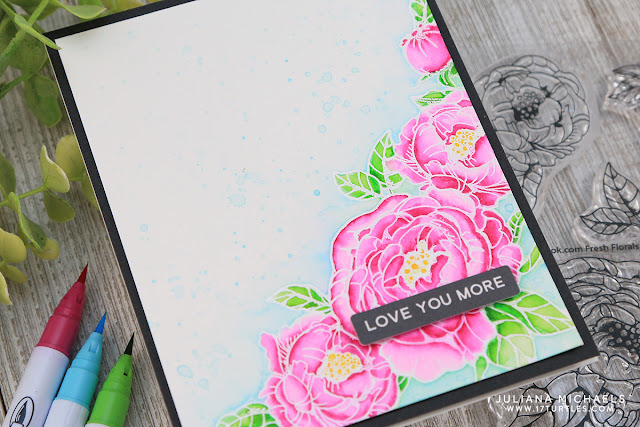
Hello friends! I'm so excited to share a new card with you today featuring Scrapbook.com's Fresh Florals and Berries Stamp Set! Scrapbook.com recently released some new Exclusive Premium Clear Photopolymer Stamp Sets and this is one of those new sets. It is perfect for all the floral lovers out there!
How to Create a Layered Stamp Design with Embossing
For this card, I want to share with you a quick and easy what to create a layered stamp design without having to create a mask. Typically when layering stamped images, you need to create a mask using a sticky note and fussy cutting. This technique gives you the same look without all of the fuss!
Begin by stamping your first image with Versamark Embossing Ink, sprinkle it with white embossing powder and emboss it with a heat gun. Here I choose the largest floral image because this is the one that I wanted to be on top of the other images. In the photo below this is the image on the right hand side.
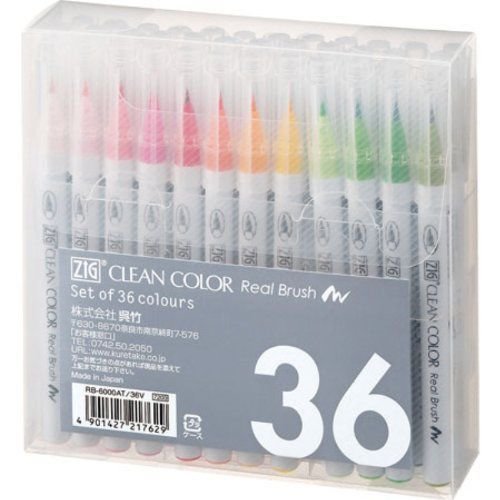
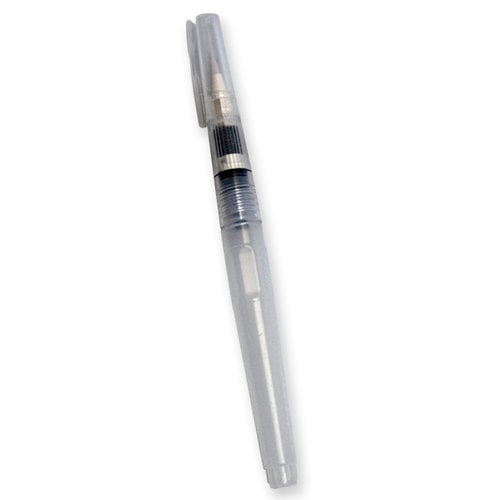
Once the stamping and embossing is completed, color in your images with your choice of medium. Here I used Zig Clean Color Real Brush Markers to achieve a dreamy watercolor effect. I also used a water brush to help blend the colors and add some color around the flowers. I finished off the background by creating ink splatters. This is super easy to achieve. All you have to do is color with the marker onto a craft mat, spritz it water, and then use a paint brush to flick the color onto card.
I hope you enjoyed learning how to create a layered stamp design with embossing powder using the Scrapbook.com Fresh Florals and Berries Stamp Set. Thanks so much for stopping by and if you like my projects I'd love for you to follow me on Instagram!
12 Days of Christmas
Make sure to check out Scrapbook.com's 12 Days of Christmas! They have so many great products on sale and there is a new freebie each day for every order made!


No comments
Every time you smile at someone, it is an action of love, a gift to that person, a beautiful thing. ~Mother Teresa
HUGS!
JULIANA