Deck the Halls with Inky Paws Blog Hop | Newton's Nook Designs

Hello friends and welcome to Newton's Nook Designs Deck the Halls with Inky Paws Blog Hop! I'm so happy you are joining us today as we celebrate this holiday season with this super fun hop featuring the Newton's Nook Design Team along with some amazing guest designers. At each stop you'll find some Christmas or holiday inspiration using products from Newton's Nook Designs. You'll also have the chance to win a fun prize, so keep reading for all the details!

Merry & Bright Card | Newton's Nook Designs


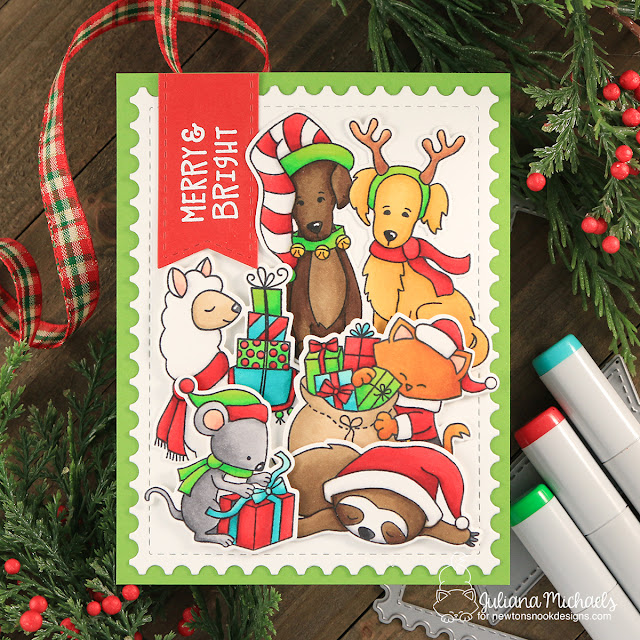
As I sat down to create my card, I just couldn't decide on a what stamp set to use. I pulled out all of my favorites and as I was looking at them I had a light bulb moment! What if I combined some of my favorite Newton and friends images onto one card? That's exactly what I did. I stamped and colored all of the images using Copic markers and then die cut each one using the coordinating die set.

Merry and Bright Christmas Card by Juliana Michaels featuring Newton's Nook Designs

This card uses the following stamp sets: Happy Howl-idays, Slothy Christmas, Llama Delivery, Naughty or Mice, and Santa Paws Newton.

Merry and Bright Christmas Card by Juliana Michaels featuring Newton's Nook Designs

The sentiment is from the Sentiments of the Season Stamp Set. I cut a piece of red cardstock using the Frames & Flags Die Set. I then stamped the sentiment with Versamark Embossing Ink and heat embossed it with white embossing powder. I finished off the card by placing Newton and his friends onto a piece of white cardstock cut using the postage edged die from the Framework Die Set.

Merry and Bright Christmas Card by Juliana Michaels featuring Newton's Nook Designs

Thanks so much for stopping by today! I wish each and everyone of you a very Merry Christmas and I hope you have the happiest of holidays!


Deck the Halls with Inky Paws Exclusive!

Newton's Nook Designs is also releasing a NEW mini 2x3 stamp set today called Ginger Snap!! This fun new stamp set will only be available at Newton's Nook Designs online shop and you can get it for FREE this week with a $30 purchase! Offer is valid until Friday, December 14, 2018 or while supplies last. This new stamp set is also available for purchase for $4.99.


Blog Hop and Giveaway

No blog hop is complete without a giveaway! We'll be choosing two lucky winners to win a $25 store credit for Newton's Nook Designs online shop! To enter, just leave a comment on each of the Design Team Member and Guest blogs (see the list below)! The more posts you comment on the better your chances are of winning! You have until Sunday, December 9th at 9 pm EST to comment -- winners will be announced on the NND blog on Monday, December 10th.

Deck the Halls with Inky Paws Blog Hop List:

Love You More | Scrapbook.com

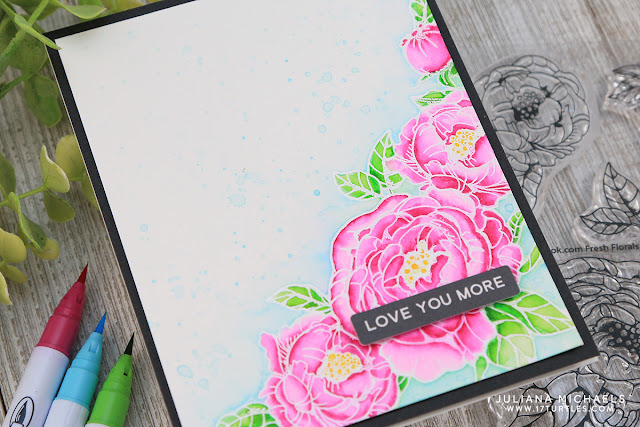
Hello friends! I'm so excited to share a new card with you today featuring Scrapbook.com's Fresh Florals and Berries Stamp Set! Scrapbook.com recently released some new Exclusive Premium Clear Photopolymer Stamp Sets and this is one of those new sets. It is perfect for all the floral lovers out there!

How to Create a Layered Stamp Design with Embossing

For this card, I want to share with you a quick and easy what to create a layered stamp design without having to create a mask. Typically when layering stamped images, you need to create a mask using a sticky note and fussy cutting. This technique gives you the same look without all of the fuss!

Love You More Card by Juliana Michaels featuring Scrapbook.com Fresh Florals and Berries Stamp Set

Begin by stamping your first image with Versamark Embossing Ink, sprinkle it with white embossing powder and emboss it with a heat gun. Here I choose the largest floral image because this is the one that I wanted to be on top of the other images. In the photo below this is the image on the right hand side.


To create the layers, take the next image you want to layer and stamp it with Versamark Embossing Ink. BEFORE you heat emboss the image, take a small paint brush and wipe away the embossing powder that's overlapping the top image. Once all of that is removed, emboss the powder with your heat gun.

Repeat this process as you add each new layer of your design. The main thing to keep in mind is everything else is below your top image, so wipe away what is overlapping that image.

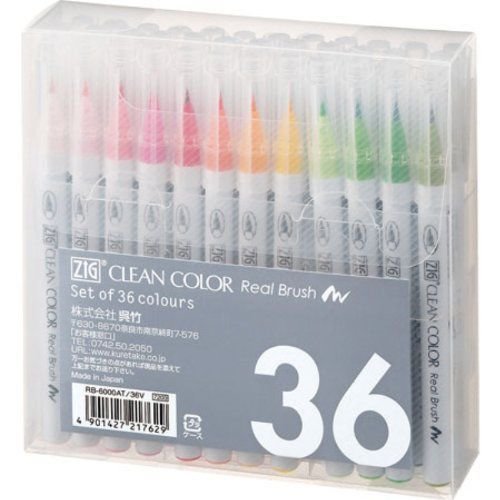
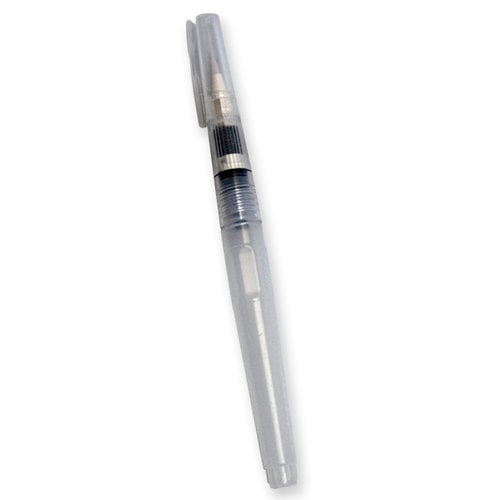
Once the stamping and embossing is completed, color in your images with your choice of medium. Here I used Zig Clean Color Real Brush Markers to achieve a dreamy watercolor effect. I also used a water brush to help blend the colors and add some color around the flowers. I finished off the background by creating ink splatters. This is super easy to achieve. All you have to do is color with the marker onto a craft mat, spritz it water, and then use a paint brush to flick the color onto card.

Love You More Card by Juliana Michaels featuring Scrapbook.com Fresh Florals and Berries Stamp Set

To finish off the card, I used a sentiment sticker from Jillibean Soup's Garden Harvest Collection. You could certainly use a stamp here as well and achieve the same look by stamping the sentiment with Versamark Embossing Ink onto black cardstock and then heat set it with white embossing powder.

Love You More Card by Juliana Michaels featuring Scrapbook.com Fresh Florals and Berries Stamp Set

I hope you enjoyed learning how to create a layered stamp design with embossing powder using the Scrapbook.com Fresh Florals and Berries Stamp Set.  Thanks so much for stopping by and if you like my projects I'd love for you to follow me on Instagram!

12 Days of Christmas

Make sure to check out Scrapbook.com's 12 Days of Christmas! They have so many great products on sale and there is a new freebie each day for every order made!

http://shrsl.com/1bojs

Supplies

Here is a list of products I used to make this project. If you buy these through my links, which adds no extra cost to you, you help me keep my blog up and running! Thank you so much for your support! (You can see my full disclosure statement here.)

Subscribe