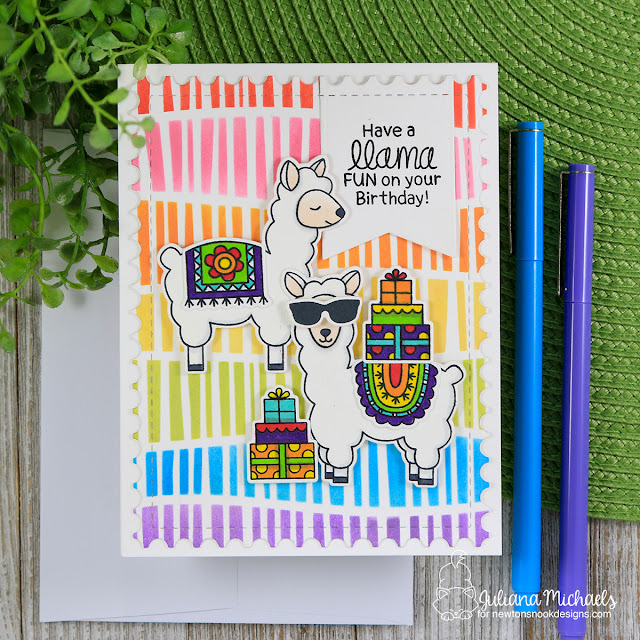
Thanks to Newton's Nook Designs, stenciled backgrounds have quickly become a favorite way for me to dress up a card. Today, I'm sharing how to create a Rainbow Stenciled Background using the Serene Stencil by Newton's Nook Designs.
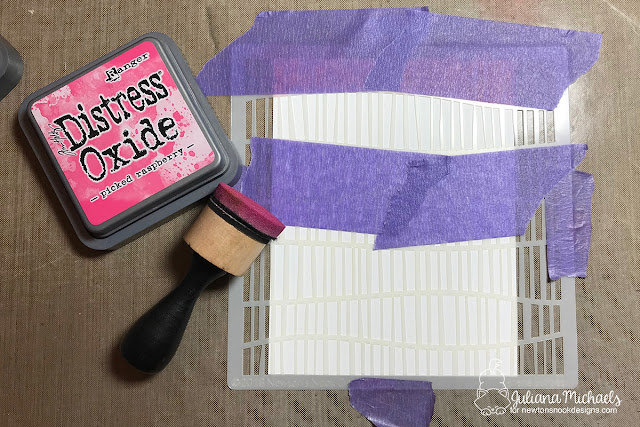
First, cut a piece of white cardstock to 4.25 x 5.5 inches. Apply a little bit of adhesive to the backside of the paper to hold it in place on top of your craft mat. Position the Serene Stripes Stencil on top of the paper and use Therm O Web Purple Tape to help hold it in place. Next use the Purple Tape to mask off each section and then blend on some Distress Oxide in rainbow order. Because there are 7 sections on the stencil, I added pink to fill out the rainbow. To minimize unwanted color blending, wipe off the excess ink before you move the tape to the next section.
After you have ink blended each section, die cut it using the postage edge die from the Fancy Frames Die Set. You are then ready to decorate your card with your favorite critters and sentiment. Here, I've used a couple of adorable llamas from the Loveable Llamas Stamp Set. I then added a sentiment on a die cut banner from the Frames & Flags Die Set.
Do you have a favorite way to use stencils? I hope you enjoyed learning how to create a Rainbow Stenciled Background today!


No comments
Every time you smile at someone, it is an action of love, a gift to that person, a beautiful thing. ~Mother Teresa
HUGS!
JULIANA