Hello friends! I'm back with another post to share even more with you about the Ranger Ink Letter It™ program. Recently I shared a post about how to use the Perfect Pearls and Heat Embossing to create Thank You Cards.
I was invited by Scrapbook.com to use the products from this new program to create and share some inspiration with you. Today, I'm sharing a trio of Birthday Cards I created using some of the Clear Stamps and Metallic Pens that are a part of the Letter It™ program.
One of my favorite products from this program are the 6 clear stamp sets. I'm totally in love the gorgeous handwritten script and with all the themes they have, you're pretty much covered for just about any occasion you can imagine.

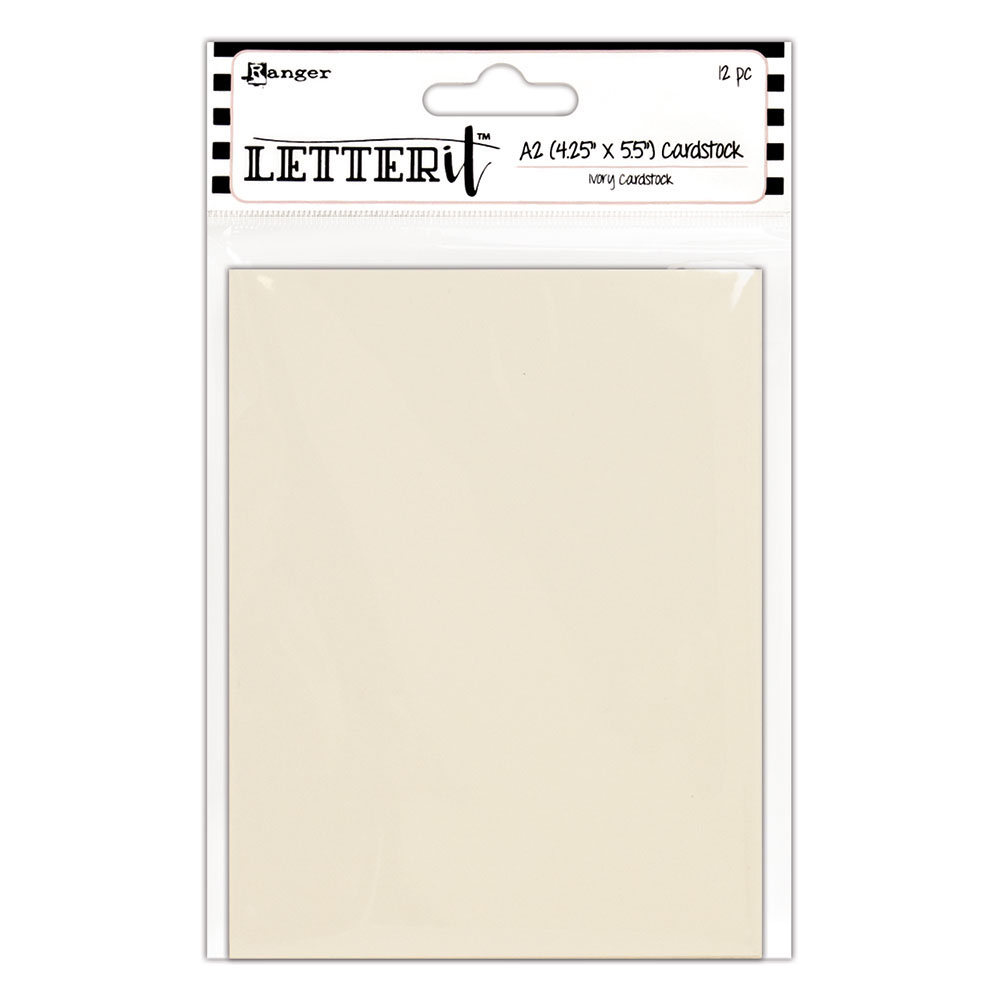
I created three simple, yet elegant, one layer birthday cards using the Birthday Clear Stamp Set. To give each card a slightly different look, I used a different color of ink to stamp each sentiment and then matted the Ranger Ink Letter It Cream Cardstock with a cardstock that matched the ink color.

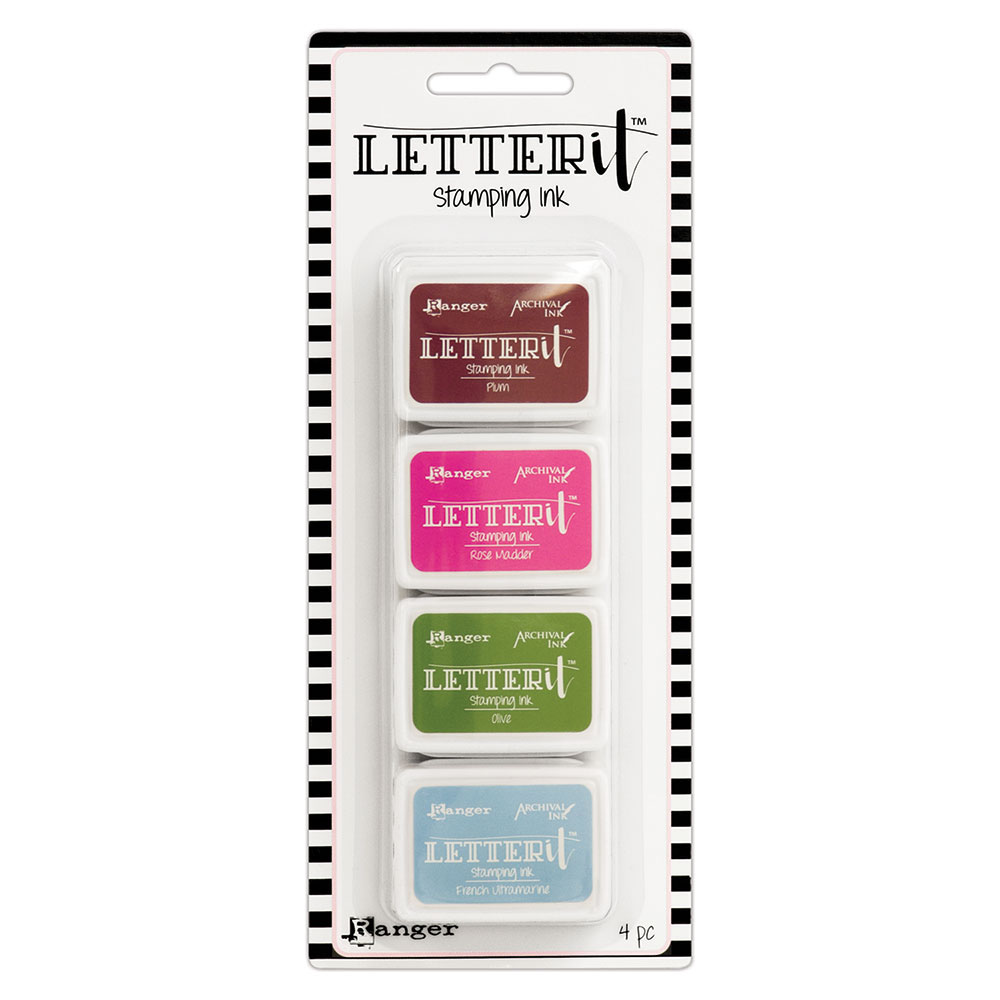
The Letter It™ program includes two Archival Ink sets. For this first card I used Archival Ink in Rose Madder. By switching up the colors, I felt like I was able to create a mix of cards that can be used for a male or female birthday depending on which color I choose.

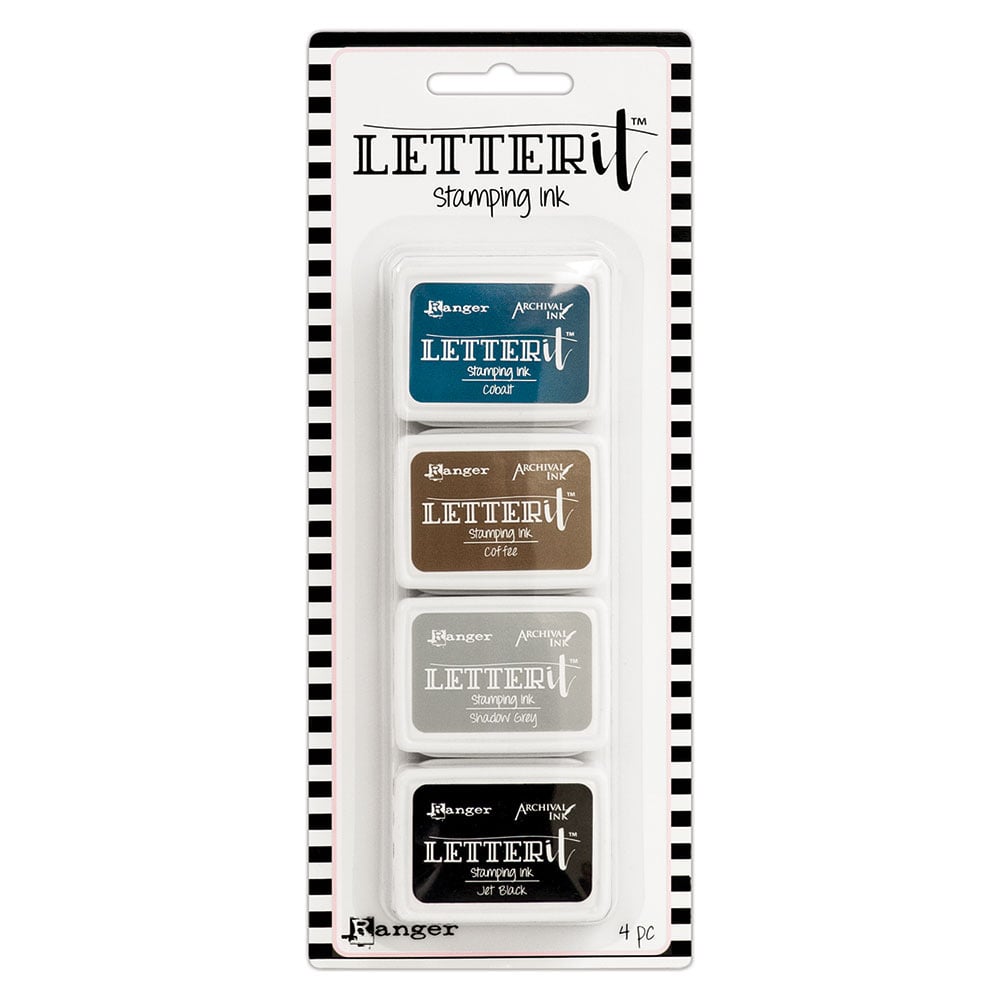
For the second card, I went with a more masculine look and used Archival Ink in Cobalt.

For my third card, I used Archival Ink in Olive. Isn't it great how you can get an entirely different look just by switching out the colors?
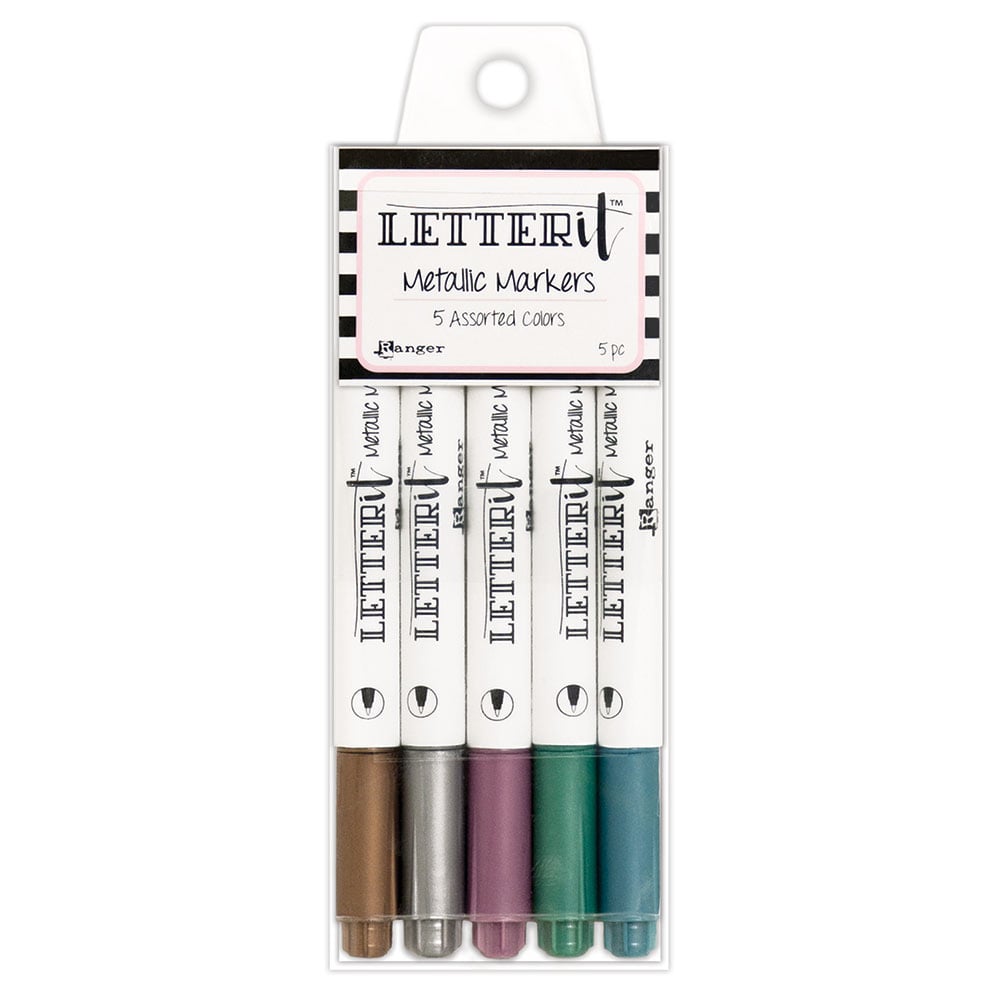
As you've been looking at each card, you might have noticed the little pen detail I added to each of the words. To do this, I used the Letter It™ Metallic Markers! These are another of my favorite products from this program. They write so smoothly and add a beautiful touch of shimmer and shine. They also look really pretty on darker papers!
I used a ruler to help me draw the straight lines around the outside edge on each card. There is just something about a border that makes my little crafty heart happy!
I hope you enjoyed learning more about the Ranger Ink Letter It™ program. If you have any questions about any of these products or other products included in this collection, please feel free to ask in the comment section. Feel free to visit Ranger Ink for more details and to view the complete Letter It™ program!
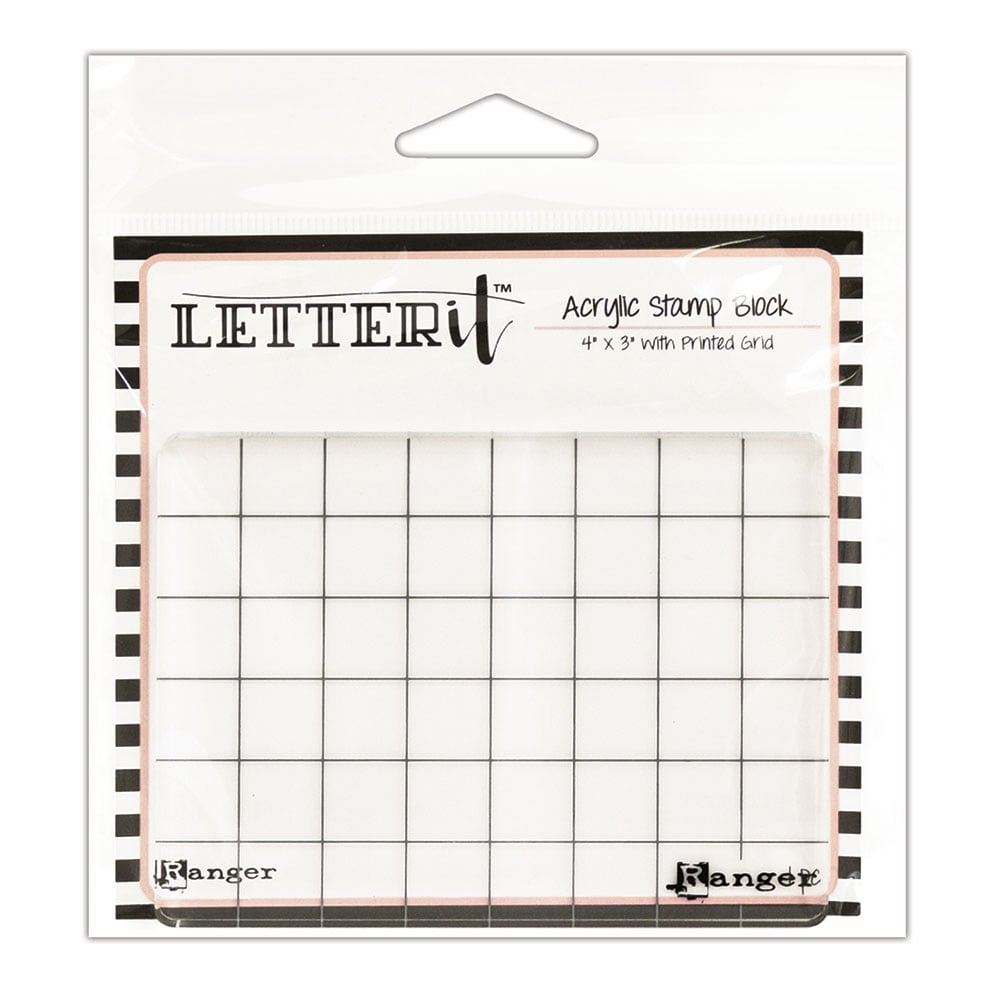
Here are the supplies I used on the cards I created and shared with you. Affiliate links have been used to Scrapbook.com. Thank you for your support!
I was invited by Scrapbook.com to use the products from this new program to create and share some inspiration with you. Today, I'm sharing a trio of Birthday Cards I created using some of the Clear Stamps and Metallic Pens that are a part of the Letter It™ program.
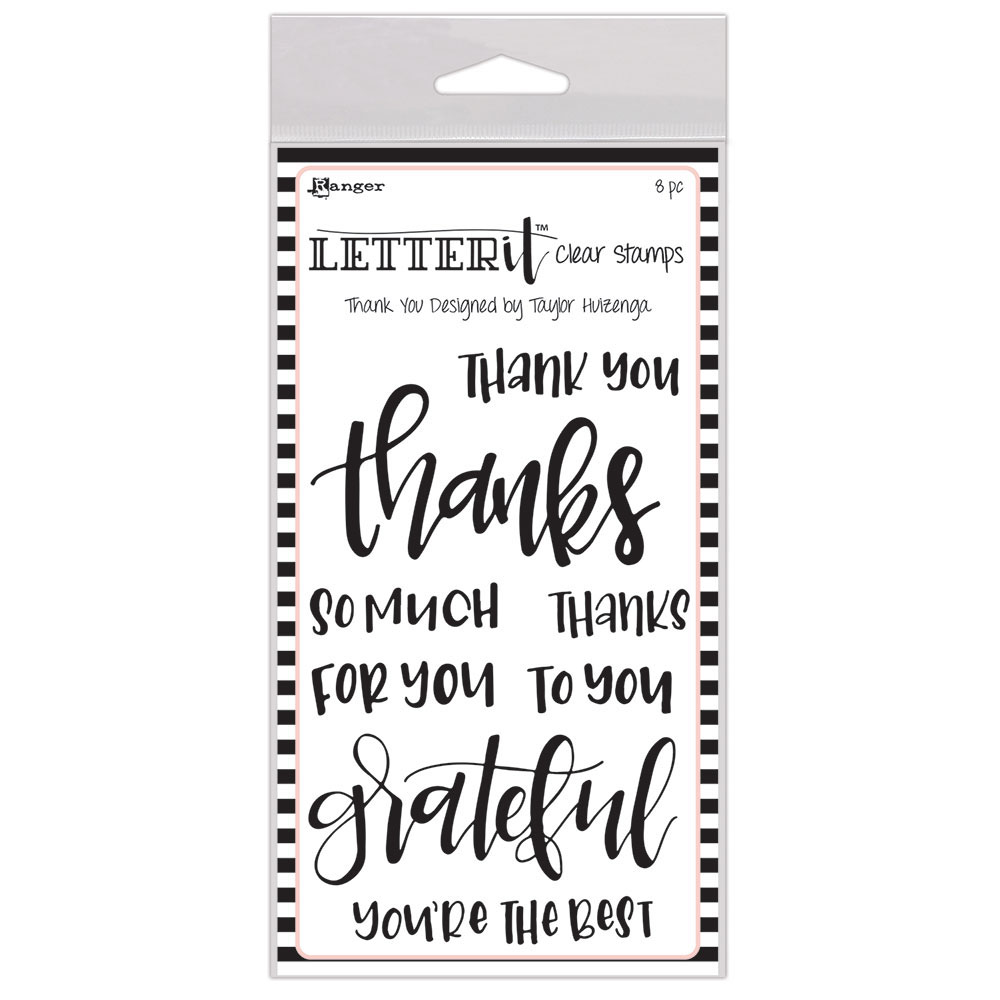
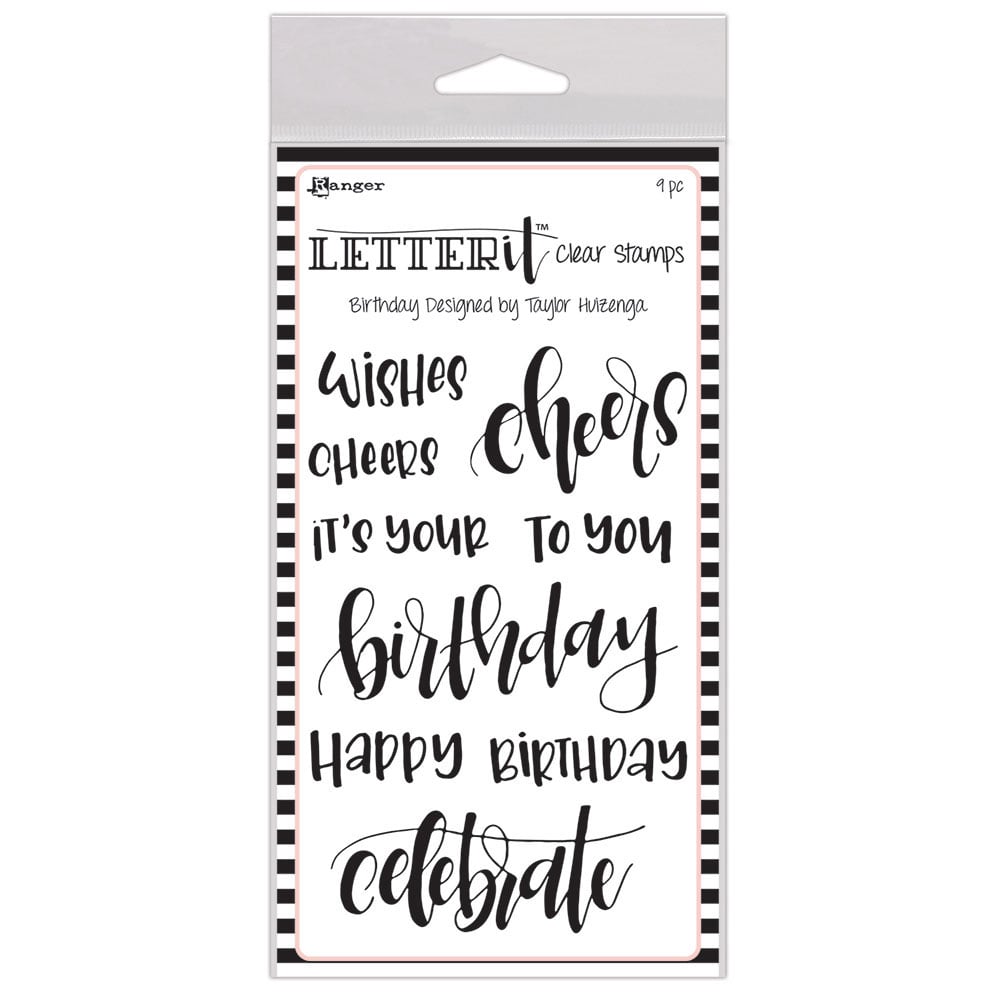
Ranger Ink Letter It™ Clear Stamps
One of my favorite products from this program are the 6 clear stamp sets. I'm totally in love the gorgeous handwritten script and with all the themes they have, you're pretty much covered for just about any occasion you can imagine.

I created three simple, yet elegant, one layer birthday cards using the Birthday Clear Stamp Set. To give each card a slightly different look, I used a different color of ink to stamp each sentiment and then matted the Ranger Ink Letter It Cream Cardstock with a cardstock that matched the ink color.

The Letter It™ program includes two Archival Ink sets. For this first card I used Archival Ink in Rose Madder. By switching up the colors, I felt like I was able to create a mix of cards that can be used for a male or female birthday depending on which color I choose.

For the second card, I went with a more masculine look and used Archival Ink in Cobalt.

For my third card, I used Archival Ink in Olive. Isn't it great how you can get an entirely different look just by switching out the colors?
Adding Details with Metallic Markers
As you've been looking at each card, you might have noticed the little pen detail I added to each of the words. To do this, I used the Letter It™ Metallic Markers! These are another of my favorite products from this program. They write so smoothly and add a beautiful touch of shimmer and shine. They also look really pretty on darker papers!
I used a ruler to help me draw the straight lines around the outside edge on each card. There is just something about a border that makes my little crafty heart happy!
I hope you enjoyed learning more about the Ranger Ink Letter It™ program. If you have any questions about any of these products or other products included in this collection, please feel free to ask in the comment section. Feel free to visit Ranger Ink for more details and to view the complete Letter It™ program!
Supplies
Here are the supplies I used on the cards I created and shared with you. Affiliate links have been used to Scrapbook.com. Thank you for your support!


