The new Oceans of Joy Stamp Set and Coordinating Die Set contain some of the most adorable sea creatures and I couldn't resist creating a little underwater scene with them and sharing all the how-to details with you!
Creating An Underwater Scene
To create the underwater background I used the inlaid die cutting technique. To achieve this look, position one of the Sunny Studio Stitched Scallop Border Dies across the top edge of a piece of watercolor paper cut to 4 x 5.25 inches. Run it through your die cut machine.
Move the die down, offset it slightly and die cut it again. Repeat this process until the entire piece is cut.
Use Distress Ink in Tumbled Glass and Salty Ocean with an ink blending tool to add color to the edges of each piece of paper.
Once all the pieces are inked, flip them over, put them all together and use double sided tape to hold them together. Adhere this piece to the card base or another piece of cardstock cut to 4.25 x 5.5.
To create the sea floor, I stamped the sand image onto a piece of light brown cardstock using brown ink and the cut it out using the coordinating die from the Oceans of Joy Die Set. I added a little interest along with edge with Vintage Photo Distress Ink and an ink blending tool.
When it came time to add the adorable sea creatures, I stamped them onto white cardstock using Versafine Black Ink and then colored them using Prismacolor pencils. After die cutting each image, I used Sakura Gelly Roll Glaze Pens to add little dots of color and detail to each creature.
When it came time to add the adorable sea creatures, I stamped them onto white cardstock using Versafine Black Ink and then colored them using Prismacolor pencils. After die cutting each image, I used Sakura Gelly Roll Glaze Pens to add little dots of color and detail to each creature.
Sunny Studio Guest Designer
I'm also guest posting over on the Sunny Studio Blog. I'd love for you to head over to their blog to check out three more card I created using the Oceans of Joy and Magical Mermaids stamp sets!Supplies
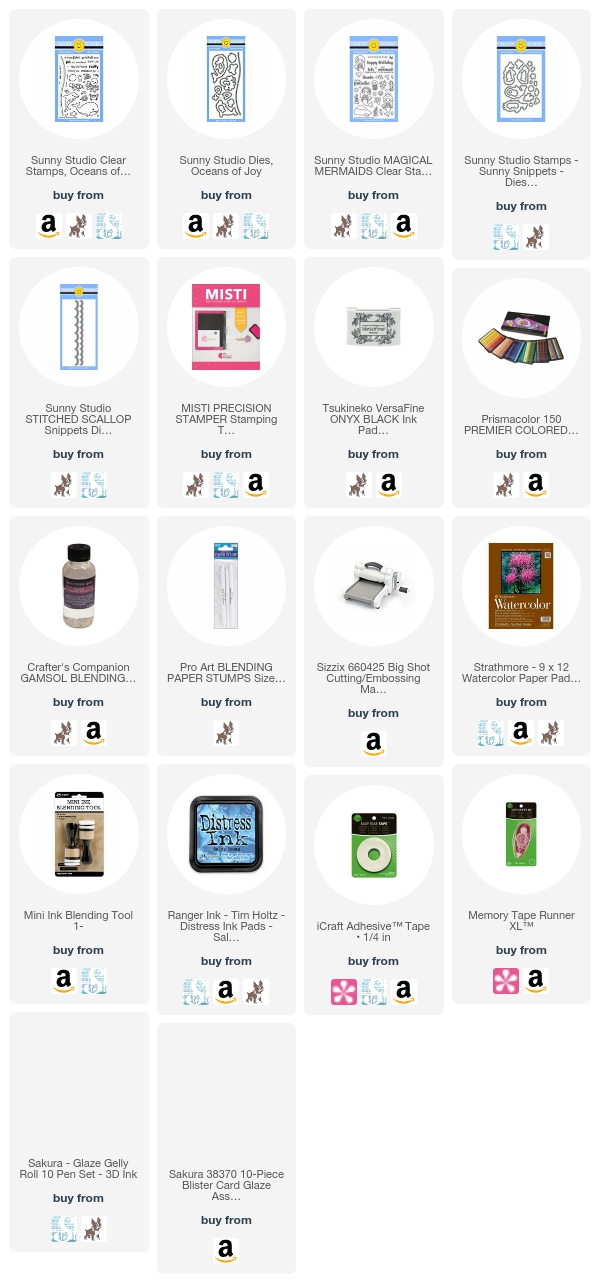
Are you interested in the supplies I used to create this card? To make them easy for you to find, I've listed them below. Affiliate links are used at no additional cost to you and I've linked to them because I use them and love them! Click on the image below each picture to go to your favorite store.


This turned out adorable Juliana! LOVE it! Thanks so much for being our guest today. :)
ReplyDeleteone of my favorites so far!!
ReplyDeleteAhhhhhmazing card!
ReplyDelete