Today's post is a bit of a stroll down memory lane, and it comes at a really fitting moment. Sizzix — the company that's been part of my papercrafting journey since I first started scrapbooking — is celebrating their 25th birthday this month, and I couldn't be more happy to be part of it.
It's got me thinking about just how long I've been enjoying this hobby, and how much both I and the industry have changed over 25 years. Truth be told, I started scrapbooking a few years before Sizzix came along, but they've been with me for most of the ride.
I still remember my very first die cutting machine — the original red Sizzix machine with the pull-lever that pushed straight down to cut through the dies. Affectionately known as "Big Red" back in the day, I actually won mine at a scrapbook crop, and I fondly recall using it with Sizzix alphabet dies to cut out titles for my scrapbook pages. Whether I've been using a die cutting machine, punches, or an electronic cutting machine since then, die cutting has always been one of my favorite ways to create and embellish my projects — and I think a lot of that traces back to that original Sizzix machine.
Fast forward to today, and I've been a Tim Holtz Maker with Sizzix since 2020 and a Creative Team Member since 2023. Who would have thought, all those years ago, that I'd still love paper crafting and die cutting this much — or that I'd still be connected to this company after so many years?
Over the years this hobby has given me so much more than scrapbook pages and finished cards — it's given me a creative outlet, a way to work with my hands, and a community of people who feel like friends. There's something about the process itself — cutting, layering, building something from a blank piece of paper — that still brings me so much joy, all these years later.
That's exactly why celebrations like this one mean so much to me.

About the Collection
To celebrate this milestone, each of the Sizzix Licensed Designers created a brand new celebration themed die, stamp, stencil set or embossing folder. This release brings together designs from Tim Holtz, 49 and Market, Eileen Hull, Stacey Park, Shelly Kim, Catherine Pooler, Willow Wolfe, Vicki Boutin, and Seth Apter.
There's Willow Wolfe's Birthday Blooms stamp set with its beautiful hummingbird and floral wreath designs, Catherine Pooler's Let's Eat Cake dies and stencils, and Eileen Hull's Party Time embossing folder that's perfect for quick, textured backgrounds like the one I used on my card and of course Tim Holtz's Celebration Steamers die set that I'm using for this project. Whatever your style, there's something in this collection to celebrate with.
The Card
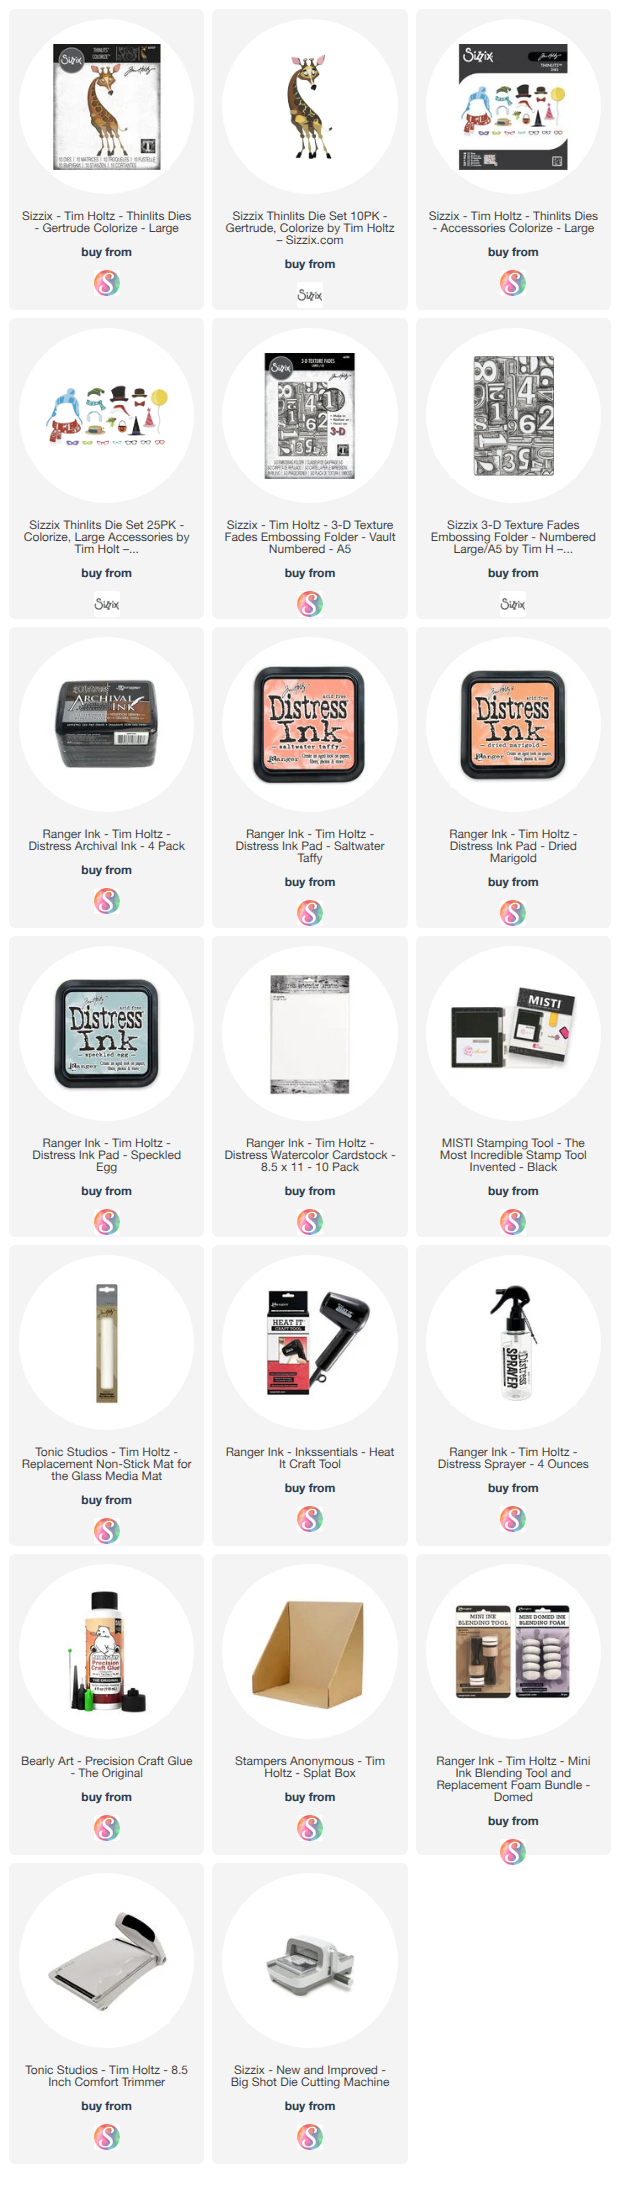
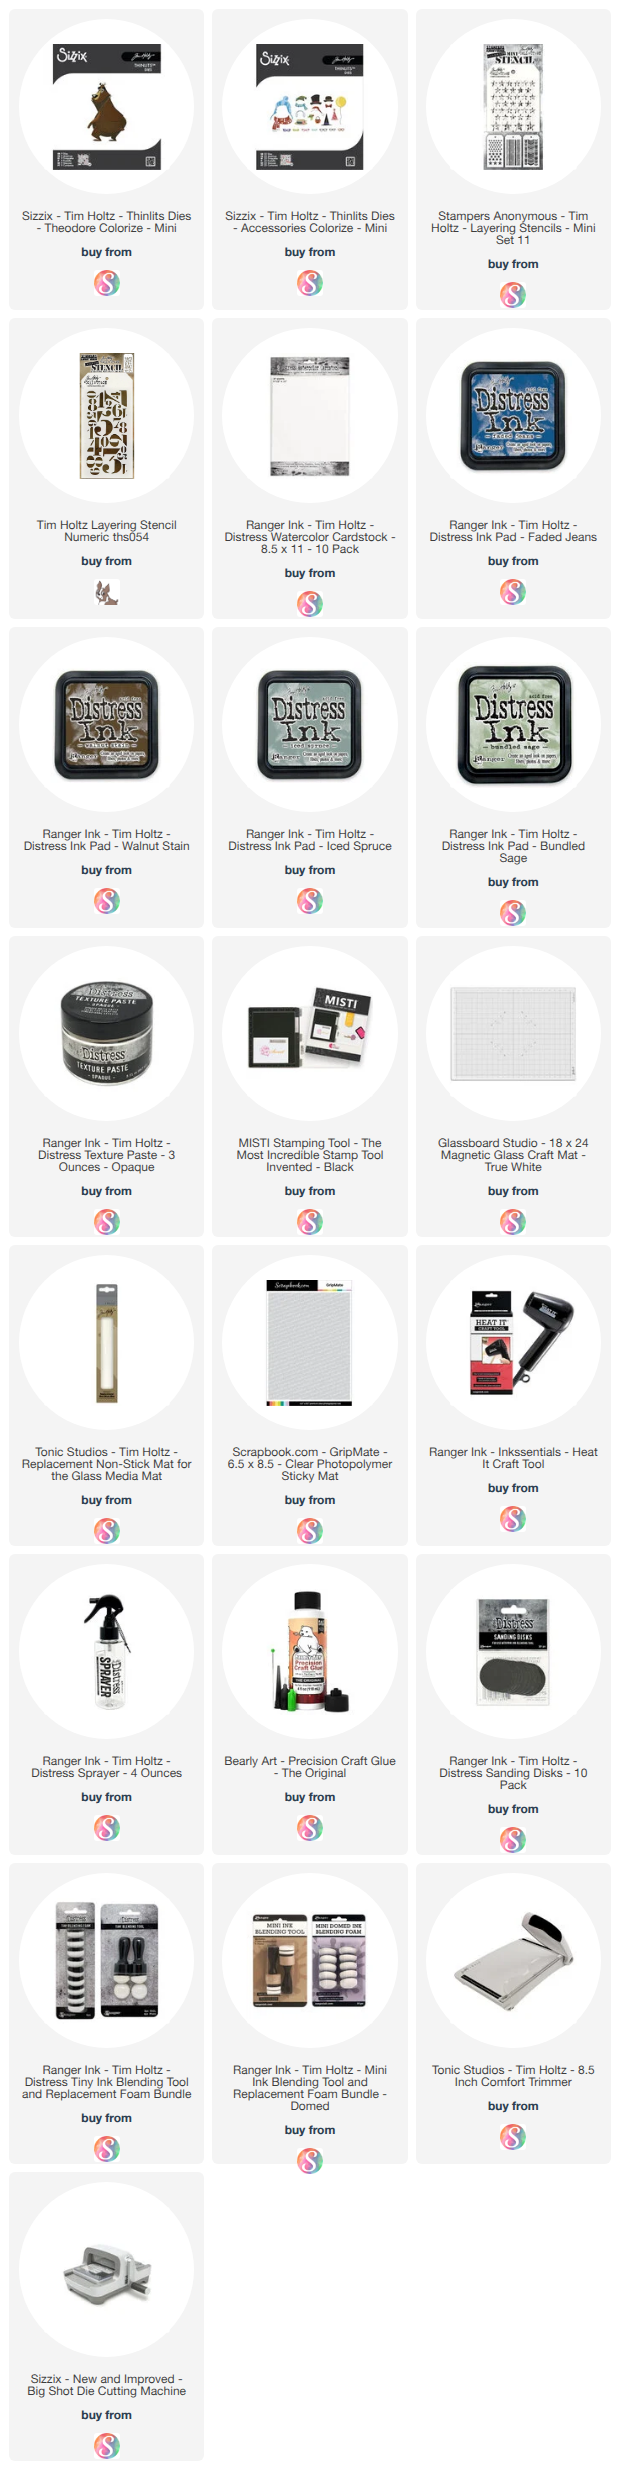
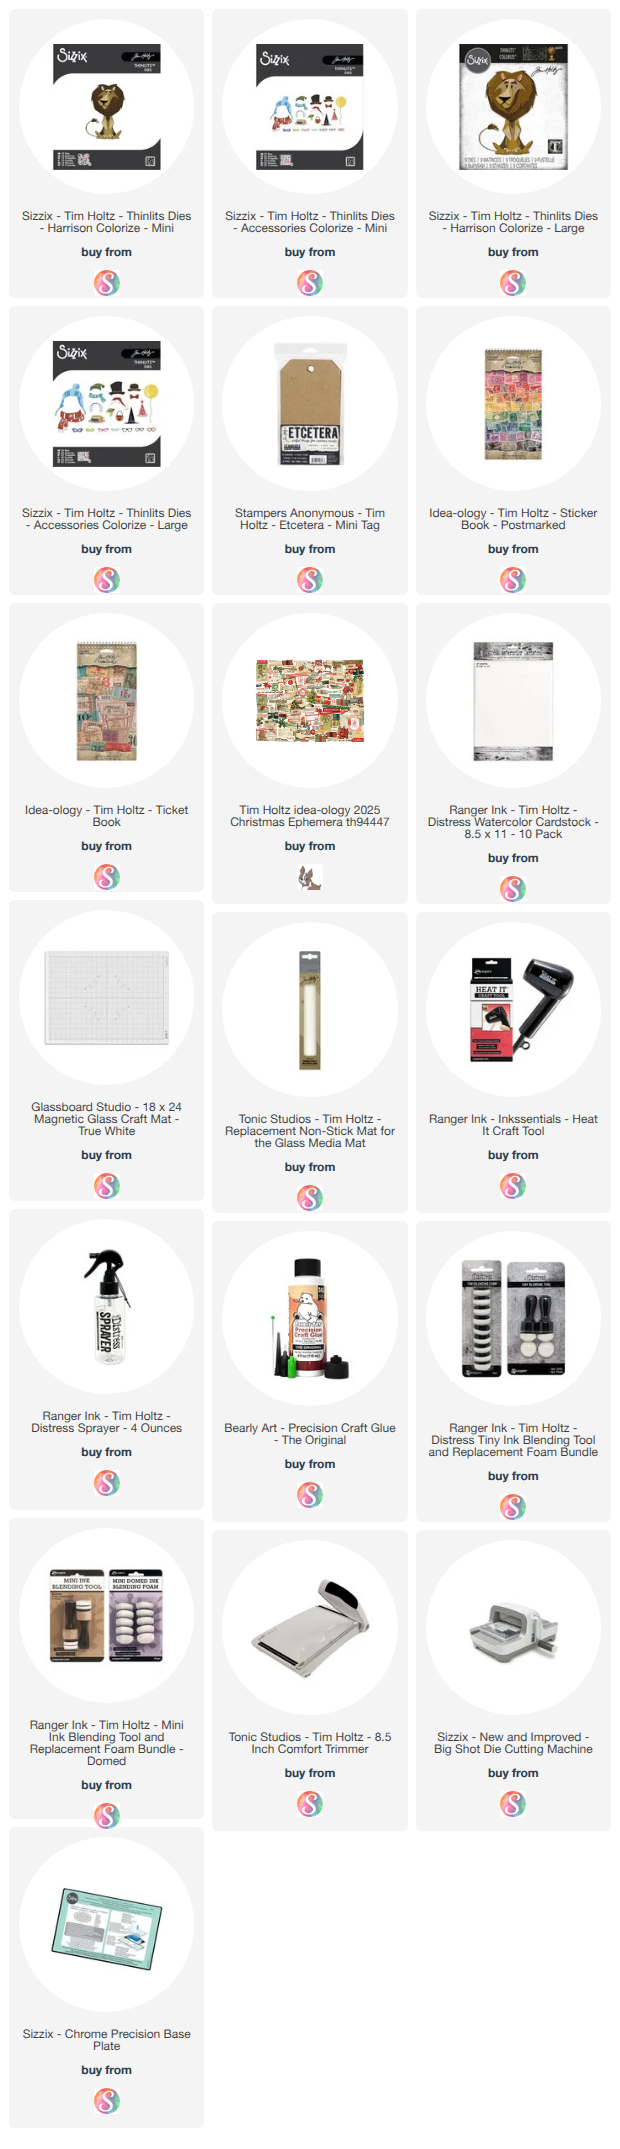
For the focal point on my card, I used the Tim Holtz Gertrude Colorize die in the larger original size. I die cut all of the layers from Distress Watercolor Cardstock. I then ink blended the various layers, working from lighter tones into deeper shadows and details. Walnut Stain, Vintage Photo and Ground Espresso gave her those darker patches, Pumice Stone and Antique Linen softened things out, Wild Honey added warmth, and a bit of Black Soot and Spun Sugar finished off the fine details and her ears.

The background is created by embossing a piece of Distress Watercolor cardstock using the Tim Holtz Numbered Large A5 Embossing Folder. I then added splatters using Distress Ink in Saltwater Taffy, Speckled Egg, and Dried Marigold.

To add to the birthday scene, the streamers are die cut from Distress Watercolor cardstock using the new Tim Holtz Celebration Streamers die set. I ink blended them using the same three Distress Ink colors that I used on for the background splatters. I used a heavy hand for the darker shadow areas and a light blend over the highlight sections. To give Gertrude some birthday flair, I added the party hat from the Colorize Large Accessories set, and those little glasses just give her so much personality. The presents underneath her are cut from Distress Watercolor cardstock using the Tim Holtz Santa's Helper die set and ink blended to coordinate with the rest of the card.

I hope this card inspires you to check out the new Colorize dies and the rest of the Sizzix 25th Birthday Release! If you give any of these new products a try, I'd love to see what you create. Feel free to share your projects with me on Instagram or in the comments.
Supplies
Below you will find links to the supplies I used to create these cards. When you shop through these links—whether you purchase that exact item or something else entirely—you're supporting me at no extra cost to you. The commission I receive helps me cover the costs of my blog and other expenses, and allows me to continue providing you with FREE inspiration and tutorials. If you want to learn more, you can see my full affiliate and product disclosure statement here. Thank you so much for your love and support!