Newton's Nook just had their June Release and one of the new stamp sets was called Newton Rides West. With its Western theme, it immediately inspired me to create a wanted poster design as the base for my card. Today I'm sharing how to create an old paper wanted poster effect using Ranger Distress Ink.
How To Create An Old Paper Background With Distress Ink
Begin by gathering your supplies. This includes: Strathmore Watercolor paper (always a must for me with ink blending), Distress Ink in Walnut Stain and Vintage Photo and an ink blending tool.
Use the ink blending tool to apply Vintage Photo Distress Ink to the watercolor paper. Tap off the excess and then blend the ink toward the middle of the paper.
To distress the edges of the paper, use the backside of a craft knife and/or your finger nail. You can also use a sanding block along the edges to distress it even more. Feel free to tear and bend the paper to add to the old paper effect.
For the final step, use the ink blending tool to apply Walnut Stain Distress Ink to the edges of the paper.
Extra Details
As you can see on my card, I further framed my sentiment and image with a rectangle die cut. This was cut out of the center of my old paper. To help the die cut rectangle stand out even more, I inked the edges using the Walnut Stain Distress Ink. I then added a bit of dimension but adhering a piece of chipboard behind it. I then adhered this to the card front.
One final touch of interest was the addition of a lasso. No cowboy would be complete without one. Right?! I created it by coiling a small piece of twine and then I adhered it using a Zot.
There you have it! Now you know how to create an old paper wanted poster effect with Distress Ink. And, if you like this idea, make sure to Pin it on Pinterest to save for future reference and to share it with your friends!
Supplies
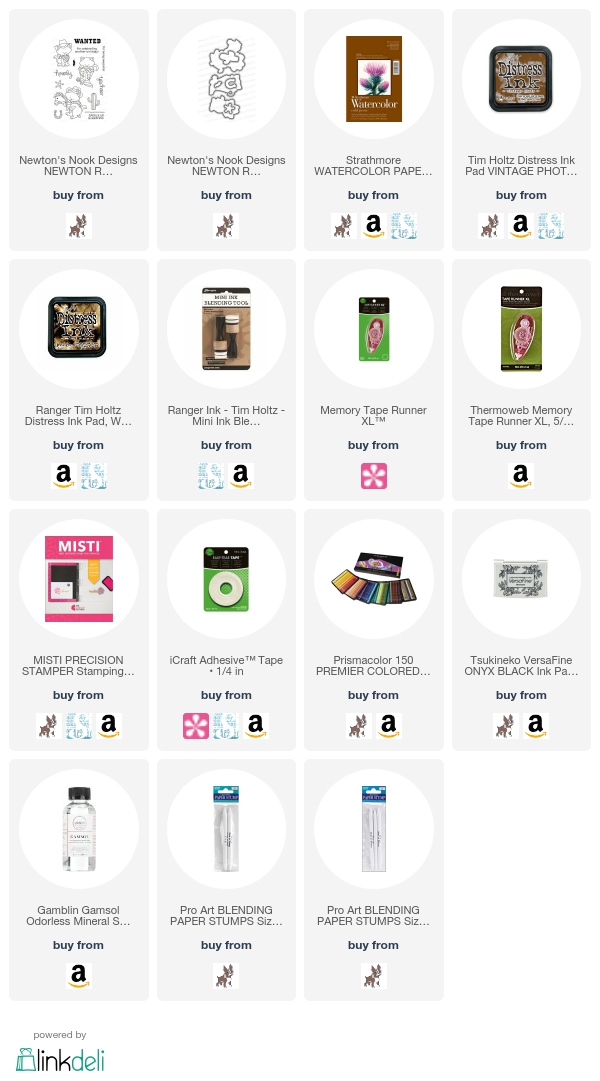
Are you interested in the supplies I used to create this old paper background and the completed card? To make them easy for you to find, I've listed them below. Affiliate links are used at no additional cost to you and I've linked to them because I use them and love them! Click on the image below each picture to go to your favorite store.


Such an awesome card! Your distressed paper looks fantastic and I love the added mustache on Newton.
ReplyDeleteThis is adorable, I love it! I really like the way your old paper turned out. Thank you for a wonderful tutorial.
ReplyDeleteIt is a great tutorial, i enjoyed and got inspired so much. Thanks Juliana!
ReplyDelete